Cupcake earrings gift & card in one!

Card making is admittedly, not my only crafting endeavor… I also have a jewelry business Miss Kitty Creations.  I create tiny *scented* (yes, scented) mini faux food jewelry.  I make waffles, cakes, pies, cupcakes and seasonal pieces like shortbread Christmas tree earrings.  And they ALL smell exactly as they should: pumpkin pie smells just like pumpkin pie, and the cupcakes are to die for scented to match the icing.

Here are some examples of what I make:

Scented Cupcake jewelry by Miss Kitty Creations

Scented Cupcake jewelry by Miss Kitty Creations

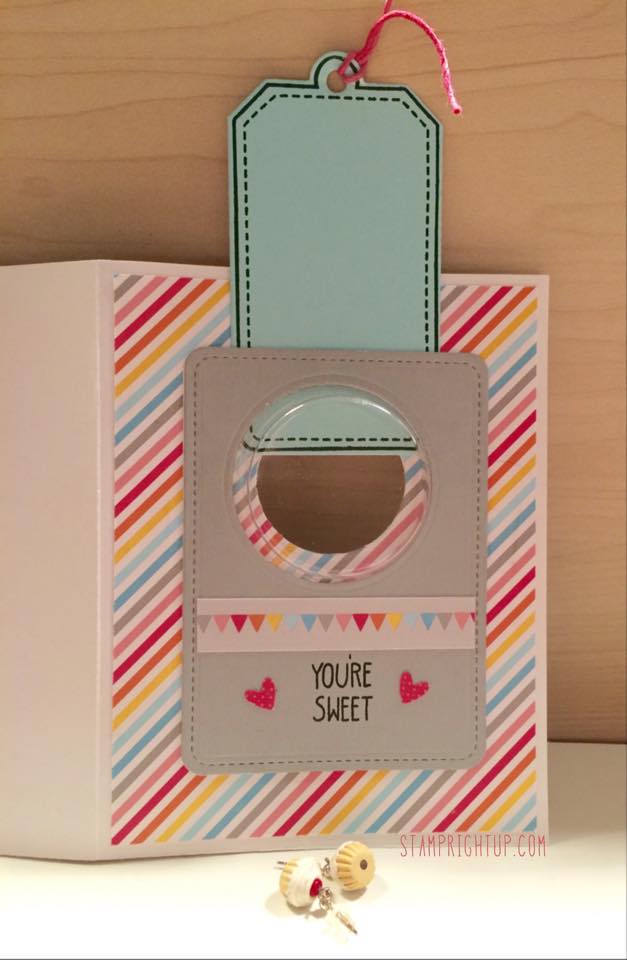
When I discovered Lawn Fawn I just knew I needed to find a way to use their adorable items with my jewelry.  And I finally came up with something:  card and gift in one!! These cards have a trap door that allows the recipient to get their jewelry out of the card without having to destroy the card.


Miss Kitty Creations Scented Cupcake earrings Gift Card Stamp Right Up

Miss Kitty Creations Scented Cupcake earrings Gift Card using Lawn Fawn by Stamp Right Up


Miss Kitty Creations Scented Cupcake earrings Gift Card Stamp Right Up

Miss Kitty Creations Scented Cupcake earrings Gift Card using Lawn Fawn by Stamp Right Up


Here is what I used to create this adorable gift card holder:

  • Lawn Fawn:
    • Hello Sunshine collection patterned paper “April”
    • Stitched journaling card die
    • Admit One (sentiment)
    • Birthday Tags (pull out tab)
    • Pink Lemonade lawn trimmings

The cup / bubble that the earrings are in can be purchased here:  Stampin Up Treat Cups

Lawn Fawn Friday: Here’s The Scoop CAS Card

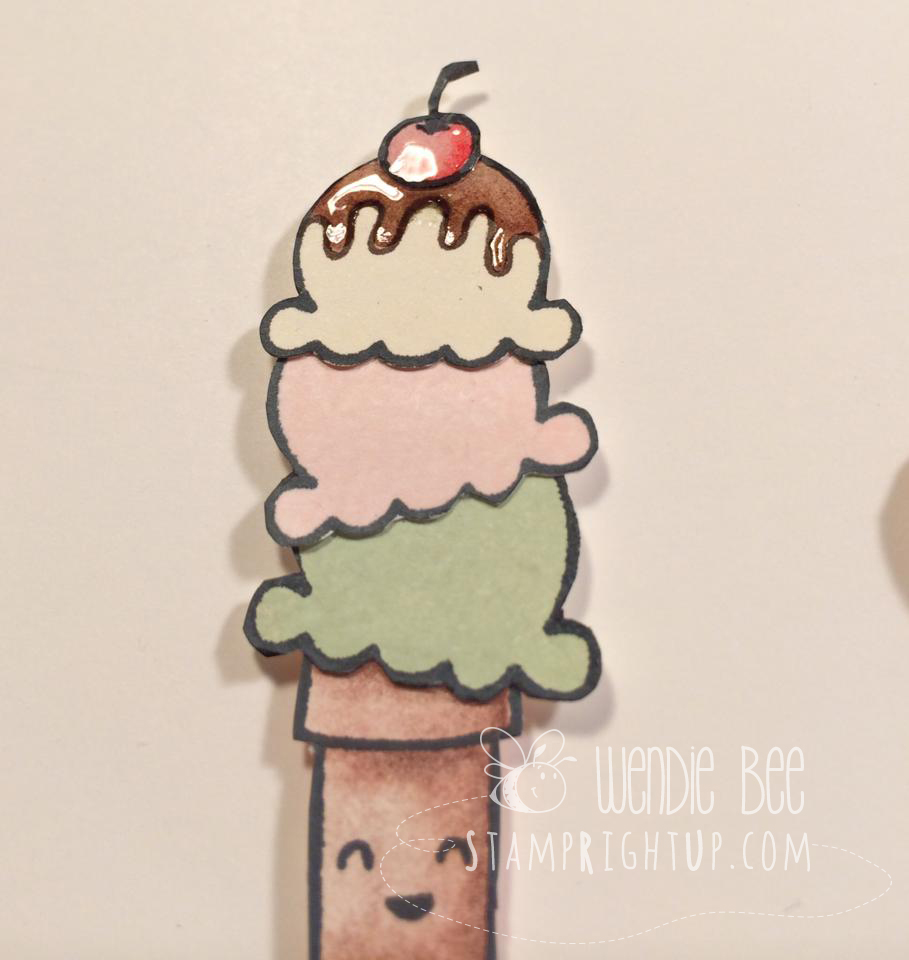
It’s Fawny Friday everyone!! Summer is nearing an end, but not in my craft room!! I found some inspiration on Pinterest recently that lead me to this card – I am super happy with the way it turned out!!

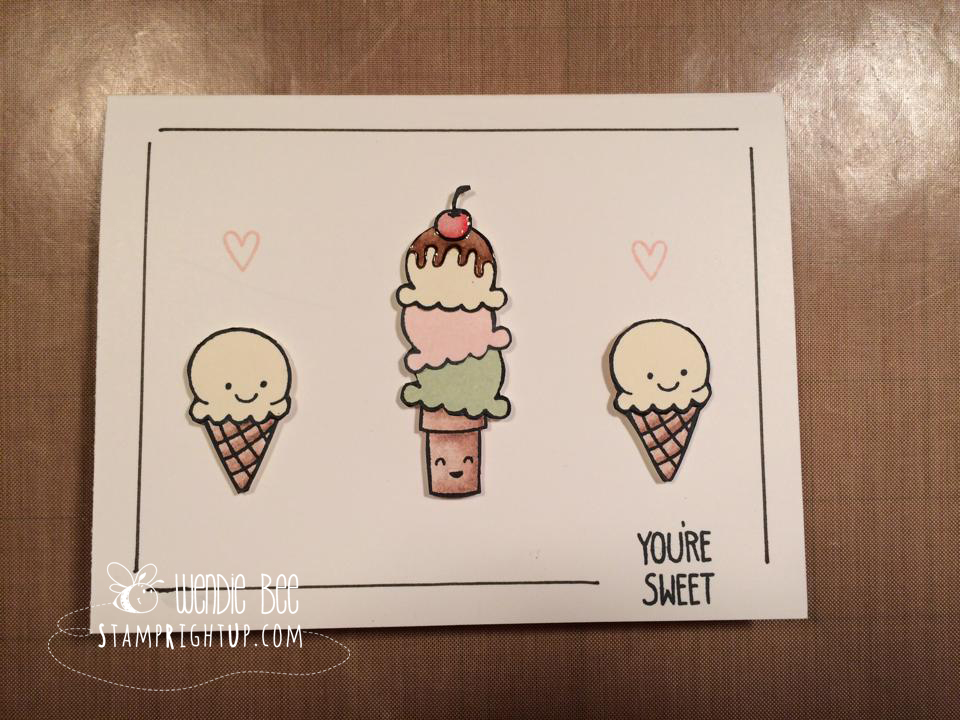
I used Lawn Fawn’s Here’s the Scoop photopolymer stamp set – I really wish they had coordinating dies for this set as I had to fussy cut each piece and layered them together.  The coloring was done with colored pencils and mineral oil (I used baby oil) for the pieces that I wanted to add dimension to. Check out my previous post on how to color with colored pencils to get a look just like copic markers – it’s super easy : )


Lawn Fawn Here's The Scoop by Wendie Bee of Stamp Right Up

Lawn Fawn Here’s The Scoop by Wendie Bee of Stamp Right Up

Lawn Fawn Here's The Scoop by Wendie Bee of Stamp Right Up

Lawn Fawn Here’s The Scoop by Wendie Bee of Stamp Right Up


Stampin Up’s Calling All [Super] Hero’s Mini Journals

As soon as I saw the Calling All Hero’s photopolymer set by Stampin Up I knew i had to have it!!  I had so many ideas on what to do with it – and i loved that it worked for both boys AND girls.

My friend Eric and his two best friends make an annual pilgrimage to the Fan Expo (Comic Con) in Toronto every year.  It’s HUGE and there is SO much to see.  So I thought it would be cool to make them a memento that would be as practical as it was cool. (At least I thought so anyway :P)

And the mini craft journals project began.  I started planning weeks before and used scraps of computer paper to test layouts – I think I tried about 6 different designs before I came up with this one.  I just love that this set is  photopolymer!! Being completely transparent I was able to position the letters perfectly without having to use a position-er or make costly mistakes!

Here is the finished journals – I made one for each of them and personalized it with their names.  I included pop rocks and candy with them in the package when I sent them too.


Calling All Hero's Mini Journal by Wendie Bee of Stamp Right Up

Calling All Hero’s Mini Journal by Wendie Bee of Stamp Right Up

Here’s the best part – you can make these too!! It was easy once I knew the layout – just needed one stamp set and two basic ink colors!

Here is a list of what I used – and don’t forget you can shop online 2-4-7 by clicking on any of the links.

Comic Con Fax Expo Mini Craft Journal Project supplies list:

Calling All Hero’s photopolymer stamp set

Memento Black Ink

Real Red Ink

Mini Craft Grid Journals

Stampin Up Convention General Swaps Inspire Create Share 2014

Stampin Up Convention ~Inspire Create Share 2014. My first Stampin Up convention. What a busy but unforgettably fun experience!! One of the best parts of the convention is the general swapping that happens throughout the convention. Everywhere from in the … Continue reading

Stampin’ Up Boys Will Be Boys Robot Card

I am SO EXCITED to be able to attend my very first ever Stampin Up convention this year in Salt Lake City Utah July 16 – 18 2014.  The theme for this year’s convention:  Inspire. Create.  Share!


There are organized swaps that we can sign up for which happen throughout convention, along with general swaps.  I didn’t know the procedure for the organized swaps and most were full by the time I figured it out, but I found one and signed up for it.  The criteria for the swap is:

  • card front only
  • at least 2 layers
  • at least one embellishment

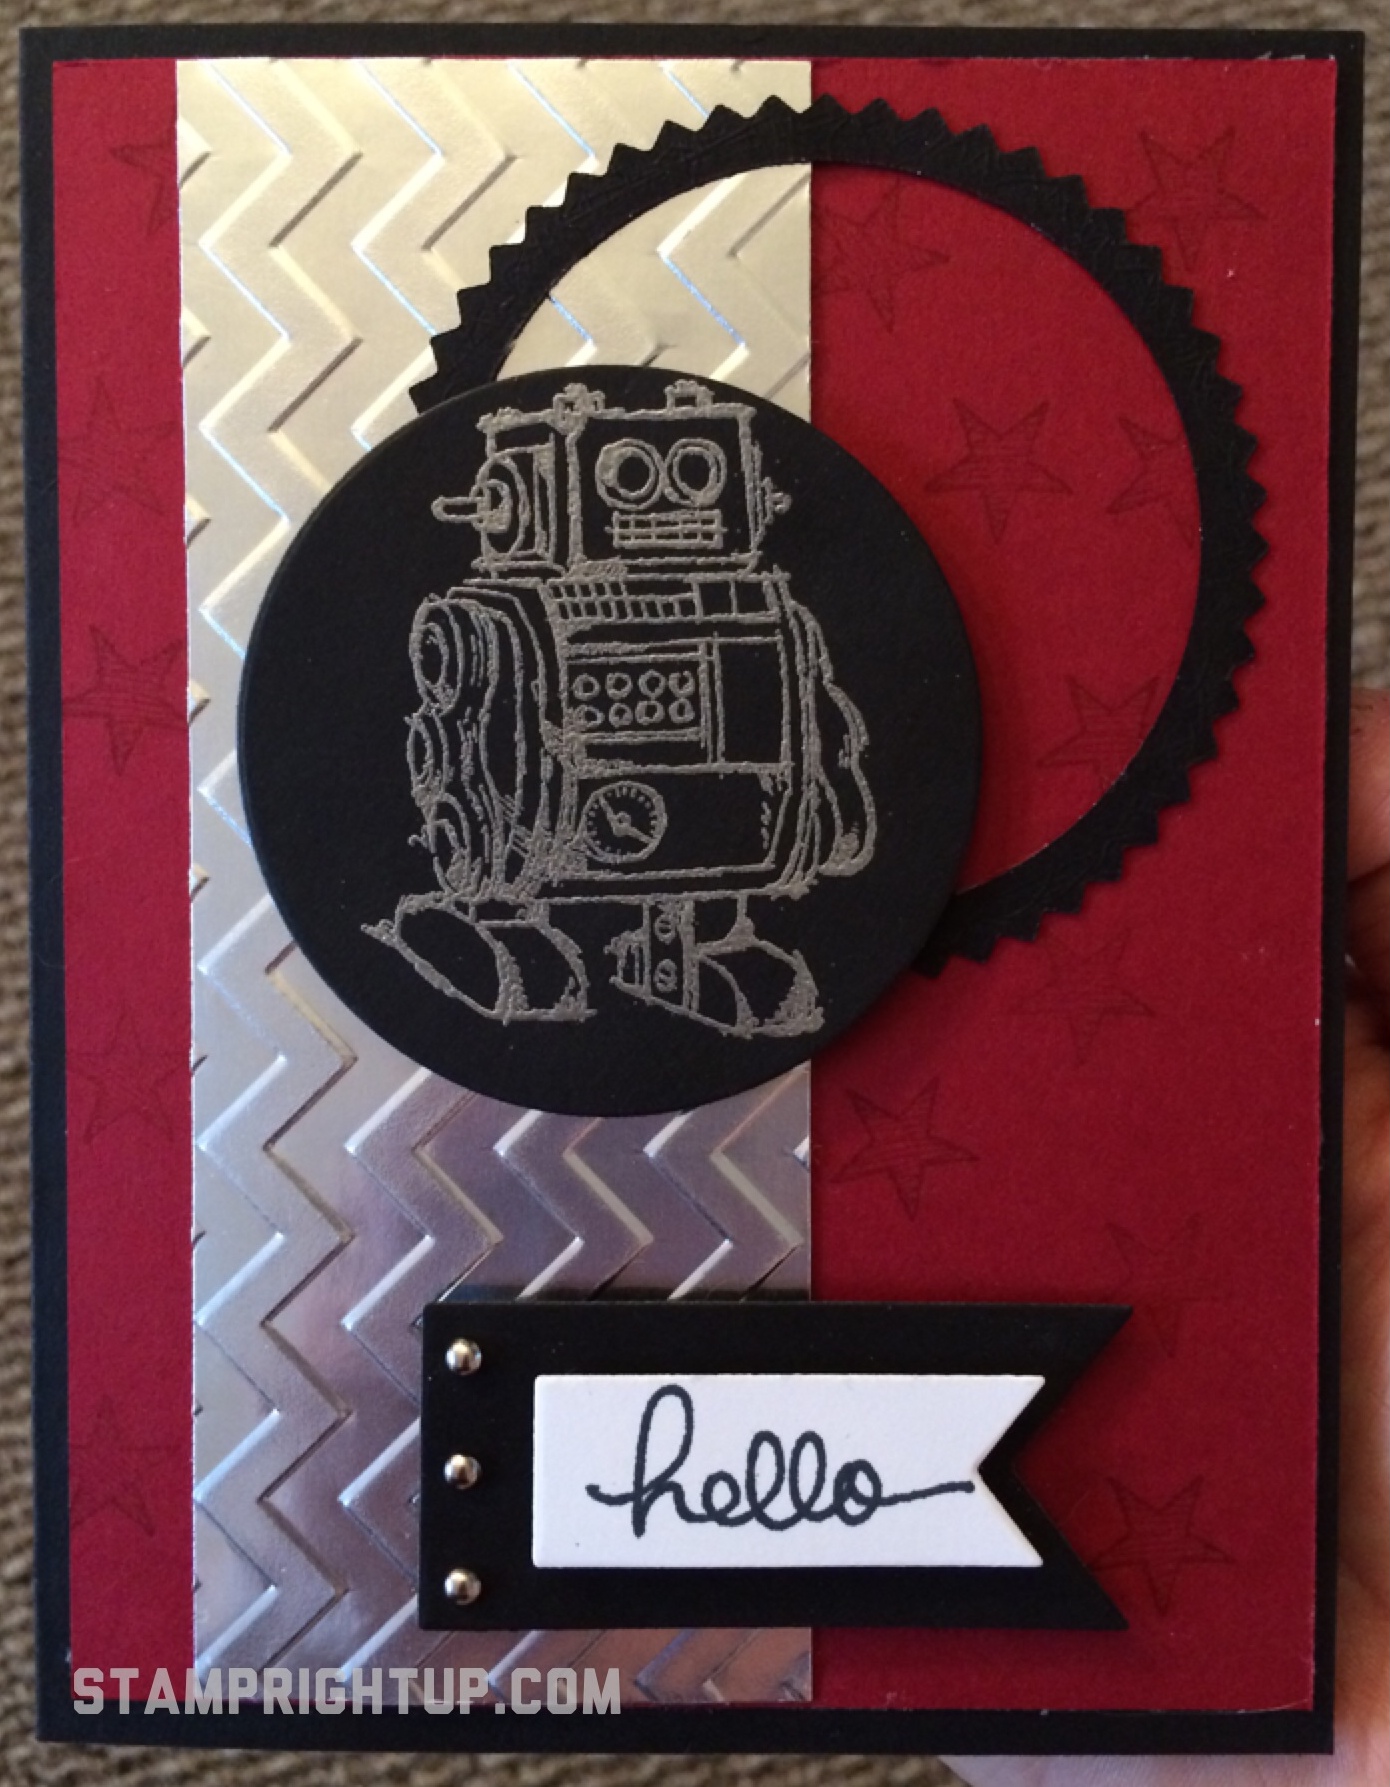
I decided to create a card that can be used for many occasions, and was masculine. I find creating masculine cards are always the hardest designs to come up with


Here is the card I made:

Stamp Right Up Boys will be Boys Stampin Up robot masculine card

Stamp Right Up Boys will be Boys Stampin Up robot masculine card


Now that I have had some time to think about it more, I am going to make revisions – I will post the new version of the card once I have it created 🙂


Here is what I used to make this card:

STAMPS:

Boys Will Be Boys 134138

Something to Say 134180

Endless Birthday Wishes


CARD STOCK:

Cherry Cobbler

Basic Black

Silver foil paper

Whisper White


TOOLS:

Chevron Embossing folder

Starburst framelits

Banner framelits

Circle framelits

Mini brads


Project Life journaling style scrapbooking comes to Stampin Up!

So what is Project Life? A simple, easy, affordable scrapbooking system for preserving memories your way!  Yes, it’s true!  Authentic Project Life products, now in exclusive Stampin’ Up! colors and designs. If you’ve somehow missed the Project Life craze and are wondering what it’s all about, we’ll fill you in: it’s a super simple, totally affordable way to get your photos into albums: you just slip your photos into Photo Pocket Pages and add designed cards. It’s a back-to-basics approach to documenting your life. In a nutshell, it’s all about spending more time making memories and less time scrapbooking them.

You’ll be able to order a selection of Project Life products starting May 1! And with the launch of our new annual catalog on June 2, you’ll be able to buy from our complete line of Project Life products.

Can’t wait that long? Stampin’ Up! demonstrators will be able to order the limited selection starting April 21. So if you’re a demonstrator make sure to check the demonstrator website that day; if you’re not a demonstrator, sign up and you can order the products early (and at a discount too!) Click here for details on joining >

Here are the items you’ll be able to purchase on May 1:

Project Life comes to Stampin Up!  with Wendie Bee of Stamp Right Up

Project Life comes to Stampin Up! with Wendie Bee of Stamp Right Up


Have any questions? Contact me anytime!

Call me today 514-482-4653 or email at stamprightup@hotmail.com

Don’t forget, I can ship anywhere in Canada, including Quebec for as low as 10% of your order (before tax)!  • Now it’s even easier to shop with me!  I accept Credit cards, email money transfer and Paypal.
A Perfect Blend: coffee gift card holder & card in one!

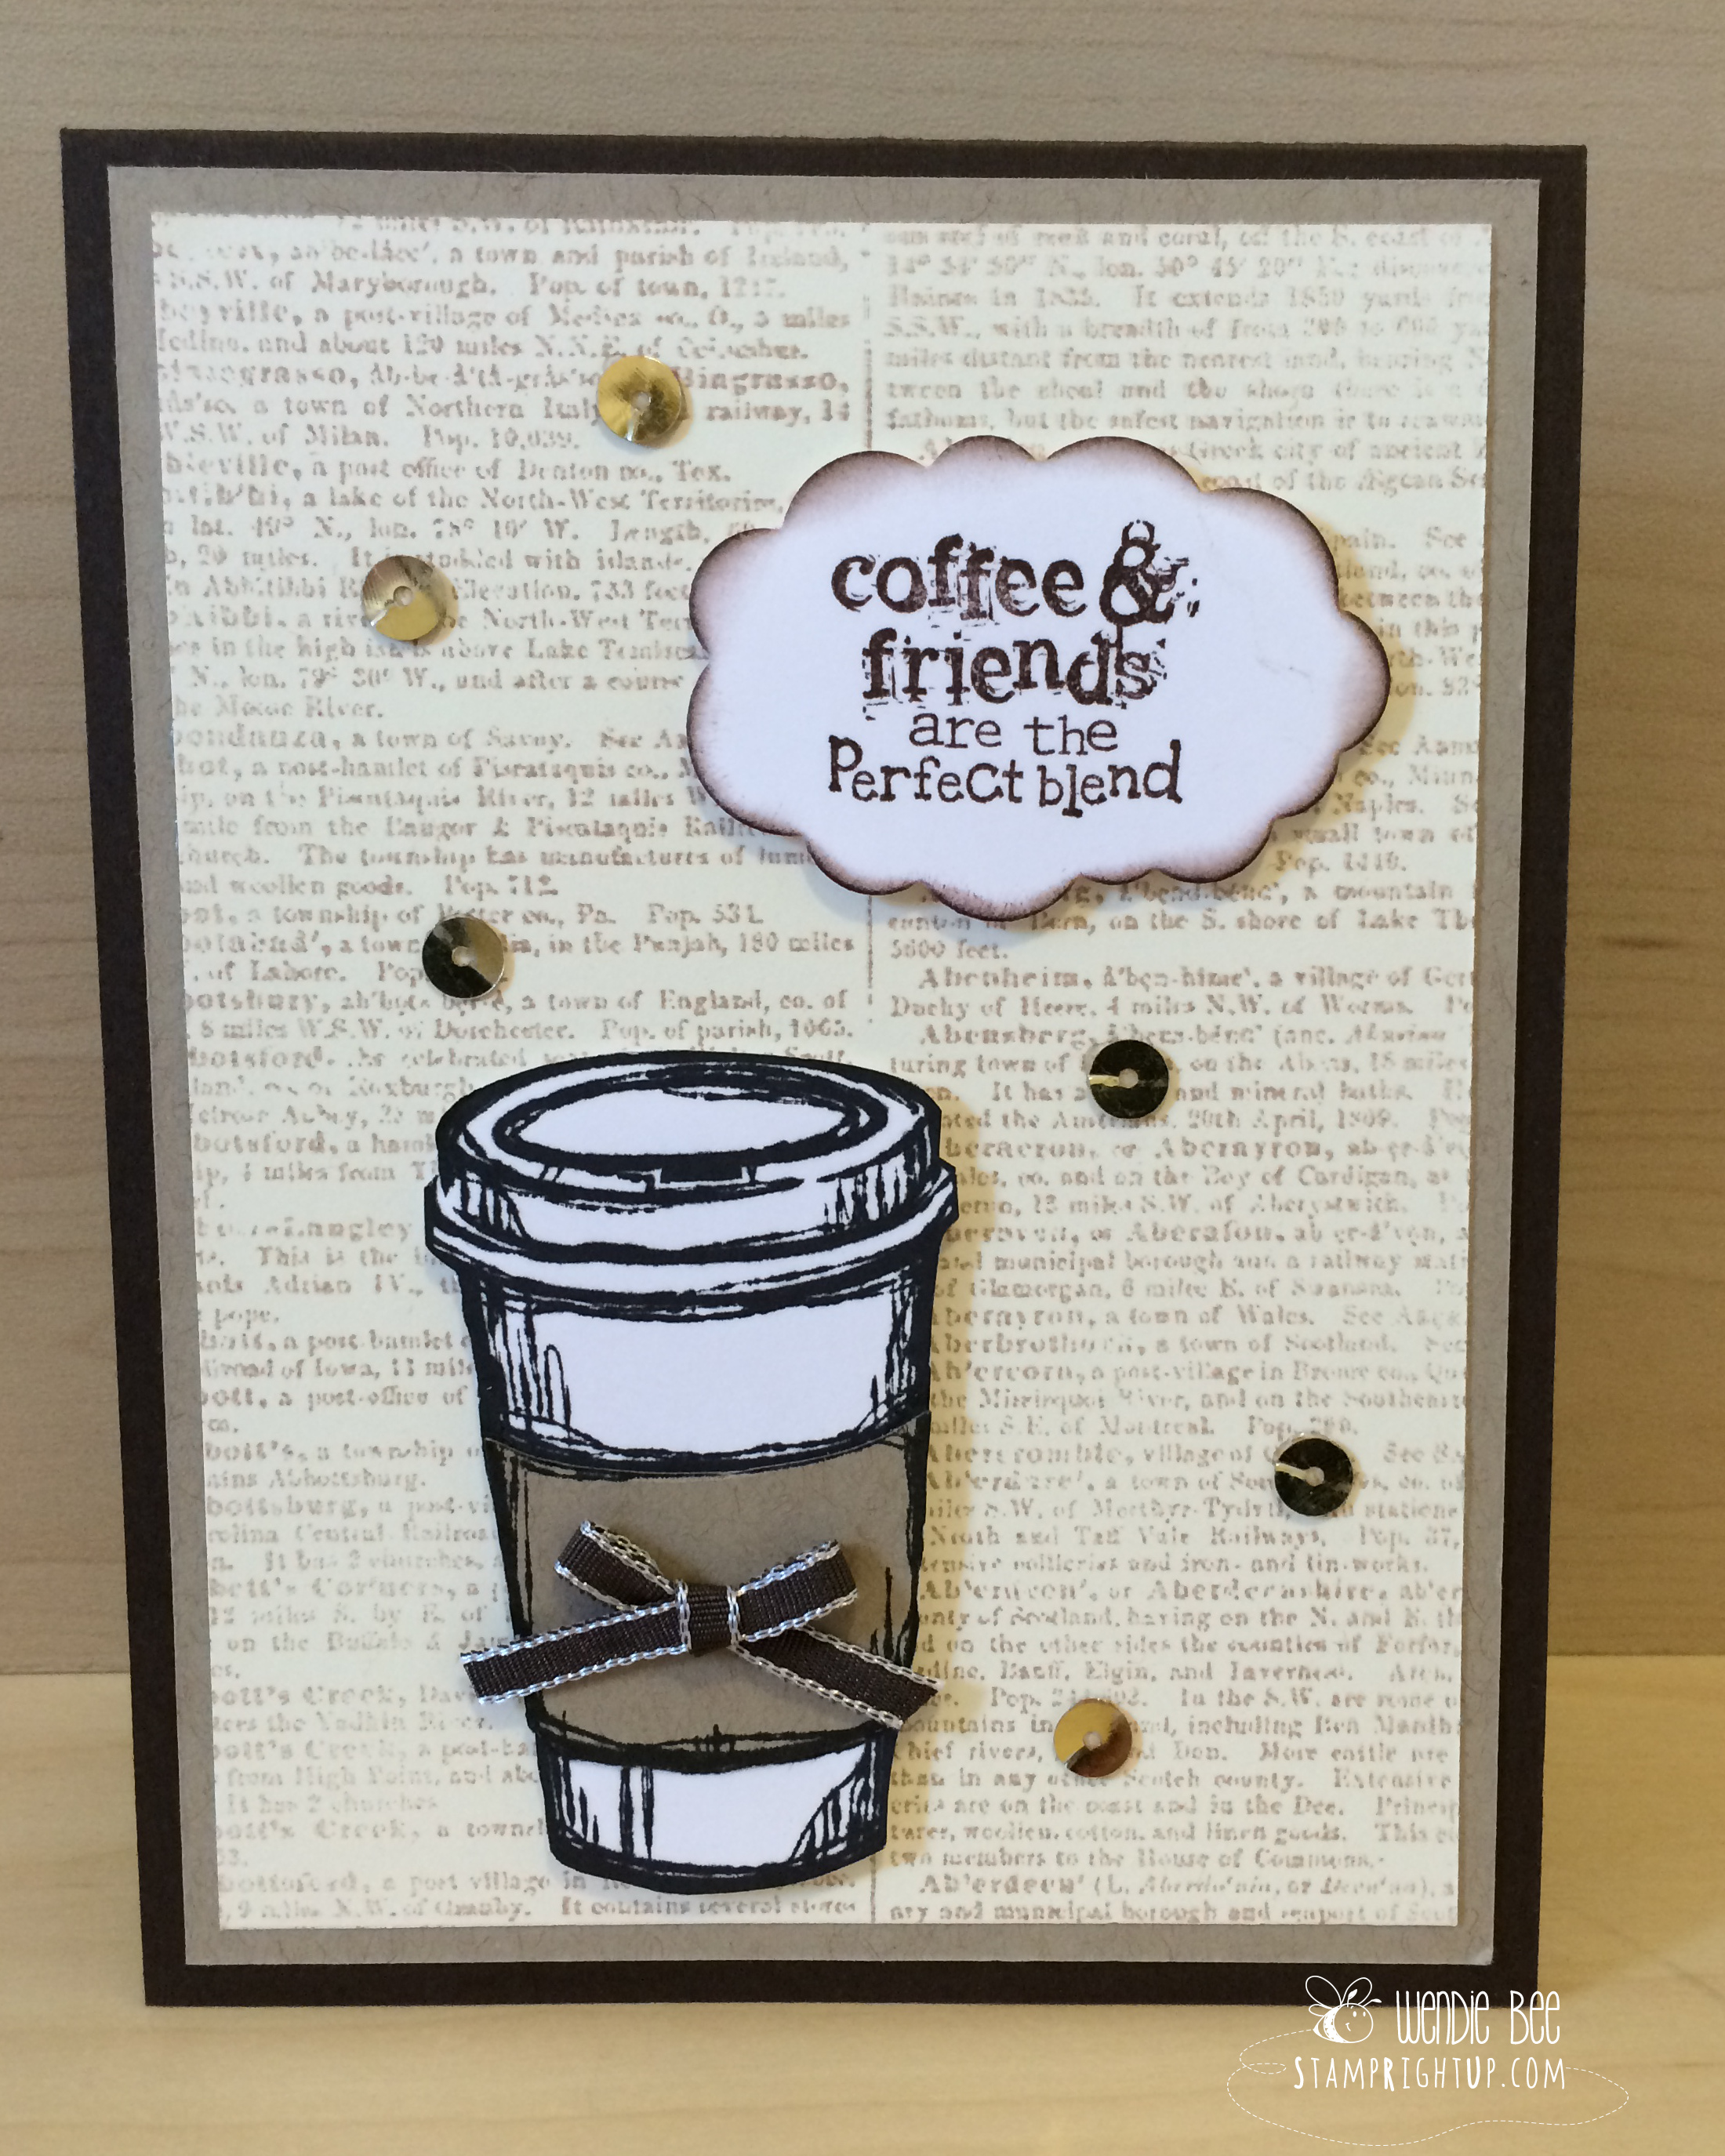
This weekend I just recently got my “Perfect Blend” stamp set from Stampin Up. I saw it in the catalog but didn’t think I loved it… until it arrived.  I give a lot of coffee gift cards throughout the year to many people as thank you gifts and I wanted to come up with something that is non-seasonal. Here is what I came up with:


Perfect Blend Coffee Card by Wendie Bee of Stamp Right Up

Perfect Blend Coffee Card by Wendie Bee of Stamp Right Up


Here are the supplies I used to make this card:

Stamps:  Perfect Blend, Dictionary background stamp

Paper:

  • Card base:  Chocolate Chip
  • Layer / mat:  crumb cake, very vanilla
  • Cup: whisper white

Ink:  Crumb cake, chocolate chip

Tools:  Word bubble framelit

Misc:  Early espresso 1/8″ ribbon, gold sequins


————-


To order any of the supplies used for this project call me today 514-482-4653 or email at stamprightup@hotmail.com

I can ship anywhere in Canada, including Quebec for as low as 10% of your order (before tax)!  • Now it’s even easier to shop with me!  I accept Credit cards, email money transfer and Paypal.

Video Tutorial: Stampin Up Circle Framelits Rainbow Card

I can’t believe it!! My first video tutorial!! It’s *really* basic, so be gentle with me – but I have an even better understanding of what I will do different next time so each video will get better and better!!


For my first video, I chose to do a tutorial on how to make the rainbow card I posted recently (click to find the list of supplies you will need to make this card)


Rainbow Circle Framelit Card by Wendie Bee of Stamp Right Up

Rainbow Circle Framelit Card by Wendie Bee of Stamp Right Up


Stampin Up Circle Framelit Rainbow Card #1

Spring is a little late this year, so I thought I would create my own happy spring right in my craft room!

This rainbow card is SUPER easy to make, and took about half an hour start to finish. AND it made TWO rainbows, so I can make two cards at a time!

This is the first one I made – be sure to check back as I will be posting my second card, along with a tutorial on how to create them!

Rainbow Circle Framelit Card by Wendie Bee of Stamp Right Up

Rainbow Stampin Up Circle Framelit Card by Wendie Bee of Stamp Right Up
 

Here are the supplies I used to make this card:

Stamps:  Delightful Dozen (sentiment)

Paper:

  • Rainbow:  (Listed in order from largest to smallest):  Real Red, Pumpkin Pie, Daffodil Delight, Gumball Green, Tempting Turquoise, Soft Sky
  • Card base:  Night of Navy
  • Layer / mat:  naturals cardstock

Ink:  Night of Navy

Tools:  Circle Framelits, small heart punch

Misc:  Silver ribbon

Easter Bunny Treat Box with FREE Tutorial!

Hi Stampers!  I recently attended a team event where my sideline Karine showed us this Bunny box as the make & take.  I had seen Tami White’s version on her youtube channel and loved Karine’s modifications to the design, so I thought I would pass it along to you as well. These bunnies are super adorable and could be used for any occasion, not just Easter!  I have also seen this bunny created in brown (Stampin Up’s Chocolate Chip) which was also super stinkin cute.


Here are the projects I made:

Bunny Box free tutorial by Stamp Right Up Wendie Bee Bunny Box free tutorial by Stamp Right Up Wendie Bee


I have created a tutorial with images, supply list and step by step instruction on how to make these adorable bunny treat boxes. Click here to download the PDF for this Bunny Box Tutorial by Stamp Right Up

——

Want to create this project yourself but don’t know how? RSVP FOR A WORKSHOP!

To order any of the supplies used for this project call me today 514-482-4653 or email at stamprightup@hotmail.com

I can ship anywhere in Canada, including Quebec for as low as 10% of your order (before tax)!  • Now it’s even easier to shop with me!  I accept Credit cards, email money transfer and Paypal.