Nothing says summer quite like a floppy sun hat, a refreshing drink, and bright, cheerful colors! ☀️🍹
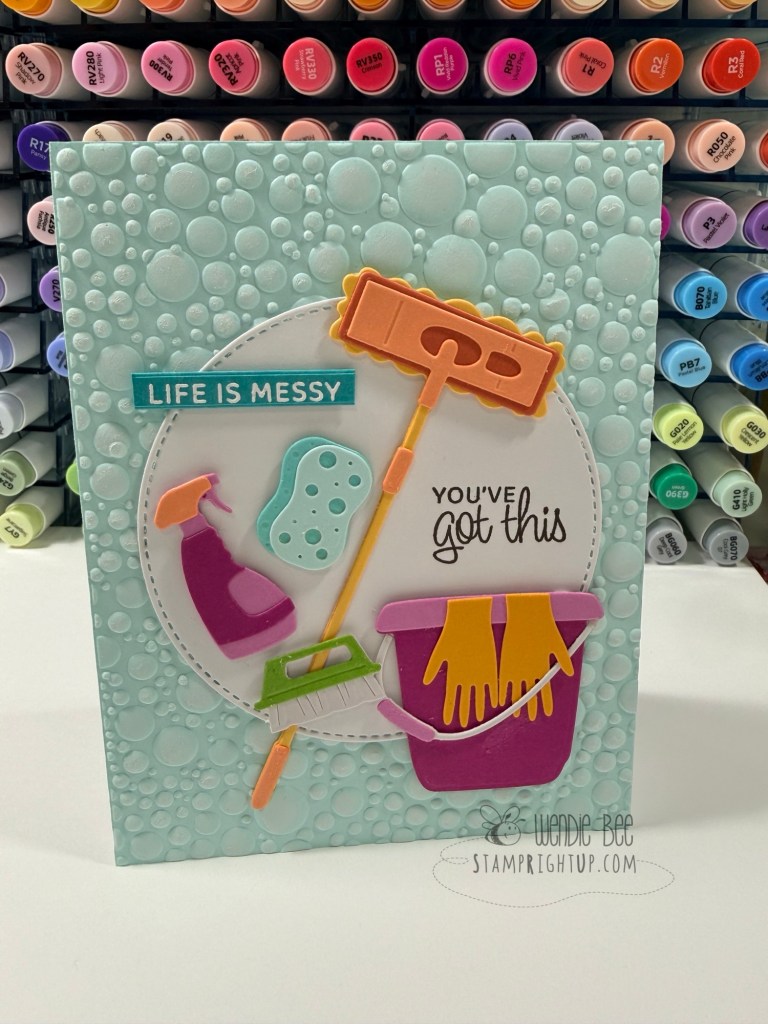
These two cards were created using the Hero Arts June My Monthly Super Hero collection, Soak Up the Sun, featuring the fabulous Sippin’ Summer Die Set paired with the coordinating Fabulous Phrases Stamp & Cut sentiments. For the backgrounds, I used the fun Wavy Lines Cutting Die, which adds the perfect amount of movement and lets you experiment with endless color combinations.

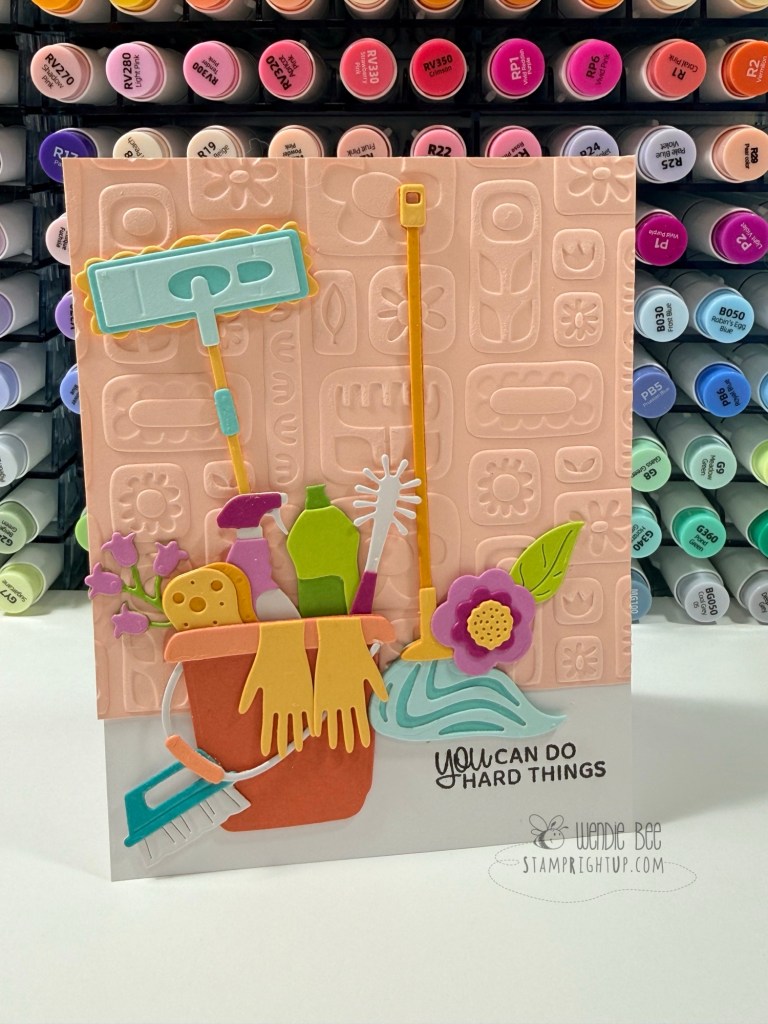
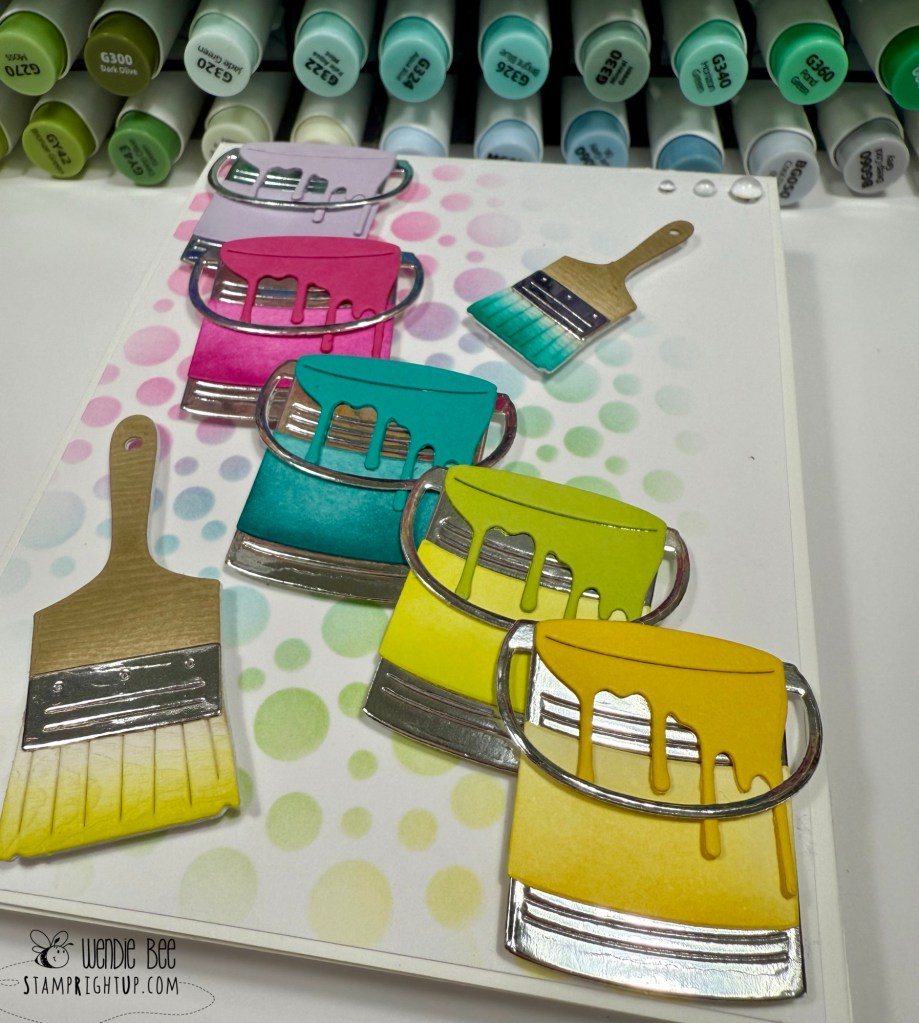
Rather than recreating the colors from the product packaging, I challenged myself to explore two completely different palettes. The first card leans into bright tropical sunset tones with warm oranges, coral, pinks and aqua, while the second combines cool teals with rich berry accents for a fresh, modern summer feel.
All of the cardstock used on both cards is from the Spellbinders ColorWheel Cardstock Collection. I love how effortlessly the colors mix and match, making it easy to create bold layered backgrounds while keeping everything cohesive.

These dies were such a joy to work with, and I can already tell they’ll be getting plenty of use throughout the summer. Changing only a few cardstock colors completely transforms the look of the design, which is one of my favorite things about layered die-cutting!
Thanks so much for stopping by, and I hope these cards inspire you to experiment with your own favorite color combinations. Sometimes simply swapping a few colors is all it takes to make a design feel completely new.