There’s something extra special about creating holiday cards that make people smile, and the Spellbinders Spectacular Christmas Collection certainly delivers! I had the pleasure of creating these projects as part of a Crop & Create workshop, where we were introduced to this adorable collection filled with festive critters, cozy accessories, and plenty of holiday charm.
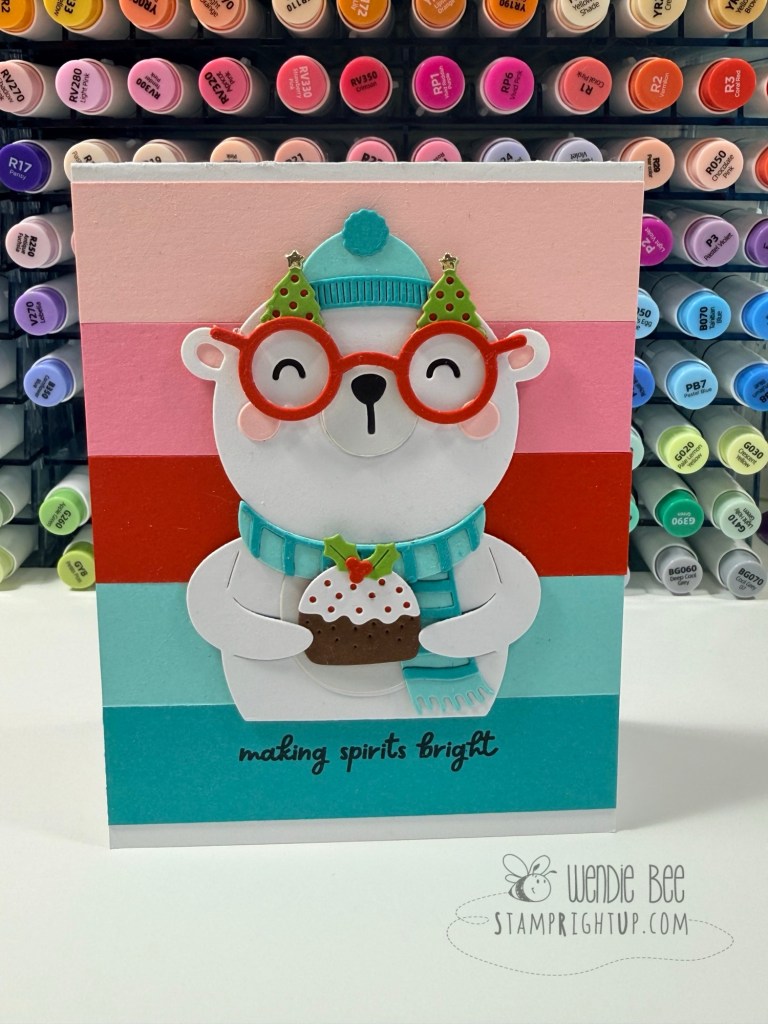
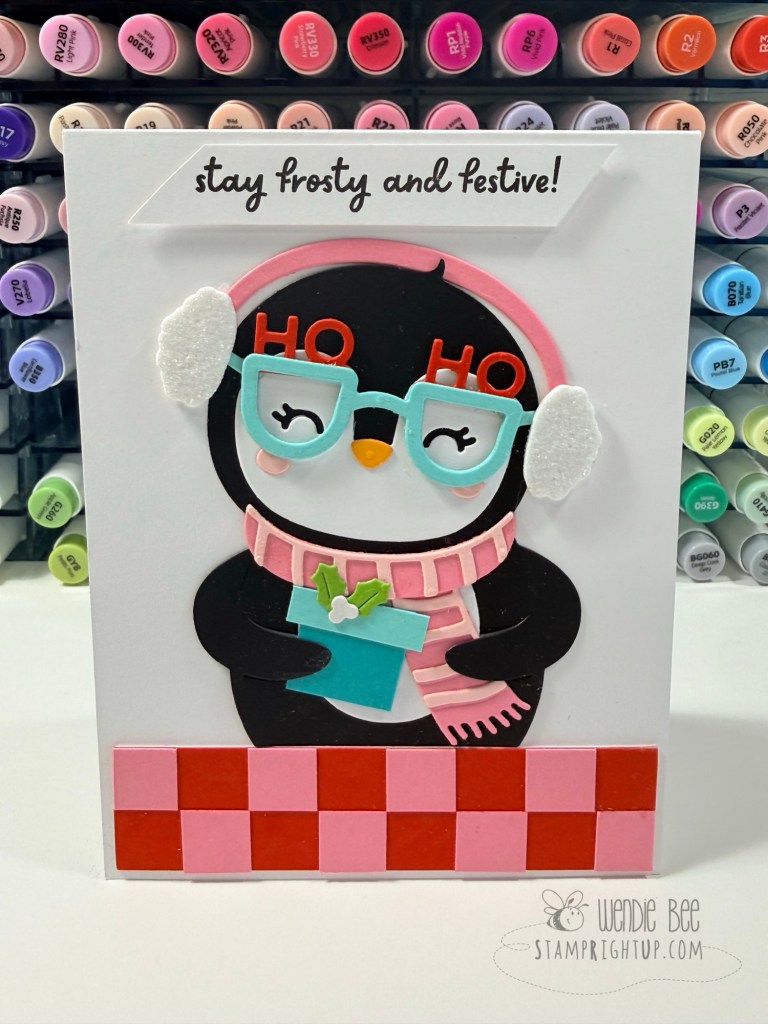
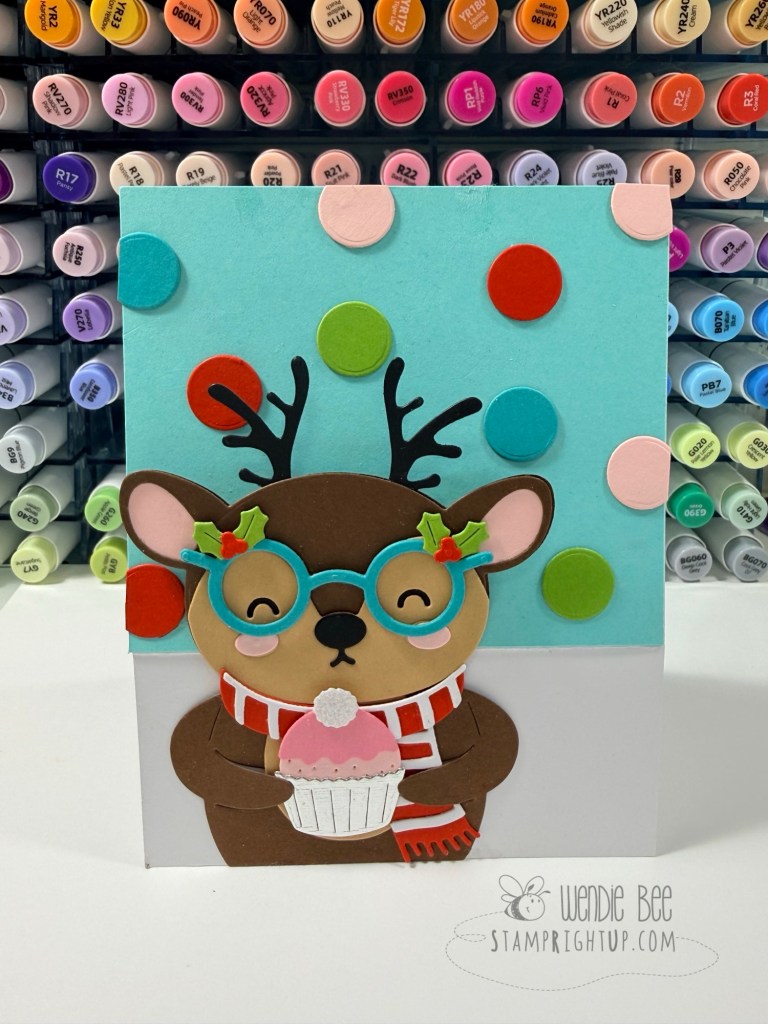
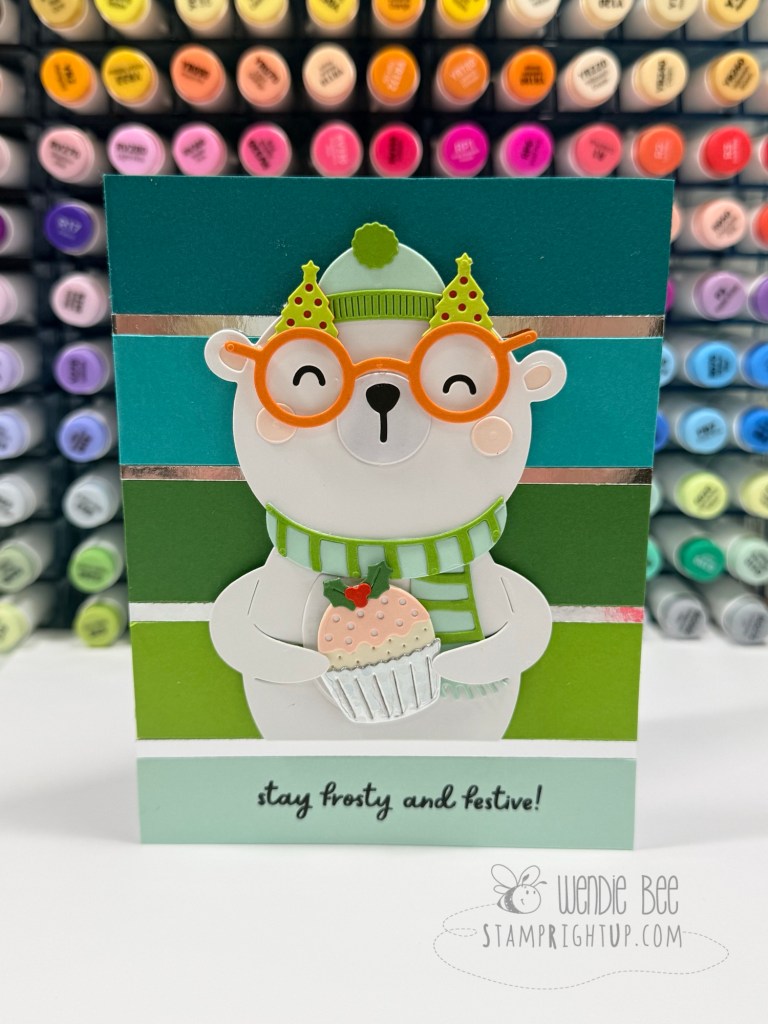
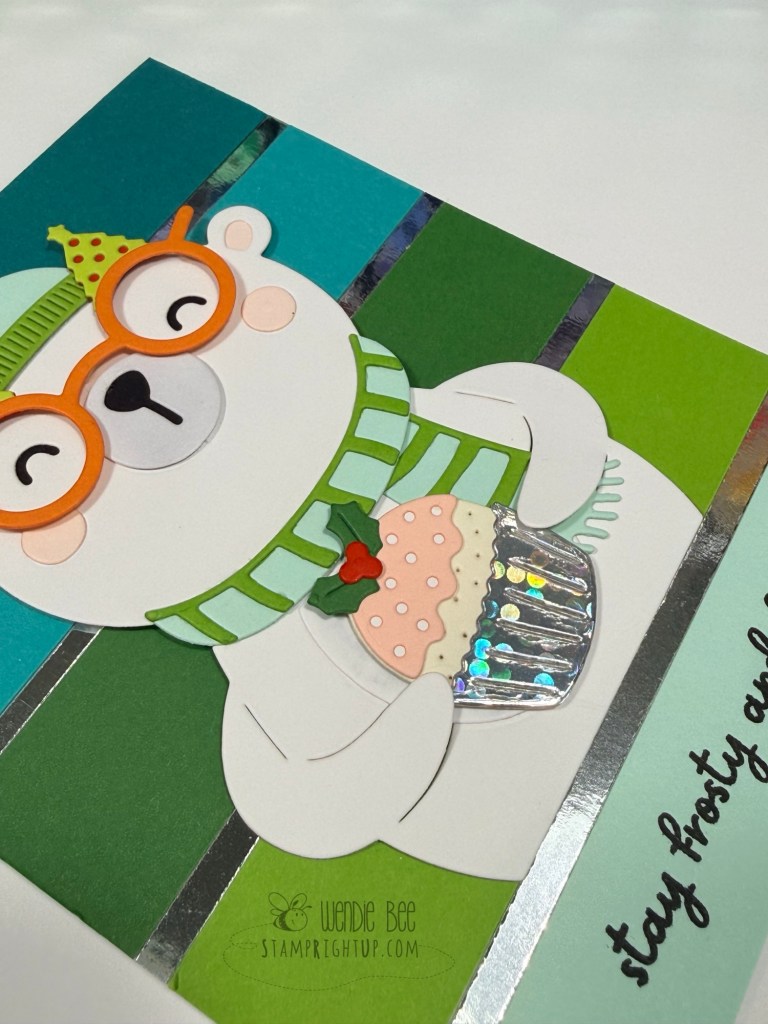
From cheerful bears and playful penguins to sweet reindeer, each character has its own unique personality. I had so much fun mixing and matching the accessories—oversized holiday glasses, cozy scarves, earmuffs, party hats, cupcakes, mugs, and Christmas pudding—to create a collection of whimsical cards that are guaranteed to brighten someone’s day.
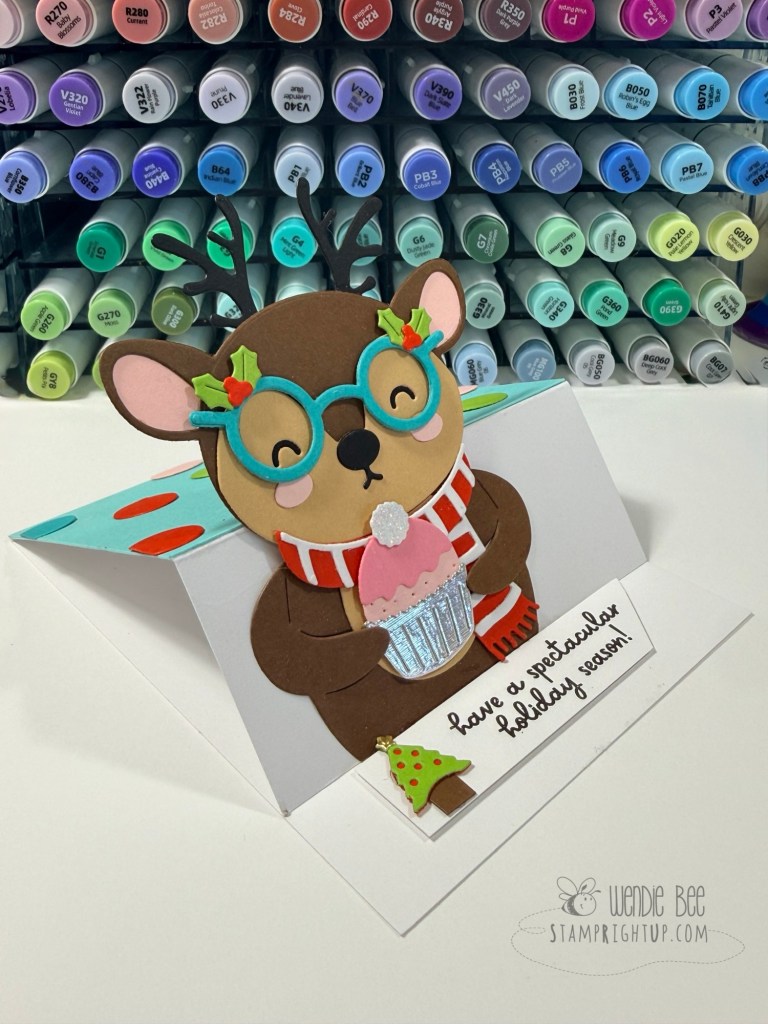
One of my favorite parts of this collection is how versatile it is. A simple change in background, color palette, or accessory completely transforms the look and feel of each card. The adorable easel card was especially fun to create, adding a little interactive surprise while showcasing the sweet reindeer enjoying a festive holiday treat.
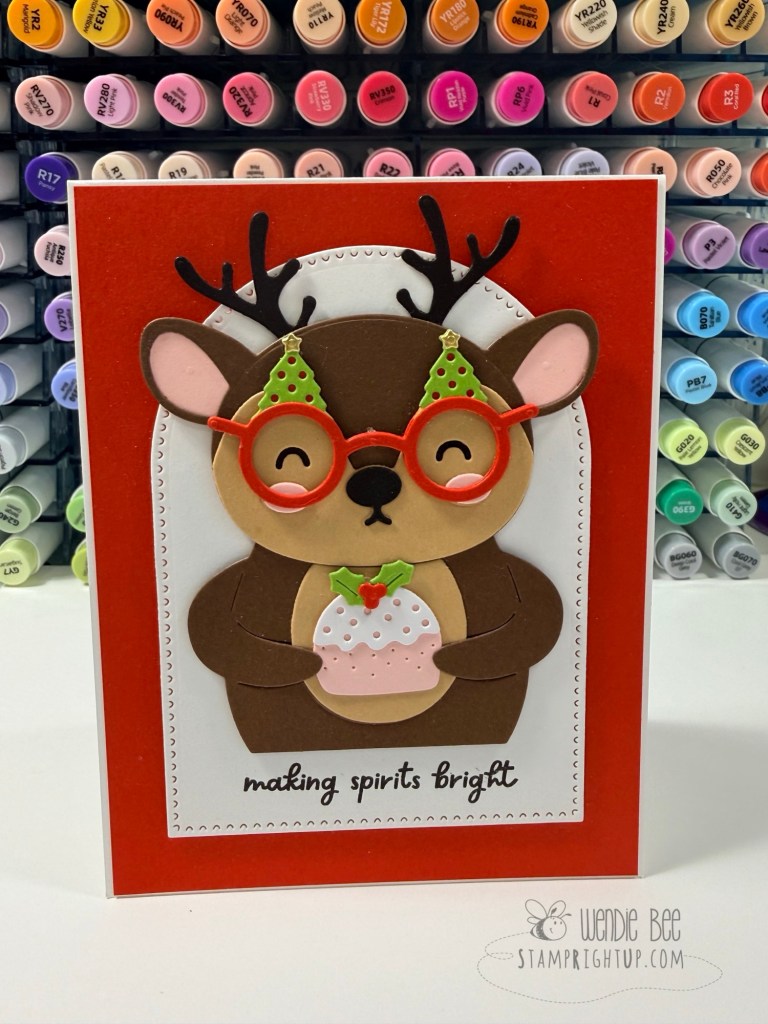
For all of these projects, I used Spellbinders ColorWheel Cardstock, which made coordinating the bright holiday palette effortless. The vibrant reds, icy blues, soft pinks, rich browns, and crisp whites work beautifully together and really bring these charming characters to life.
A special thank you to the instructors and designers behind the Crop & Create workshop for sharing these wonderful projects and inspiration. It was such a fun event, and I’m grateful for the opportunity to learn new techniques while creating cards I’ll be excited to send this Christmas season.
Whether your style is clean and simple or full of layers and dimension, the Spectacular Christmas Collection has something for everyone. These little holiday friends certainly succeeded in making my spirits bright!