So I have been on a crazy coloring binge since I have discovered the blending technique using colored pencils & baby oil from my post here.
I fell in love with the critter stamps from Penny Black – the hedgehog, kitties, mice and critters are just about the cutest things EVER and are versatile enough to use for any age & occasion card! I have found that Simon Says Stamp is the best place to get them online (other than Ebay) – great prices and even BETTER shipping! Being Canadian I really appreciate when sellers can offer reasonable rates.
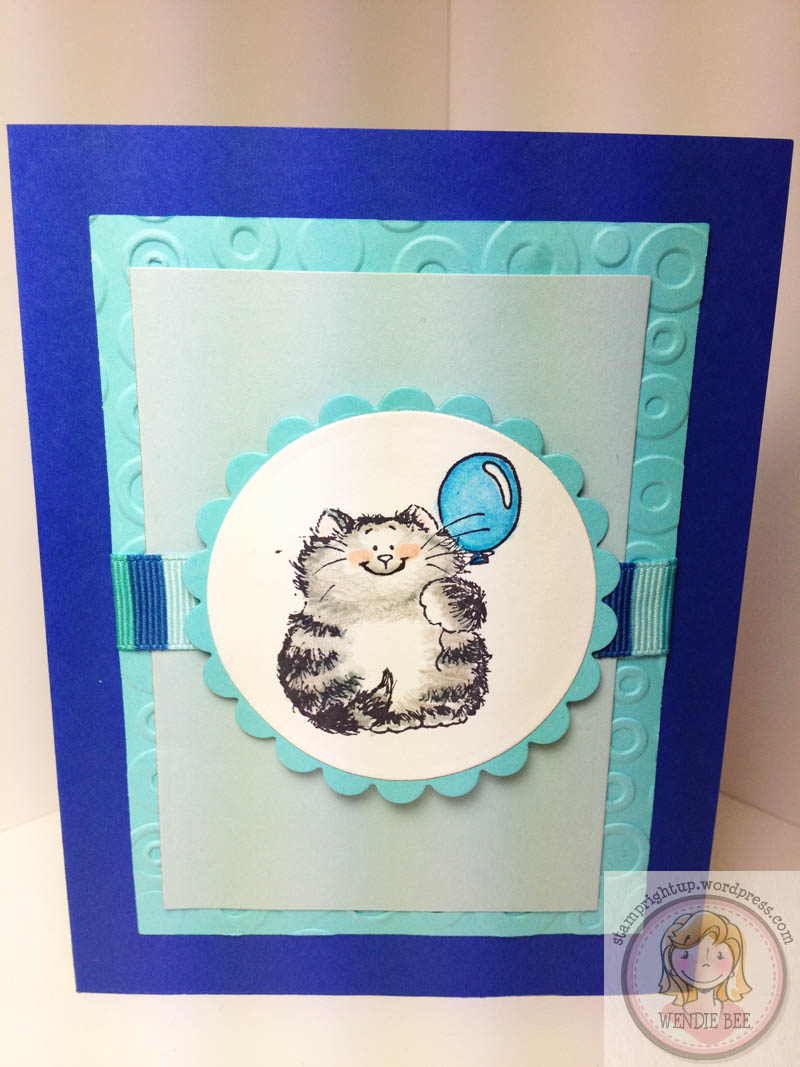
Ok – enough of the hype, here is my latest creation.
I used only colored pencils & baby oil to color it. I love that it looks like a cross between watercolor pencils & Copic (or alcohol markers). Best of both worlds I think! My boyfriend (yep, he’s *that* awesome) came up with the idea to fussy cut the balloons them pop them up with pop dots.
The inside has a white matte to cover the ribbon, and I used the “Celebrate” sling mount from the Outlined Occasions set from Stampin Up’s 2011 Sale-A-Bration.
Penny Black – Cat with Balloon from “It’s Your Day” clear mount set. Clear mount rubber acrylic stamp Colored with Crayola colored pencils using the blending technique I posted here
WOOOO HOOOOO!! Party in the craft room today!! I *finally* found a method of coloring stamped images that did not require a thousand dollar investment!!
All you need: Standard pencil crayons, baby oil & blender tips (called pen or marker nibs)
Penny Black stamp colored & blended with Crayola Pencil Crayons
My foray into coloring with my new Prismacolor markers wasn’t NEARLY as successful – the set of 48 I got did not have enough shades of one color to allow for a proper gradient blend.
Here is the video that madame Wong posted showing a tutorial on how to blend your pencil crayon coloring:
Here are a few additional tips to coloring & blending your pencil crayon coloring:
If you want to show texture (like fur in my example), then be careful not to over blend
Use only a pinpoint amount of baby oil – the more oil you have on your tip, the more it will blend your work. go over your colors a few times instead. Better to have not enough, than too much blending. And yes, you can blend too much. Too much blending = smeary, smudgy looking work
The better quality pencils you use, the richer your colored image will turn out.
I used Whisper White card stock from Stampin Up, but plain old card stock from Michaels also worked when I tested it.
Materials for my card:
STAMP: Penny Black (clear mount) “It’s Your Day”INK: Black Memento Archival Ink COLOR: Crayola Pencil Crayons BLENDING: Household standard type Baby Oil & Marker / Pen Nib refills (see video for other types of blenders you can use)
PAPER: Recollections (I don’t know the colors)
EMBOSSING FOLDER: Cuttlebug Spots & Dots
**EDIT UPDATE**
After some requests, here is a picture of the blenders that I use. I am Canadian & got these at my local Michaels. (I looked for the tool that was used in the video but I couldn’t find it.)
Last month, I excitedly gifted myself four sets of the foam Stampin Up ink pads. I fell in love with the pads’ smooth deep finish at a stamp camp last fall and when Kim Morris offered a 15% rebate on her blog, I pounced. (Kim provides amazing customer service – even though she lives halfway across the country, she spent so much time helping a total nube – me! – figure out how to use all these ink pads! If you don’t have a demonstrator, I highly recommend her.)
So… the last few weeks have been frustrating for me because my solid images would come out with even coverage but very smudgey lines OR crisp lines with incomplete images. As I mentioned in a previous post, this awesome fellow stamper who just happened to be in line behind me, gave me an impromptu tutorial yesterday and by jove, I…
Coloring. Not just for kids anymore! I just recently acquired a set of 48 Prismacolor markers. These are very similar to Copic markers – they are alcohol based ink which allows for blending and non-streaking when filling in.
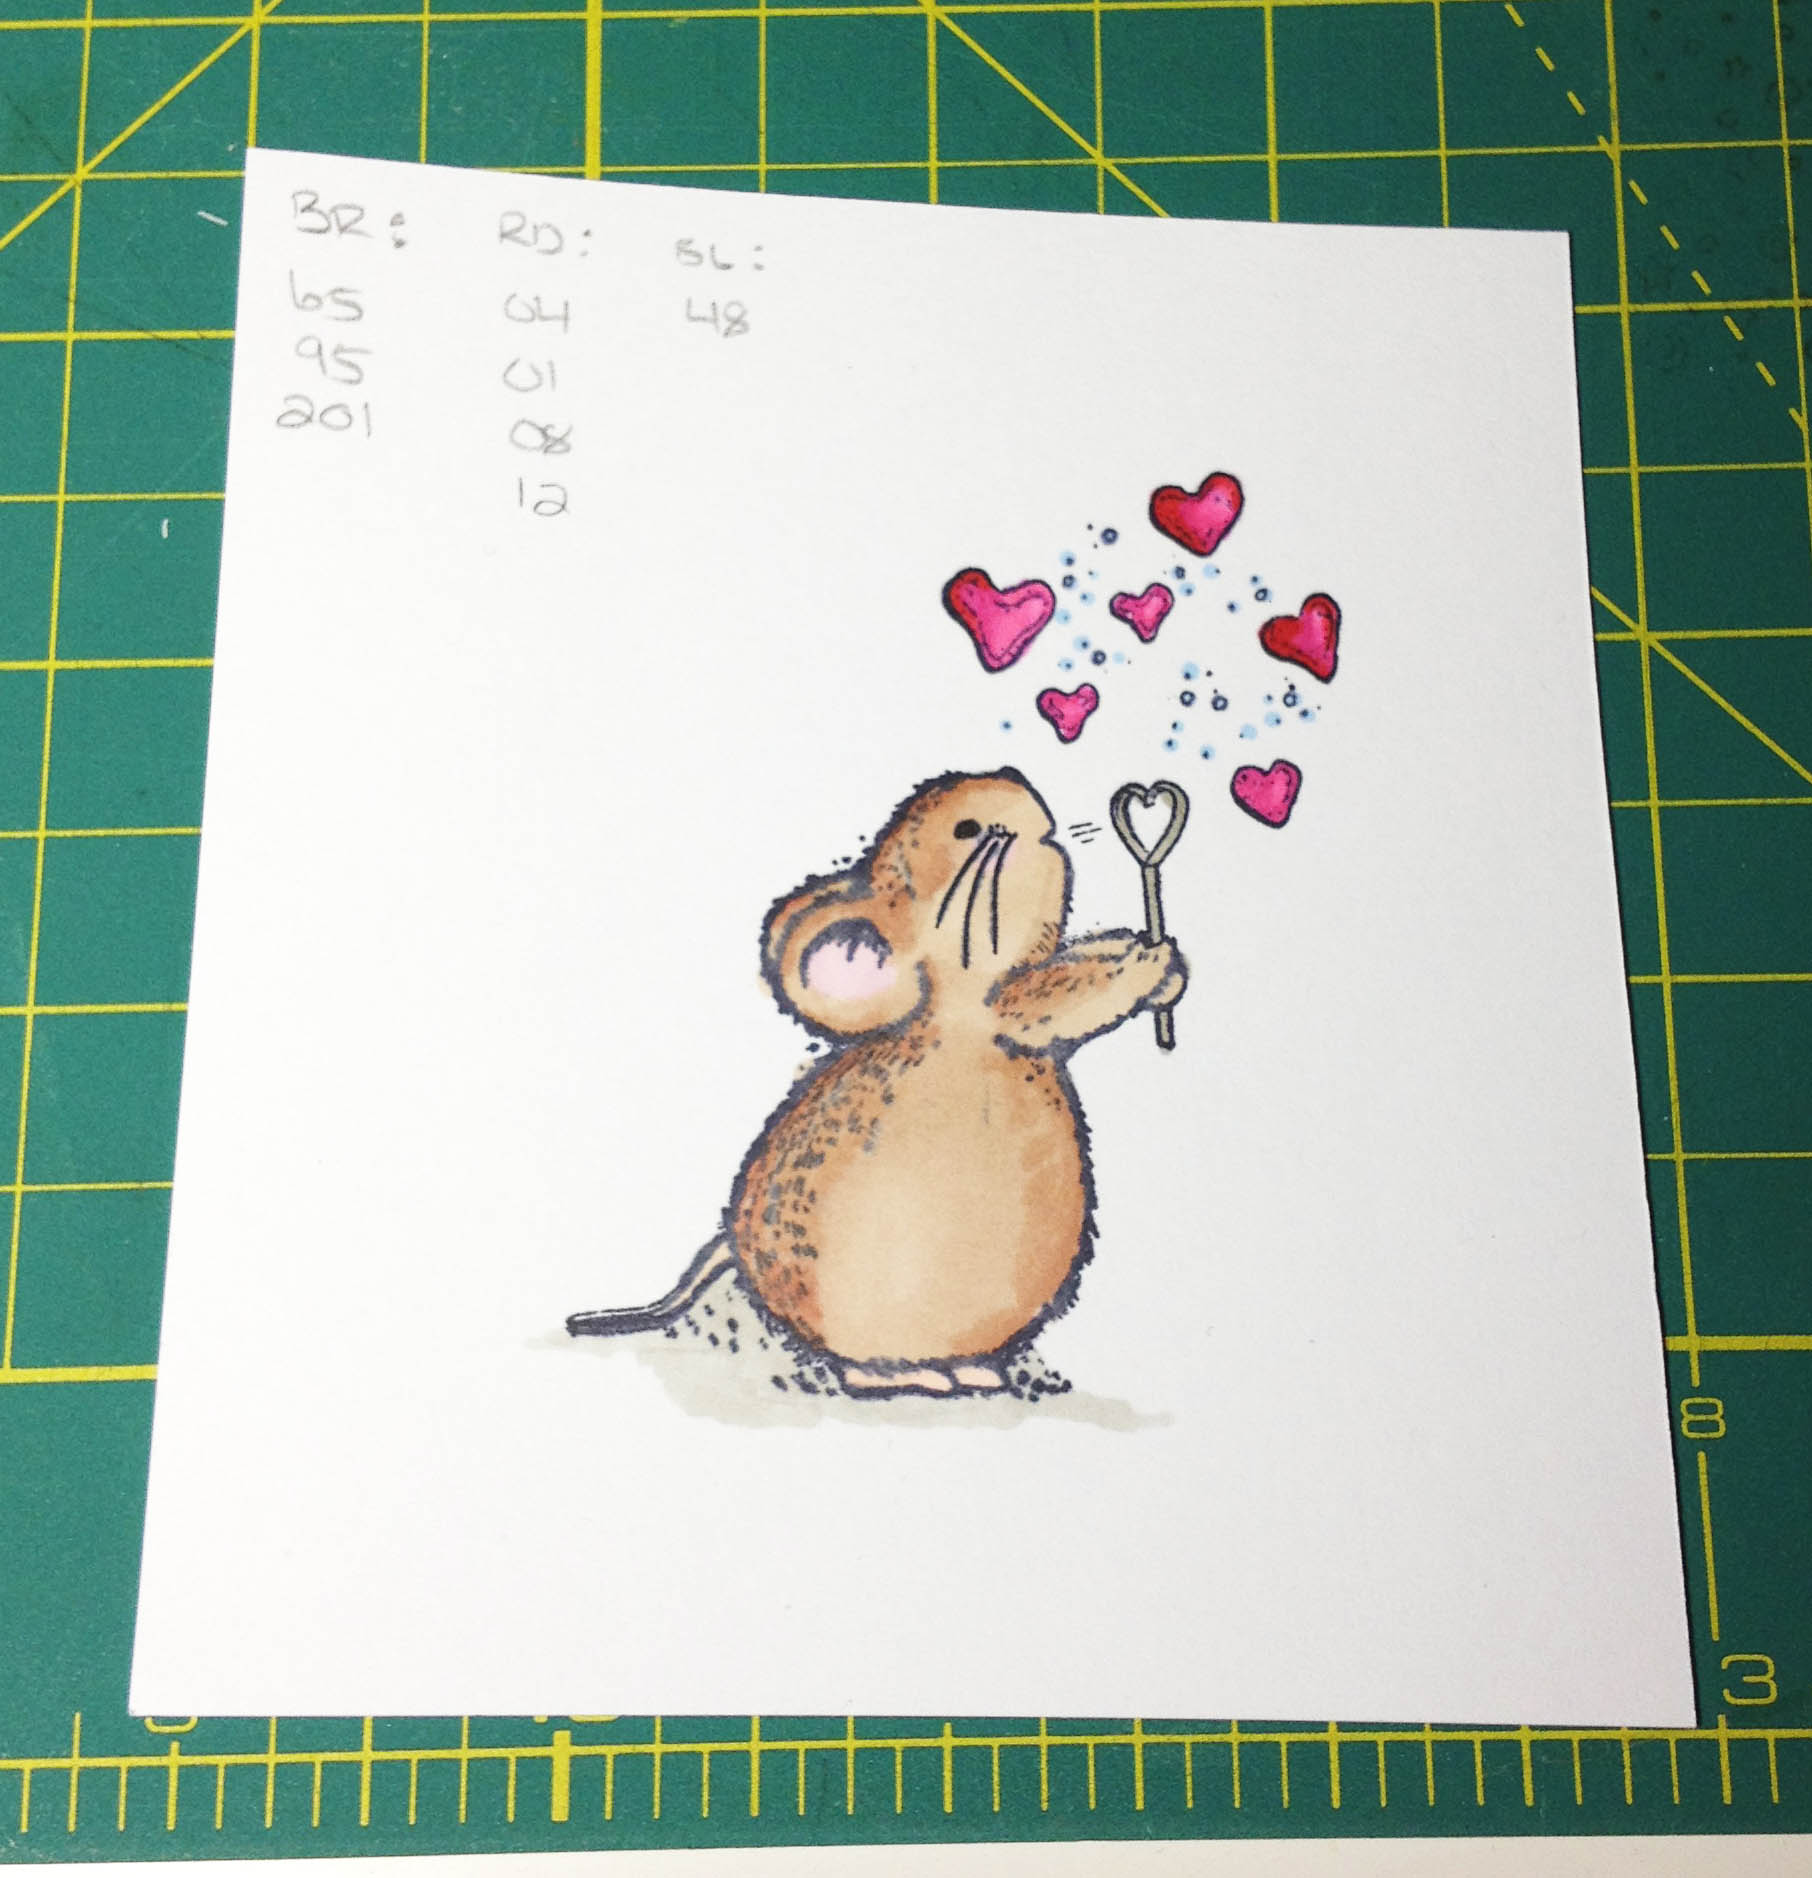
Thanks to the brilliant Darlene Devires and her tutorial post showing step-by-step instructions on how to color with copics markers (or Prismacolor in my case) I was able to color this Mouse stamp that I had got to make boyfriend a Valentine’s Day card with.
And here is my first colored image using alcohol markers:
Those penciled notes you see in the top left corner are my notes with each of the colors I used to create this image so I know for next time what the best colors are to use.