Spellbinders Shiny New Day Collection featuring Squeaky Clean, Petal Fresh and Suds & Buds 3D Embossing Folder

There’s something extra special about a class that blends playful design with meaningful messages—and that’s exactly what we got in the “Shiny New Day” workshop at CROP & CREATE Spring 2026, led by the incredibly talented Kim Kesti for Spellbinders.

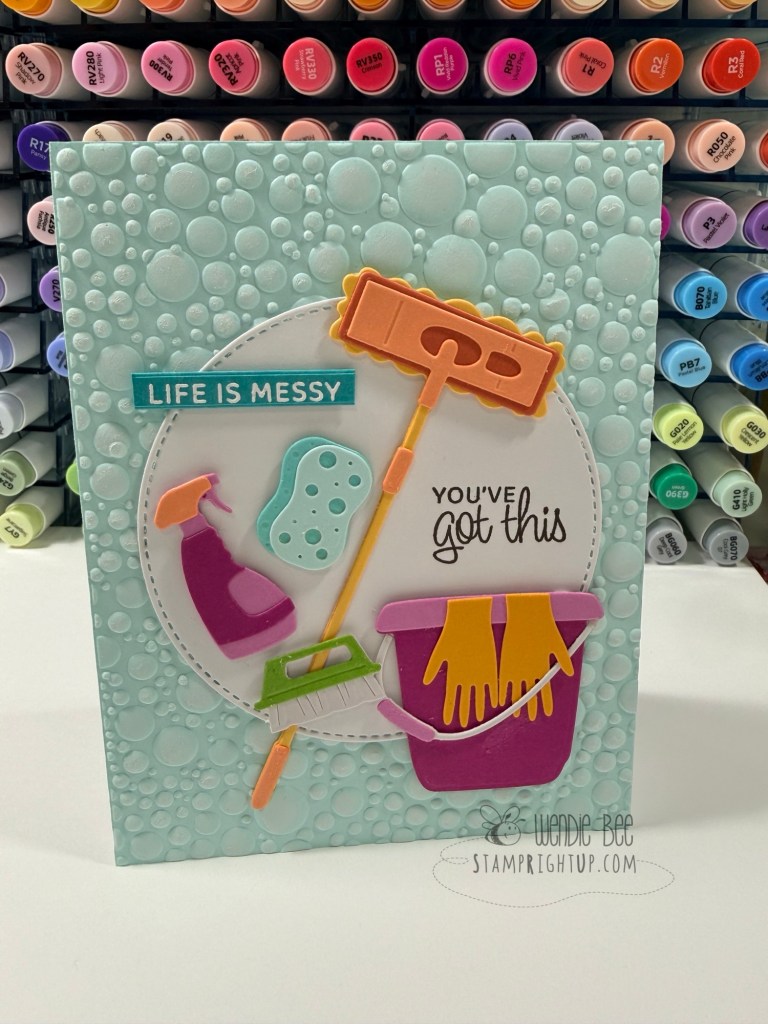
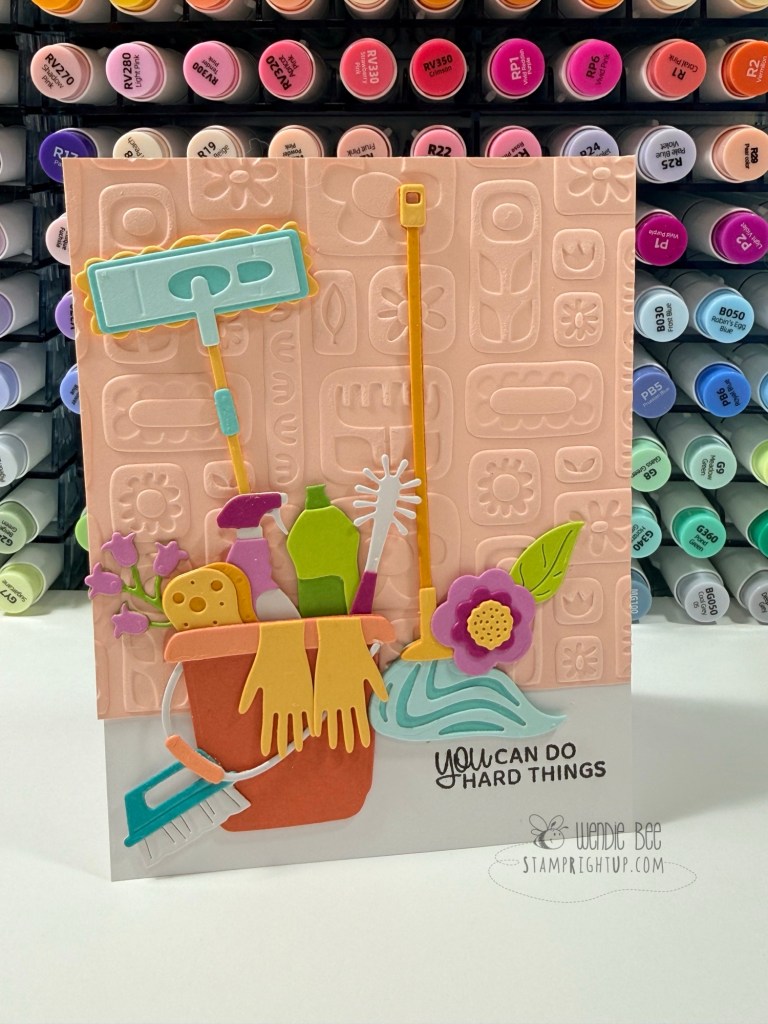
This class was all about turning everyday cleaning supplies into bright, cheerful works of art. Think mops, buckets, sprays, and scrub brushes—brought to life in the happiest spring color palette. The combination of layered die cuts and textured embossing created so much depth, while still keeping everything light, fun, and totally uplifting.

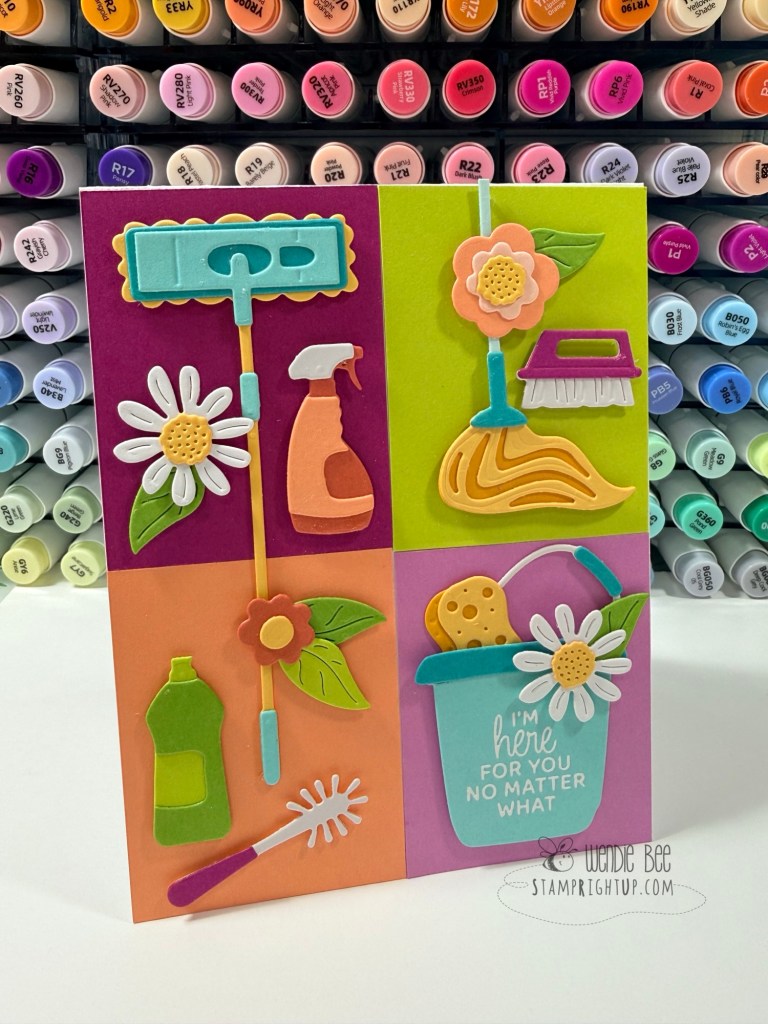
What I loved most about this set was the messaging. These aren’t just cute cards—they’re encouraging, relatable, and honestly kind of perfect for real life.

“Life is messy. You’ve got this.” “You can do hard things.” “I’m here for you no matter what.”

It’s such a clever way to pair the theme with sentiments that truly resonate.

All in all, this workshop was a perfect reminder that even the messiest days can turn into something beautiful—with a little creativity (and maybe a cute mop die cut 😉).
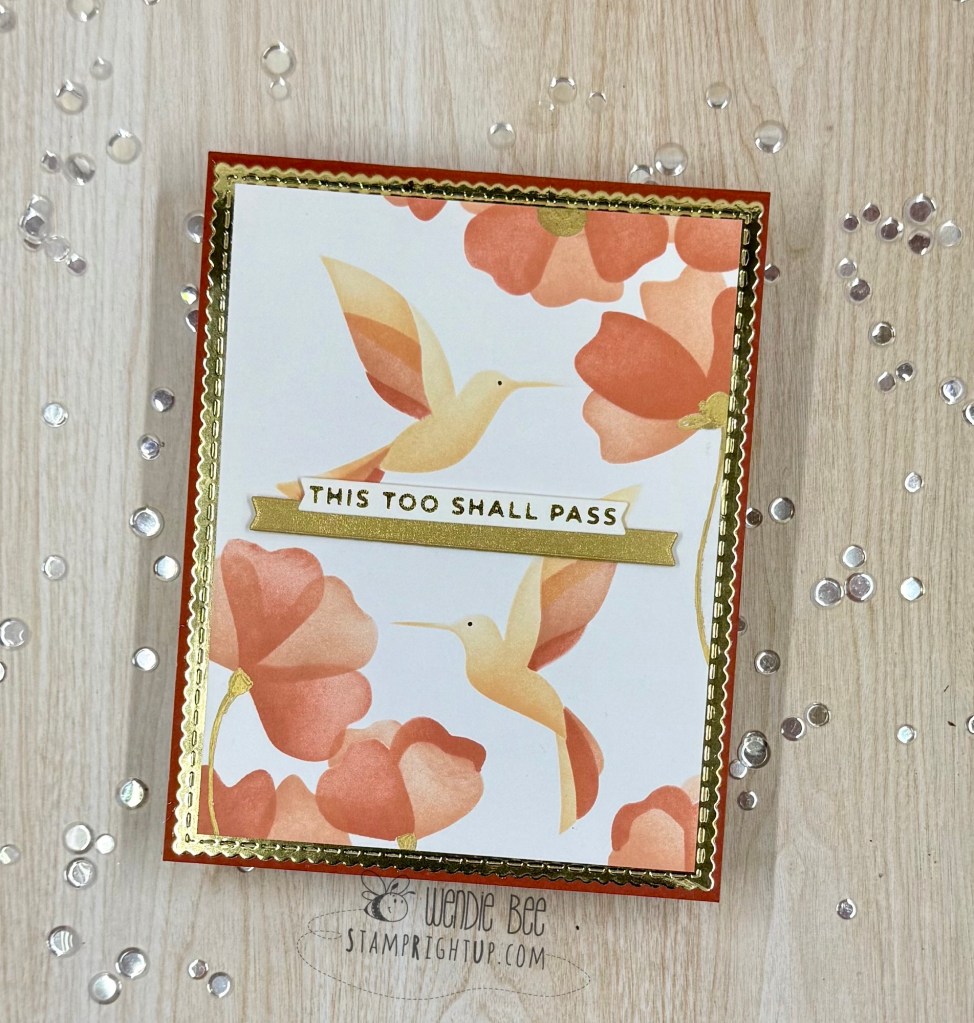
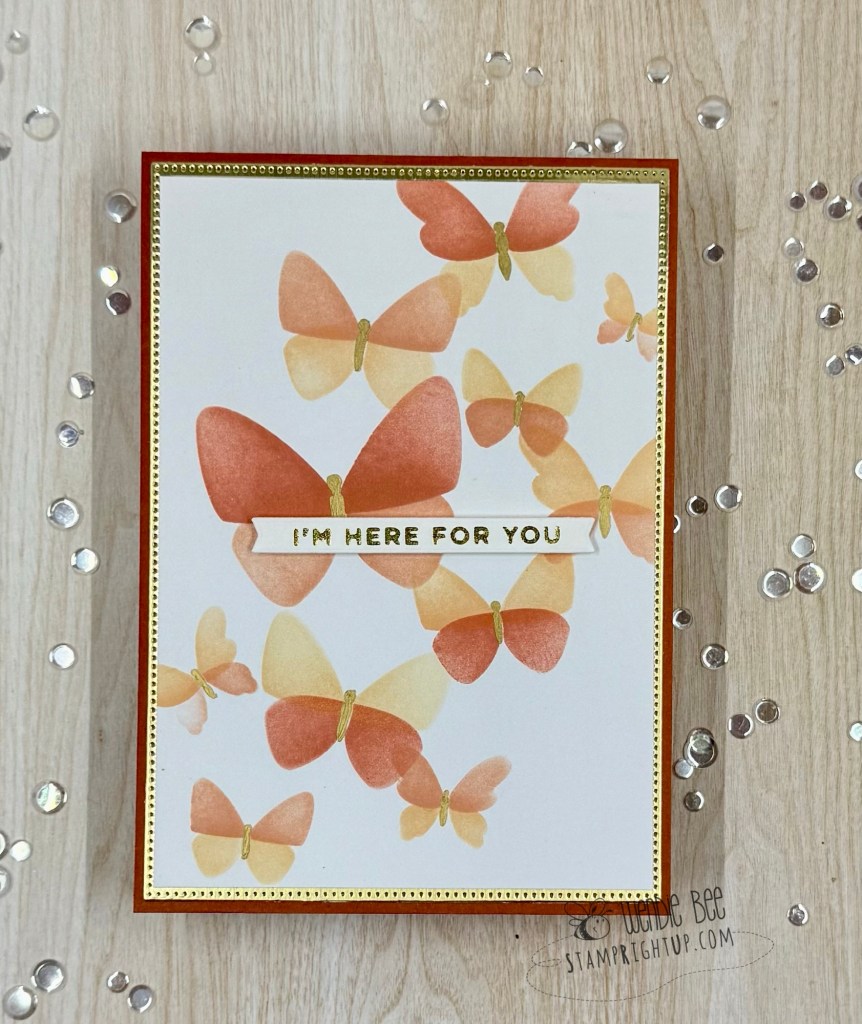
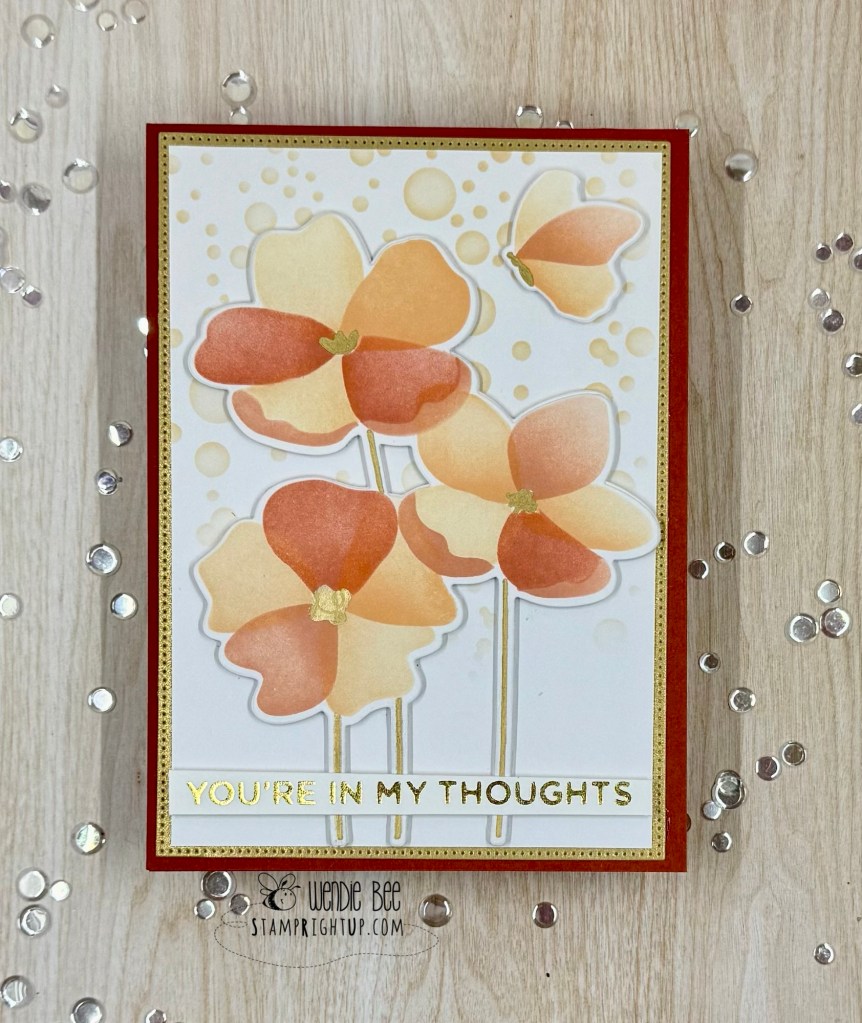
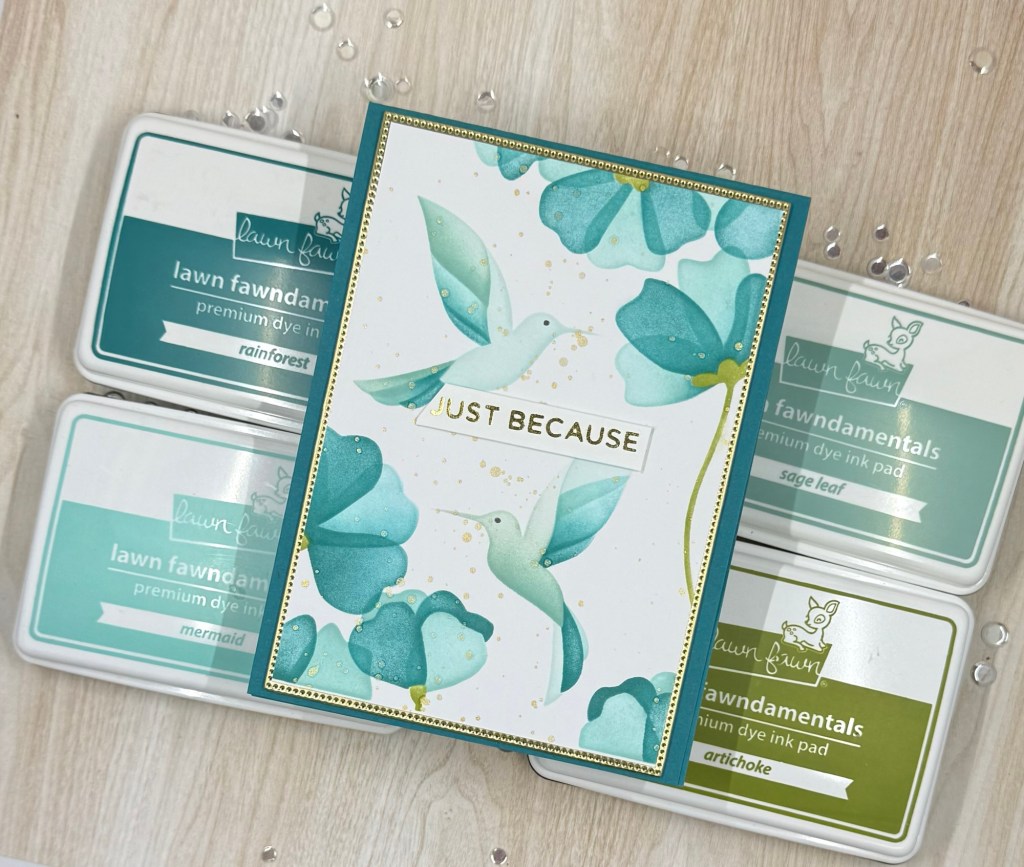
Color palette used:

  • Orchid
  • Mulberry
  • Rainforest
  • Peridot
  • Seaside
  • Waterfall
  • Teal Topez
  • Beeswax
  • Saffron
  • Bellini
  • Coral
  • Sicily

If you try your own version of these cards, I’d love to see what you create 🧽🫧🧼🧹

49th & Market Rust & Rev’s Collection

Grit, Gears & Grunge — The Charm of Rust & Rev 🚙🛠️🧡

I’m so excited to share a full lineup of projects created with the 49 and Market Rust & Rev and Rust & Rev 2.0 collections — a perfect match for those who love a gritty, vintage aesthetic packed with texture, tools, and rugged retro charm.

From rusted pickups to vintage gauges, oil-stained textures, and gear-filled workbenches, these collections are brimming with bold masculine energy. Some of these cards were born out of a workshop led by the incredibly talented Deanna Hutchinson at Clipper Street Scrapbook Company in Langley, and others were built from scratch at home as I got more and more inspired by the elements in these kits.

Each design is layered with dimensional die cuts, weathered textures, and industrial ephemera that tell a story — whether it’s one of resilience, grit, or just good old-fashioned horsepower. Sentiments like “Built for This,” “The Man, The Myth, The Legend,” and “The Best View Comes After the Hardest Climb” make these cards ideal for Father’s Day, birthdays, or for anyone who appreciates the beauty in patina and the pride of a well-worn toolbox.

💡 Design tip: Lean into the grunge! Use inked edges, distressed layers, and mixed media elements to enhance the raw, mechanical feel of the collection. And don’t be afraid to go full 3D with your embellishments — bolts, chains, and gauges are all fair game!

Big thanks to Diana for the inspiration and instruction — and if you’re a fan of masculine themes or automotive nostalgia, this collection is a must-have.

Got a favorite from the batch? Let me know which card revs your creative engine the most!

🛠️ Wendie Bee | @stamprightup

Lawn Fawn Shello Friends & Stitched Seashells Card Set

Another Crop & Create set, this Lawn Fawn Shello Friends stamp, die & coordinating stencil was so much fun to create with!

This was the first time I have actually used colouring stencils and it was surprisingly easy to get a great result. I can especially see colouring stencils being very handy for mass producing batches of cards. Our ‘homework’ was to stamp and cut for each example card, but I went a little bananas and created enough for multiples of each since it was so easy.

For all cards, these are the Lawn Fawn ink colors used:

  • Bubblegum
  • Moonstone
  • Fresh Lavender
  • Peach Fuzz
  • Merman
  • Butter
  • Celery Stick

Here are the cards I made – I have enough completed components to make a few more of each card left, all I really need to do is the background and then assemble.

If you’re on the fence about the coloring stencils, they’re great when you want to create but don’t want to pull out all of your markers – it makes for an easy card with a great result!

Taylored Expressions Create In Quads Flit & Flutter

Another amazing hit from TE, these create in quads are really a must have staple in every craft room. It takes more time to choose your ink colors than it does to make four ready to go card fronts!

The workshop from Crop & Create led by Taylor was instructed with the blue palette; I pulled this back out and created the warmer palette using Concord & 9th inks from previous events.

I didn’t have all the inks Taylor used, so I substituted from my Lawn Fawn collection – not shown is kiddie pool which I used for the lightest color in the blues palette.

Spellbinders Cheerful Chirps Collection: Flying High & Pretty Birds

I attended the Crop & Create Spring 2025 event, and kicking off my series of posts showcasing all of the amazing brands and product we did is the Spellbinders Cheerful Chirps collection using Pretty Birds & Flying High die sets, along with the Bamboo screen 3D embossing folder.

All cardstock used for these cards are from the new color wheel cardstock collection. The colors in my projects included:

  • Tutu / Dahlia / Bellini / Coral / Sicily / Carrot / Saffron / peridot / Rainforest/ Waterfall/ Teal Topaz / Breeze / Malibu / Oceanside / orchid / Mulberry / Violet / Acorn / Fog / Raven

Spellbinders Cheerful Chirps Flying High & Pretty Birds
Spellbinders Cheerful Chirps Flying High & Pretty Birds Cards

Honey Bee Stamps Lovely Layers Owl Masculine Birthday Card

Yet another stunning card using the Lovely Layers Owl die set from Honey Bee Stamps. I wasn’t kidding in my first post using this set that just changing the color ways of your cardstock will give this die set an entirely different look & feel to your project!

This was another project from our Crop & Create Delivered Spring 2023 workshop with Kelly. All that we used was some pattered paper (with just a very light hint of texture). I just added a few white bits throughout the owl, along with some flicks from a matching brown copic marker to give that effect of white & darker feathers.

The evergreen watercolor effect background paper is part of an upcoming release – you will NOT be disappointed, the collection is absolutely stunning.

This die set is incredibly easy to use!! Honey Bee Stamps Lovely Layers die sets may look intimidating, but they provide layering guides, and a ton of inspiration projects for you to run with when creating your own projects.

Lip Balm Chapstick Holders Party Favors Video Tutorial

Lawn Fawn_Bugs And Kisses_Chapstick_Lip Balm_Holder_Gift

This gallery contains 4 photos.

Back during the holidays I made some chapstick stocking stuffers – they were such a hit I thought I would create a quick video tutorial to show you how easy they are to make.  The projects I am making are … Continue reading

Stampin Up Sale-A-Bration 2016 What I Love Two Step Stamp Card Video Tutorial

Hello Stampers,
It’s that time again! Each year Stampin Up has a great promotion where you can earn FREE product for every $60 you spend. And the selection you can choose from is AWESOME, from photopolymer stamps, to foiled vellum to Project Life, the choices are gorgeous!


For this project I chose to use the ‘two-step’ photopolymer set “What I Love” that I earned for free with a $60 purchase.

A ‘two-step’ stamp is one that has multiple stamp images that layer together to make a single image.  I love that Stampin Up creates the tabs you see in the video that really help with placement to make sure that you get a proper stamped imaged every time!

Here is my video tutorial on how to make the project – I hope you like it!

To follow along, here are the measurements for the card stock & supplies you will need to create this project at home:

Card stock:

  • so saffron 4.25 x 11, scored at 5.5 to make an A2 card base
  • Whisper White:
    • second layer – 4 x 5.25
    • top layer 3.75 x 5
  • Crumb cake sentiment strip 0.75 x 3.5
  • Vellum strip 0.5 x 3.25

Inks:

  • So Saffron
  • Crushed Curry
  • Hello Honey
  • Old Olive
  • Versa Mark

Other supplies:

  • gold embossing powder
  • embossing buddy
  • gold 1/8″ ribbon
  • glue dots
  • tombow mono-multi glue
  • foam dot dimensionals


Stampin Up Sale A Bration Photopolymer Two Step Stamping What I Love Video Tutorial by Wendie Bee of Stamp Right Up

Stampin Up Sale A Bration Photopolymer Two Step Stamping What I Love Video Tutorial by Wendie Bee of Stamp Right Up

Bird Crazy with Clean Color Real Brush Watercolor Pens

When I first saw Tim Holtz Crazy Birds, I knew they would be pretty much perfect for anything watercolor. So, when I first got my Kuretake Clean Color Real Brush pens I thought I would have a go at coloring those awesome crazy birds.
My first attempt stunk. Like really not good. So I put them aside a little frustrated at having investing in them and stinking at it, until recently when I visited my local craft store I was shown how much of a difference it makes to use proper watercolor paper (Thanks Natalie)!  This is the Strathmore cold press watercolor paper and it really makes a huge difference in the performance of the pens when watercoloring! If you ever find that you are not getting great results from your pens, try investing in some good quality watercolor paper, Strathmore cold press can be inexpensive with a coupon from Michaels, Hobby Lobby or Joann’s, but the Tim Holtz watercolor paper is by far the best choice for card makers: it has the best smooth finish and is the lightest weight (thin) but still gives great watercolor performance.


Tim Holtz Bird Crazy Talk Kuratake Clean Color Real Brush Pen Watercolor Easy Card Stamp Right Up

Tim Holtz Bird Crazy Talk Kuretake Clean Color Real Brush Pen Watercolor Easy Card Stamp Right Up

Tim Holtz Bird Crazy Talk Kuratake Clean Color Real Brush Pen Watercolor Easy Card Stamp Right Up


Want to make this card at home too? Here are the supplies I used to make this project:


http://static.inlinkz.com/ppr.js