Critter Coloring: Kittehs

So I have been on a crazy coloring binge since I have discovered the blending technique using colored pencils & baby oil from my post here

I fell in love with the critter stamps from Penny Black – the hedgehog, kitties, mice and critters are just about the cutest things EVER and are versatile enough to use for any age & occasion card!
I have found that Simon Says Stamp is the best place to get them online (other than Ebay) – great prices and even BETTER shipping!  Being Canadian I really appreciate when sellers can offer reasonable rates. 

Ok – enough of the hype, here is my latest creation. 


Image
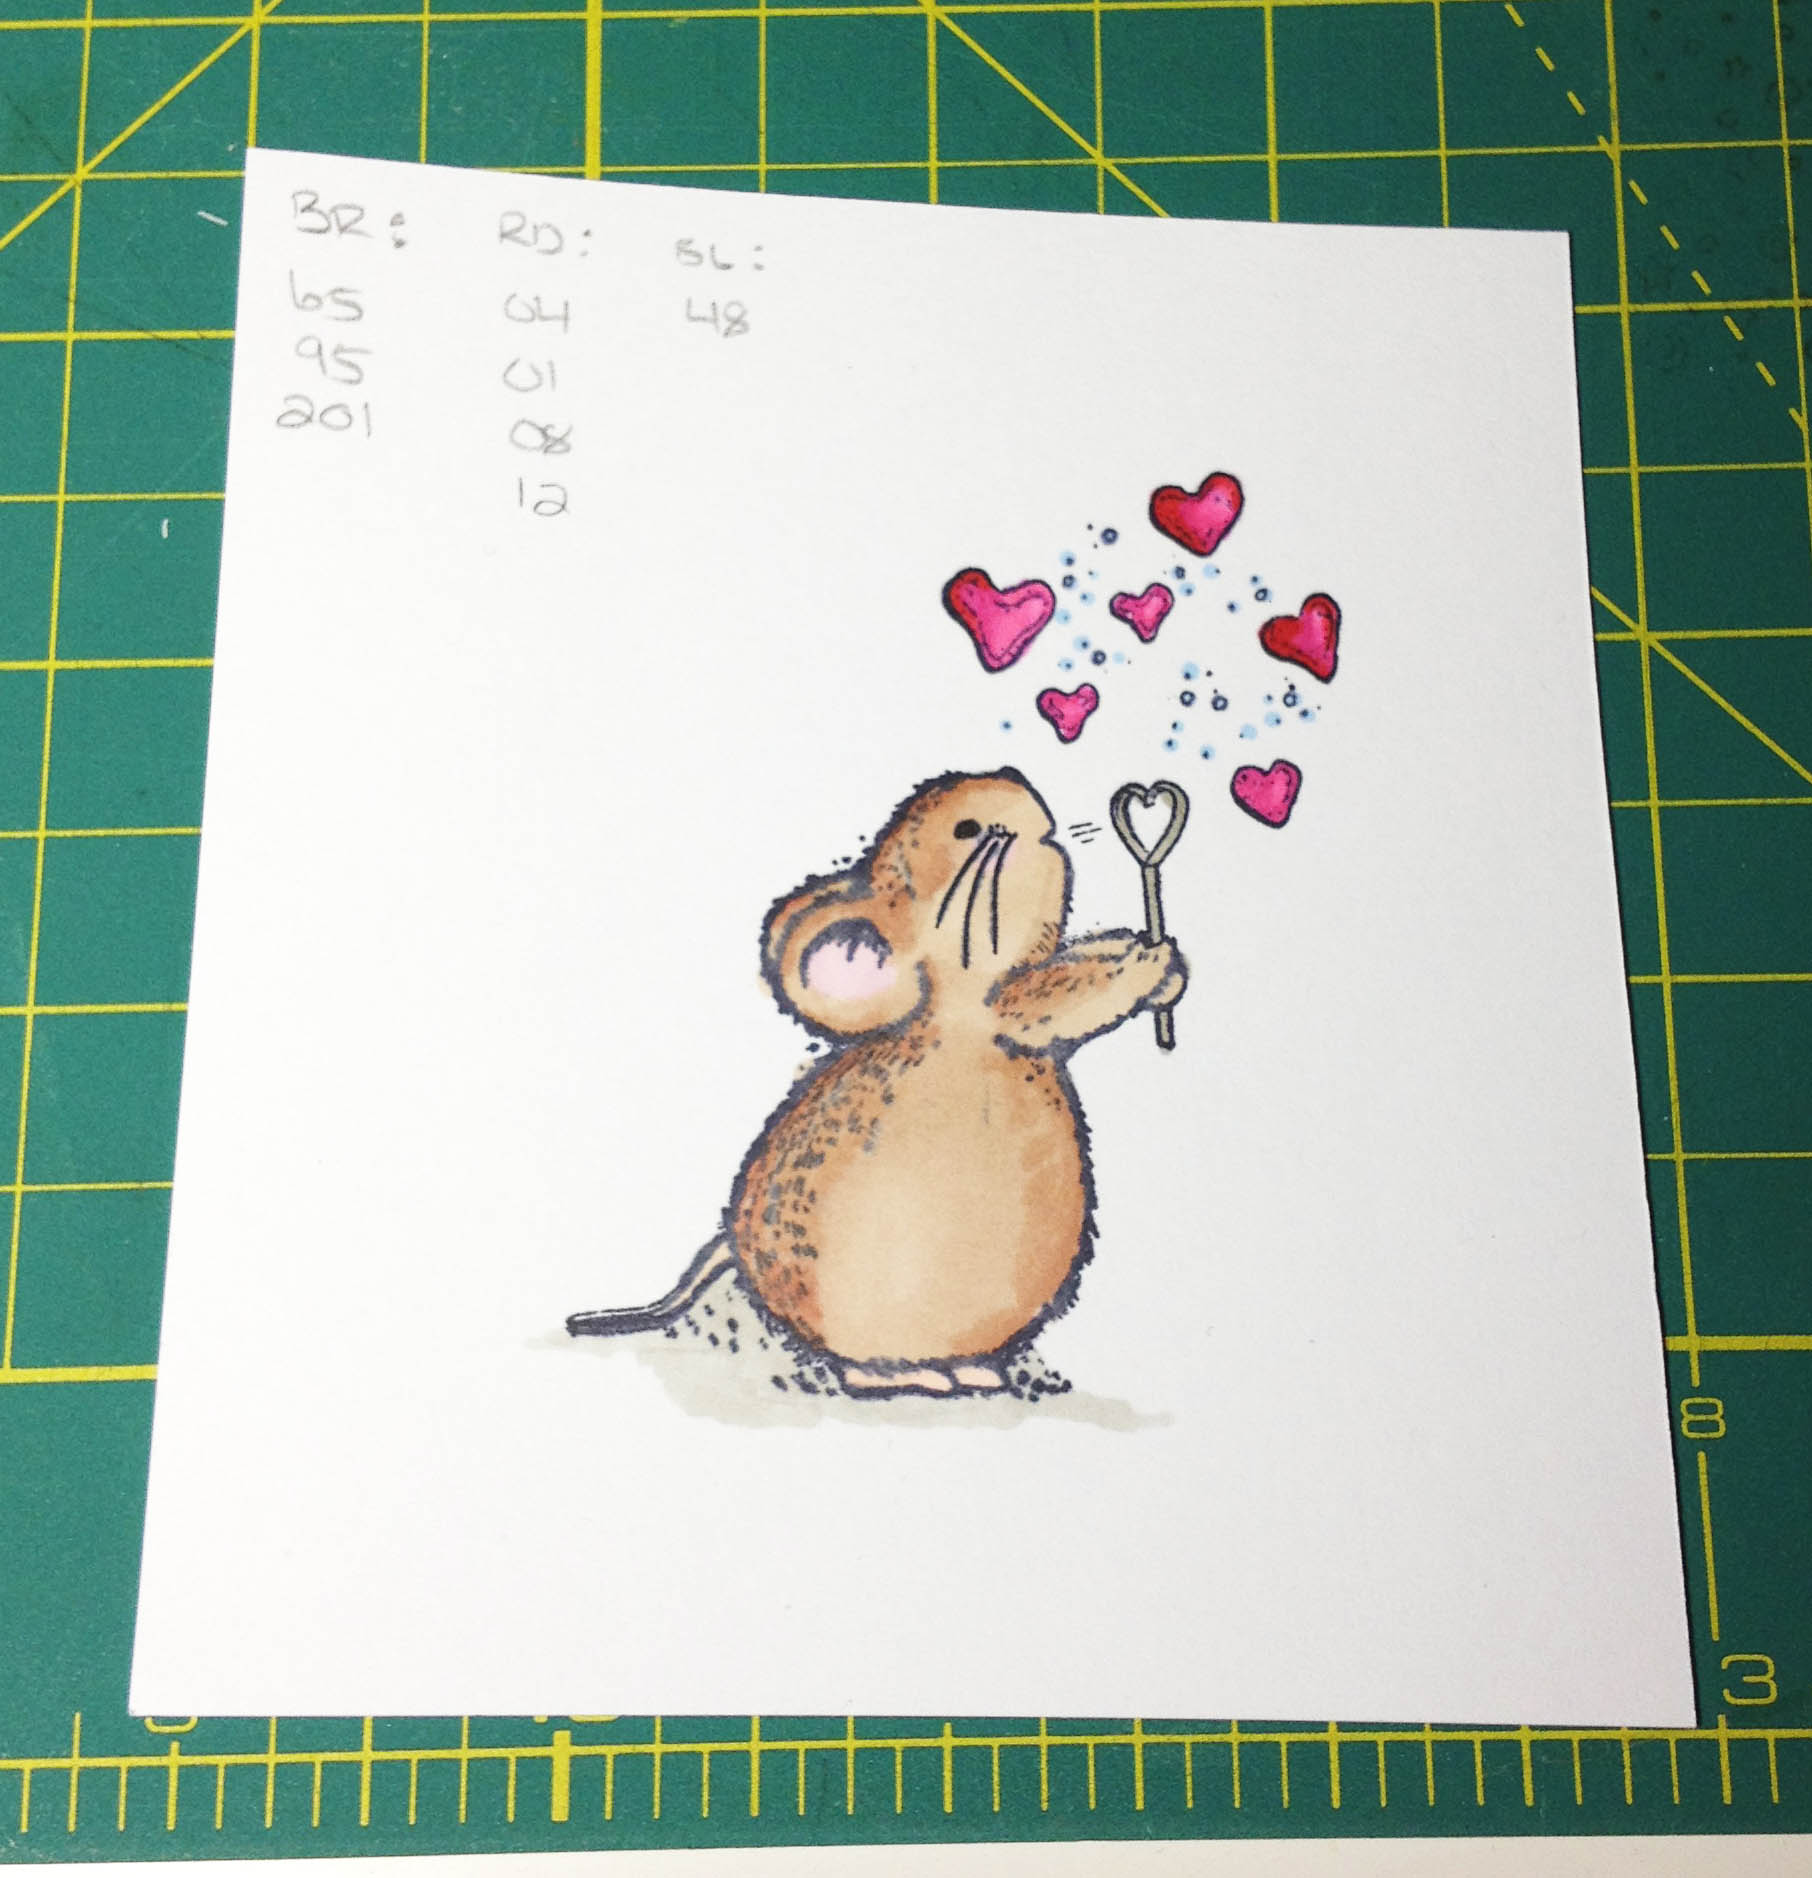
I used only colored pencils & baby oil to color it.  I love that it looks like a cross between watercolor pencils & Copic (or alcohol markers).  Best of both worlds I think!  My boyfriend (yep, he’s *that* awesome) came up with the idea to fussy cut the balloons them pop them up with pop dots. 

The inside has a white matte to cover the ribbon, and I used the “Celebrate” sling mount from the Outlined Occasions set from Stampin Up’s 2011 Sale-A-Bration.


Stamp sets used:  It’s Your Day by Penny Black Inc

Crazy for Coloring:  Penny Black ~ Cat with Balloon

Crazy for Coloring: Penny Black ~ Cat with Balloon

Penny Black – Cat with Balloon from “It’s Your Day” clear mount set. Clear mount rubber acrylic stamp Colored with Crayola colored pencils using the blending technique I posted here

Stampin Up Owl Punch Card – Owl Always be Your Friend

Does the owl punch ever get boring?! I freakin LOVE this punch!! So many different uses, for the owl alone!  Not coutning the different critters you can make using the shapes from the punch.  Penguins, bears, devils – you name it, someone has figured out how to make it with the owl punch.  I have a whole board on Pinterest dedicated to it!  Check it out:  Owl Punch

I belong to two groups on Facebook that are about sharing ideas & examples of Stampin Up! cards and creations. Friends of Stampin Up hosted a swap this month, with a “friendship” theme.  Here is the card I made for the swap:

Stampin Up Owl Punch Greeting Card
Front of Stampin Up Owl Punch Greeting Card
Stampin Up Owl Punch Greeting Card
Inside of Stampin Up Owl Punch Greeting Card

I have a few more cards to send out so I’m off to my Pinterest inspiration boards to search for new ideas & inspiration.

Until next time!  ❤

Make & Take: Spring / Easter Edition

** SAVE THE DATE **

I will be hosting a “Make & Take” event Saturday, March 2 at the Vancouver Public Library central branch.

Using a set from the current catalog, I will be demonstrating 3 completely different cards using one stamp set.

Each participant will get:

  • All materials needed to create 3 different cards
  • Detailed instruction sheet on how to re-create these cards at home
  • Complete supply list
  • A morning of creativity & fun!

This class is free with a $25 order, otherwise the cost to participate is $15 materials fee

Classes are limited to 8 people so please be sure to register early to ensure your spot!

Click here to register:  http://www.meetup.com/Vancouver-Stamping-Cards-Papercrafts/

Crazy for Coloring!

Coloring.  Not just for kids anymore!  I just recently acquired a set of 48 Prismacolor markers.  These are very similar to Copic markers – they are alcohol based ink which allows for blending and non-streaking when filling in.

Image

Thanks to the brilliant Darlene Devires and her tutorial post showing step-by-step instructions on how to color with copics markers (or Prismacolor in my case) I was able to color this Mouse stamp that I had got to make boyfriend a Valentine’s Day card with.

And here is my first colored image using alcohol markers:

Image

Those penciled notes you see in the top left corner are my notes with each of the colors I used to create this image so I know for next time what the best colors are to use.

Yay!

So you want to be a Stampin Up Demonstrator

Did you know that Stampin Up! has been around for over 25 years?!  I did not even know about it until November 2012 when I met a demo at a craft fair who was selling their finished works.  She gave me a catalogue and I was hooked!! I poured over the book for DAYS.  Literally! It was like I was a kid again combing through the Consumers Distributing book for Christmas toys! When I spoke to the demo on the phone, she told me about being a ‘demontrator’.  I didn’t realize it’s not as easy as it sounds.

First:  Do you want to be a demonstrator?
Ask yourself these questions:

  1. Do I have at least three people who I know I could rally up once a month to do a ‘make & take’ demo class with?
  2. Would these people be willing to spend $25 per person to participate?

When I first signed up I did NOT know at least 3 people, but I thought I would save tons of money so I signed up as a demonstrator anyway.

(Now here’s some info most demo’s WONT tell you)

However, to be absolutely honest, the discount is only 20%, then you have to add shipping and taxes. Which eats up the discount… THEN you have to sell your quota – it’s around $400 every three months. So unless you have the money to buy that much every quarter yourself, here are some things you might want to consider to ensure you will be a successful demonstrator:

1. Buying items that you know you could mass produce some cards & sell the finished cards to stores, cafes, friends etc.

2. Hold an event – either a group or one time event. Create three items to make at the event. If you have people register in advance and give a deposit you can then buy the items you will need

3. Sign up when there is an incentive promotion for new recruits. I signed up when there was a free set of ink pads (the whole set!). Then place a one time order and stock up, and if you can place another order then yay, but if not, at least you have some goodies added to your crafting creation tool repertoire!


Other things to consider if you’re going to sign up as a demonstrator:

  1. How close to you live to your “upline” (the person who signed you up)
    This is CRUCIAL – there is SOOO much to learn, even for a seasoned crafter – that it really helps having your upline accessible to you
  2. Ask your potential upline HOW they will support you.
    What I provide:
    * Monthly meetings to check in on progress.
    * Extensive advise on what to include in your starter kit
    * Examples of items to demo in classes
    * Access to my resource list of references for designing & techniques (Hundreds of hours of research)
    * Support with creating a social media presence – including twitter, blog creation & maintenance, and creations & maintenance of a Facebook page

I continue to work with Stampin Up because I LOVE to craft & create.  I love it when I meet new people – and getting together you always learn from each other!  New techniques = new inspiration, which = lots of fun projects to make  🙂

There is SO MUCH I didn’t know when I signed up, that I wish I did.  Hopefully this has helped you, and maybe clarified some questions for you.  Feel free to contact me anytime if you too have been ‘orphaned’ by your upline, no matter WHERE you are, I will do whatever I can to help you out.

I would love to hear *your* experience – good or bad! Comment below  😀

15 minute wonders: Valentines Note Sized Card

Have you been looking for a quick and easy Valentine’s Day card idea that is easy to reproduce?!  Check out these newest designs – I created these little 3×3 note card sized Valentines in 15 minutes each!  Yep.  That’s right.  15 minutes.  Each of these designs require very little fussing about and can be made with household items and basic supplies that won’t break the bank.  That’s my favorite part about them – cheap & easy!

Stampin Up Outlined Occasions Valentines Day Note Card

I got the inspiration for the flags card from the uber talented Kritina Werner; here is the link to the original video tutorial.

I have also created 3×3 note sized Valentine’s Day cards using the oh-so-verstaile Owl punch from Stampin Up!  There are SOOOO many ways to use this punch you will never run out of ideas for it!!

Here are two of my newest creations:

798344_10152453013940461_3538808_o

843002_10152453013535461_1810781184_o

The owl punch is incredibly versatile and can be used to create a wide variety of critters other than owls!!  I have seen penguins, bats, super hero’s etc.

Check out more examples of the many ways to use the owl punch in my Pinterest board:  http://www.pinterest.com/misswendiebee/stampin-up-owl-punch/

Adventure #1: Waiting for the UPS driver

Why is it that when you’re eagerly awaiting a package it always is the last one on the delivery route?! *giggle* I swear, I was checking the door to my apartment, and the foyer entrance door every half an hour to make sure I didn’t miss the driver somehow. Pacing to the window and everything!! It was kind of funny in a crazy way now that I look back on it. >_<

I got the box and ripped it open, it was like Christmas!! I immediately started tinkering with what I had gotten.

Using the “Kindness Matters” stamp set, I made this really pretty butterfly card.  I must give credit to Tami White for the inspiration and tips on how to use clear mount stamps. You can view her video tutorial here: http://youtu.be/NB8RkC-4XAA

It was her tip on how to..ahem… “separate” (cut)  :O clear mount stamps so that you can use single images.   That is how I was able to stamp the butterflies vertically.

20121128-164232.jpg