

Current Weekly Stampin Up Deals – shipping anywhere in Canada direct to you for as low as $9.95!

Current Weekly Stampin Up Deals – shipping anywhere in Canada direct to you for as low as $9.95!
I am so excited, and a little overwhelmed to have the opportunity to attend Stampin Up’s 2014 convention: Inspire. Create Share!
As part of a new recruit incentive, I was able to attend convention for FREE!! The attendance was waived for new recruits so I only need cover my expenses.
One of the big parts of convention is the swapping. There are many organized swaps, in addition to the ‘general swaps’. Essentially guests of the convention go around networking with other demonstrators, and instead of exchanging business cards, we will exchange GREETING cards! How cool is that?! The purpose is to get ideas for workshops and share your ideas with others. Initially I didn’t plan on making general swap cards as I was on a very limited budget – but the more I thought about it I changed my mind. This is my first convention, and in the chance that I do not have the opportunity again to go back I wanted to make sure I make the most of this experience.
Here are my cards that I made for the organized swap:

Robot Boys Will Be Boys Stampin Up card by Wendie Bee of Stamp Right Up
Here are the two cards that I made for the general swaps – these are both past projects that I made in workshops:

Just Sayin Stampin Up ‘Love Ya’ Word Bubble card Stampin Up Convention Swap by Wendie Bee
The second card is also a previous workshop project:
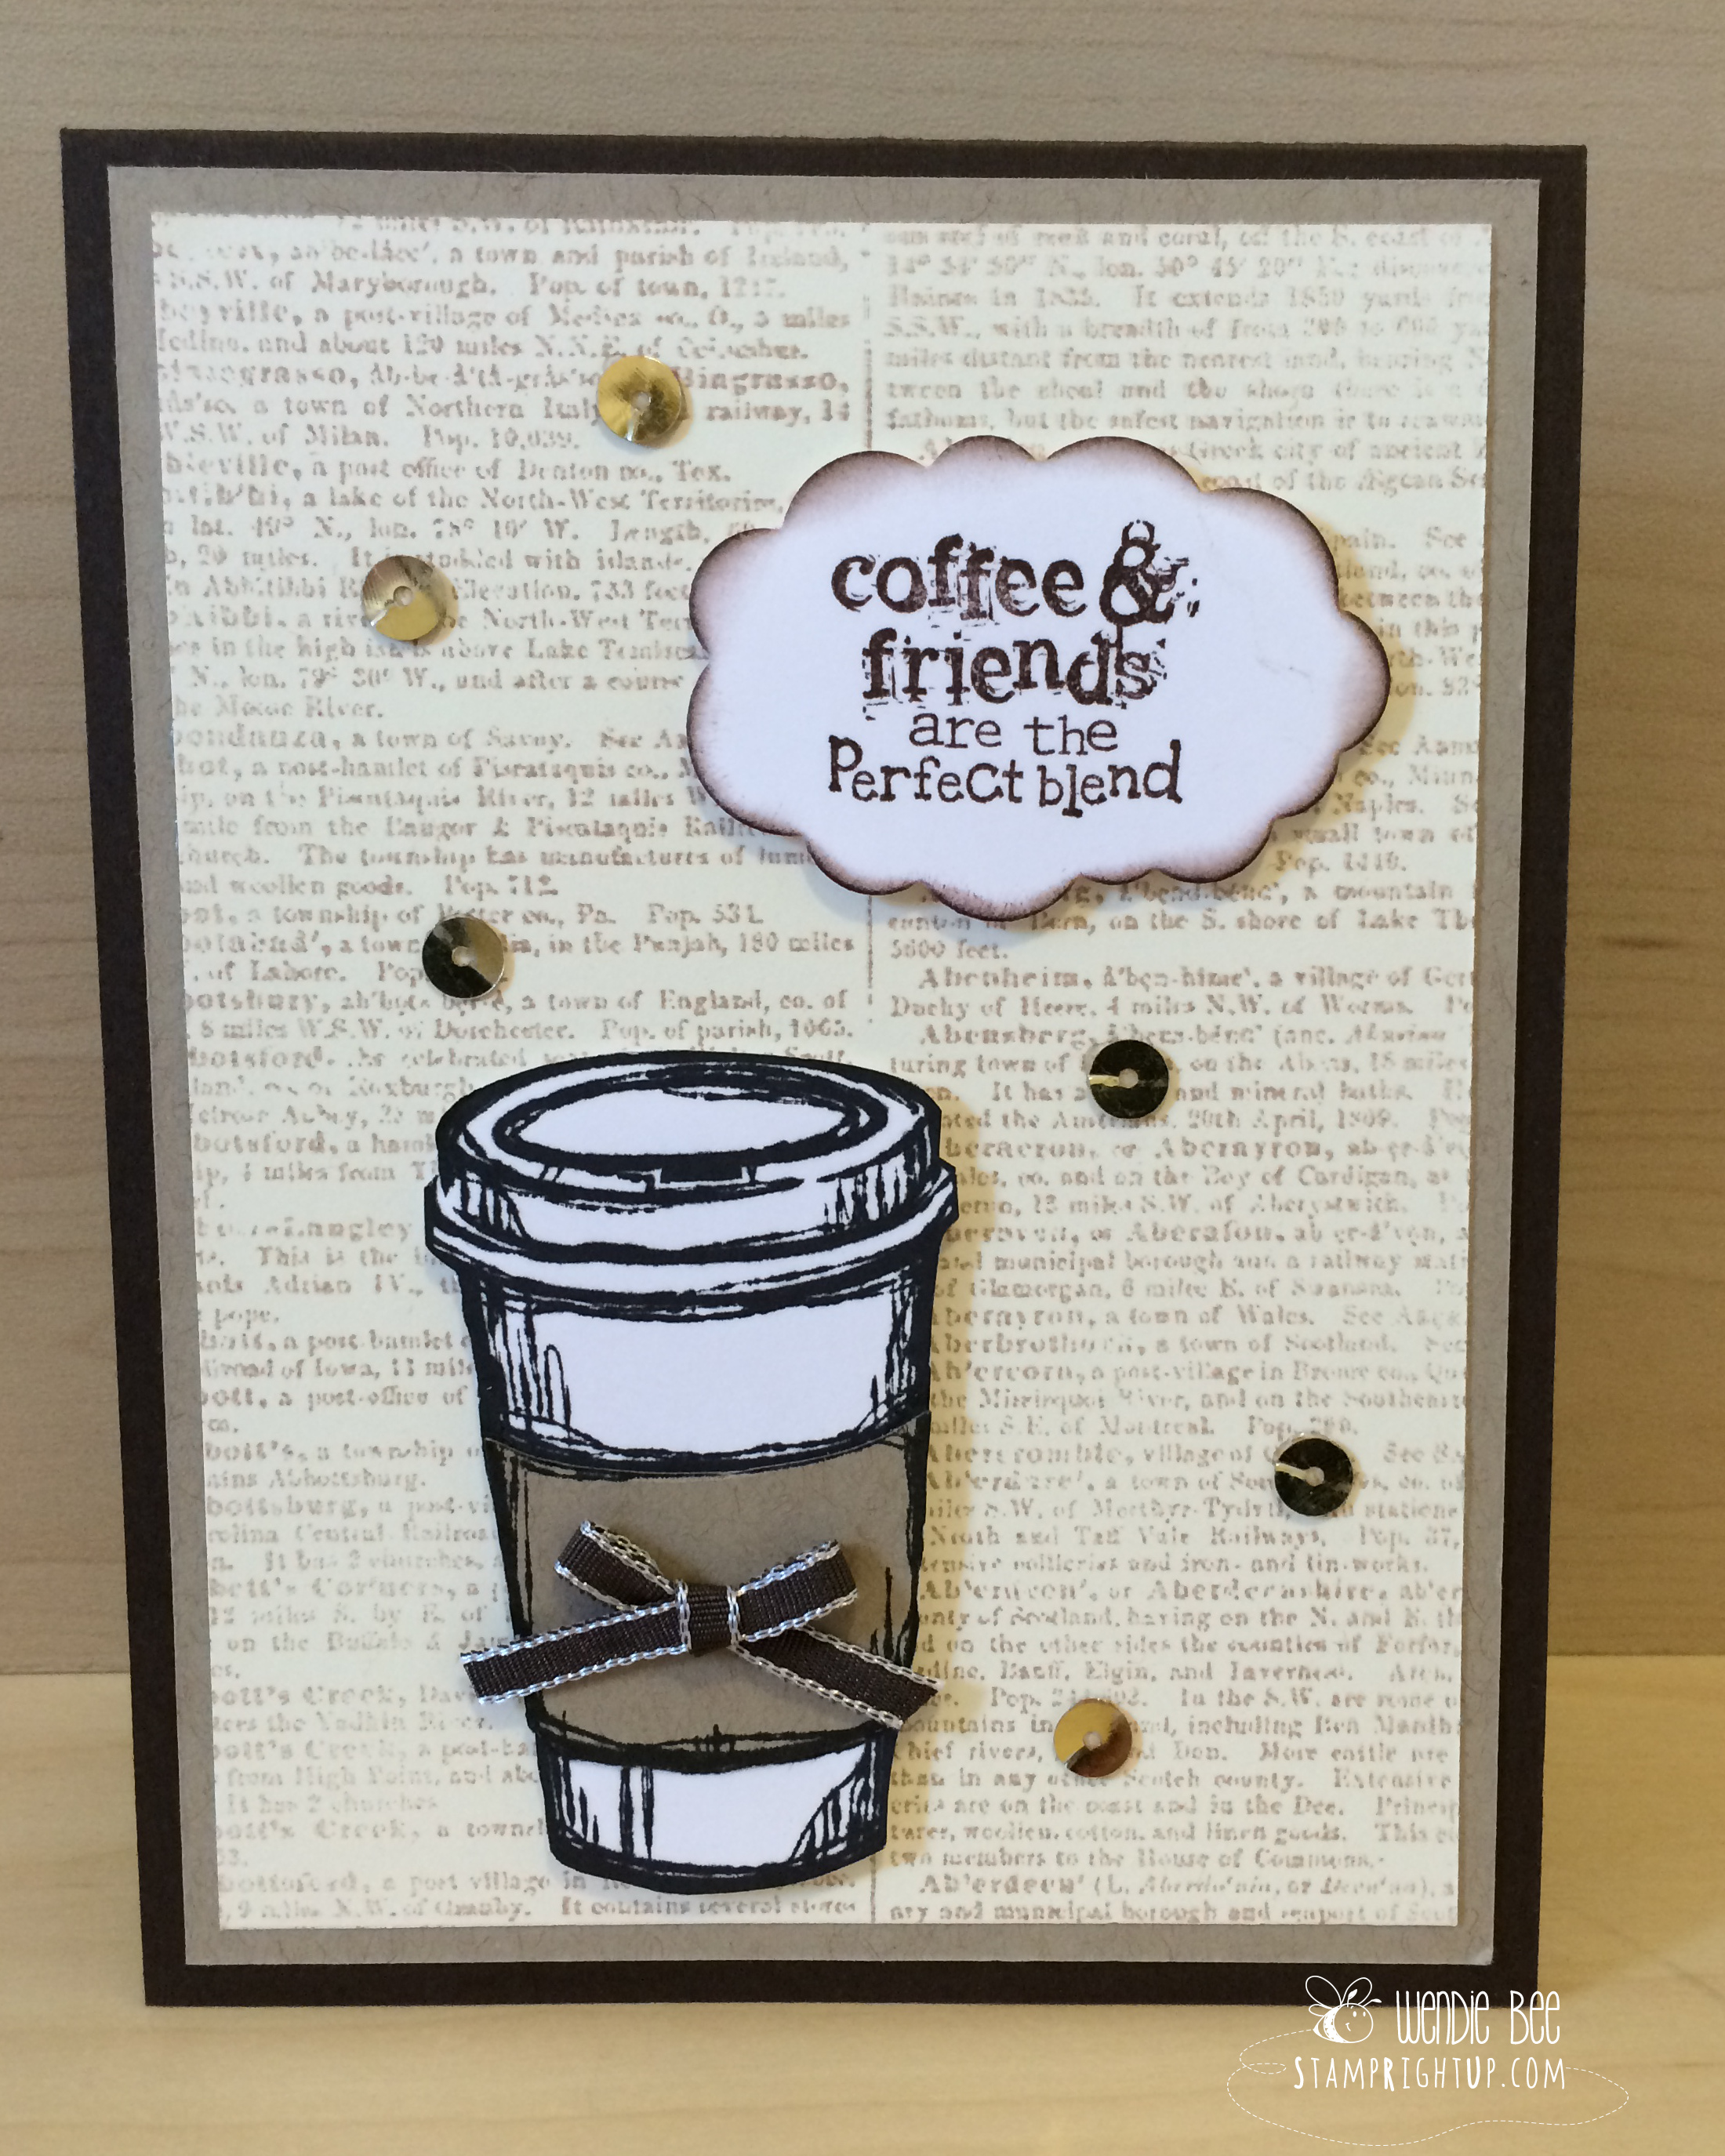
Perfect Blend Coffee Card by Wendie Bee of Stamp Right Up
I will be live tweeting from Convention so be sure to follow me on Twitter: @stamprightup
You can also see fun pictures of the highlights on my facebook page: https://www.facebook.com/StampRightUp?ref=br_rs
Phewf! It’s been a little while since I have been able to post an update for you all! A lot has changed for me, and I am now back in British Columbia in New Westminster. Now that my craft room is all unpacked I am finally able to hold card making workshops again. (YAY!)
The first class I did was a huge success so I hope that some of you will be able to join me for my second workshop in New Westminster. The theme for this card making workshop is “Birthday Bash”. Birthdays happen all throughout the year – so be prepared for them! This workshop will feature 3 cards: one feminine, one masculine and one junior (child / tween) card.
All the materials you need will be provided to make each card, all you will need to bring with you is basic supplies like Tombow or snail, pop dots / dimensionals and fine pointed scissors along with any other tools you find useful when crafting! I provide the project kits, complete with all materials and pre-cut card stock; all you need to do is learn the fun techniques and assemble the projects!
Here is the masculine birthday card design we will be making in this workshop:
 Stampin Up Traveler, World Map & Postage Due Masculine Birthday Card by Wendie Bee
Here is what I used to make this card – click the item to purchase the supplies in my online store:
STAMPS:
CARD STOCK:
INK:
MISC:
This weekend I just recently got my “Perfect Blend” stamp set from Stampin Up. I saw it in the catalog but didn’t think I loved it… until it arrived. I give a lot of coffee gift cards throughout the year to many people as thank you gifts and I wanted to come up with something that is non-seasonal. Here is what I came up with:
Perfect Blend Coffee Card by Wendie Bee of Stamp Right Up
Here are the supplies I used to make this card:
Stamps: Perfect Blend, Dictionary background stamp
Paper:
Ink: Crumb cake, chocolate chip
Tools: Word bubble framelit
Misc: Early espresso 1/8″ ribbon, gold sequins
————-
I can ship anywhere in Canada, including Quebec for as low as 10% of your order (before tax)! • Now it’s even easier to shop with me! I accept Credit cards, email money transfer and Paypal.
I can’t believe it!! My first video tutorial!! It’s *really* basic, so be gentle with me – but I have an even better understanding of what I will do different next time so each video will get better and better!!
For my first video, I chose to do a tutorial on how to make the rainbow card I posted recently (click to find the list of supplies you will need to make this card)

Rainbow Circle Framelit Card by Wendie Bee of Stamp Right Up
Spring is a little late this year, so I thought I would create my own happy spring right in my craft room!
This rainbow card is SUPER easy to make, and took about half an hour start to finish. AND it made TWO rainbows, so I can make two cards at a time!
This is the first one I made – be sure to check back as I will be posting my second card, along with a tutorial on how to create them!
Rainbow Stampin Up Circle Framelit Card by Wendie Bee of Stamp Right Up
Here are the supplies I used to make this card:
Stamps: Delightful Dozen (sentiment)
Paper:
Ink: Night of Navy
Tools: Circle Framelits, small heart punch
Misc: Silver ribbon
With Sale-A-Bration is coming to a close, I thought I would share this card I cased using the Banner Blast stamp and coordinating punch set. I just LOVE how easy this card is to make!! I saw this card in my meanderings through social media somewhere and just HAD to case it – I love the clean & simple design. I made a few of these cards to keep on hand to have ready when I want to send someone a note – this card is SUPER easy and quick to make multiples of at one time; almost easier than making only one!!
 Sale-A-Bration 2014 Banner Blast by Stamp Right Up
Here are the supplies I used to make this card:
Stamps: Banner Blast, Delightful Dozen (sentiment)
Paper: Crumb cake, whisper white (inside panel & stamped images)
Ink: Crisp Cantaloupe, Coastal Cabana, Smoky Slate, Daffodil Delight, Pistachio Pudding
Tools: Banner blast punch, itty bitty shapes pack flower punch
Misc: Sweet Sorbet Crisp Cantaloupe cord, pearl
*If this is your design, please comment below with the link to your original card so that I can give you credit for the design*
I can ship anywhere in Canada, including Quebec for as low as 10% of your order (before tax)! • Now it’s even easier to shop with me! I accept Credit cards, email money transfer and Paypal.
A family friend sent me this denim pocket stamp to cheer me up. I thought it would pair perfectly with Stampin Up’s new Petite Petals stamp & punch set. I also used the teeny tiny flower punch and the stamp from the Sale-A-Bration set. The banner and sentiment is from Lawn Fawn.
Here is the card I made with it & sent her to say thank you:

Stampin Up Petite Petals in Denim Pocket by Wendie Bee Stamp Right Up
Just a quick post today to show you a card I made for Eric – we have an inside joke about squirrels, and since Stampin Up doesn’t have any squirrel stamps I went to my local scrapbook store & got this set from Kaiser Craft

Kaiser Craft Squirrels In Love Card by Wendie Bee
A special thanks to Cee Cee for the inspiration for this card – I pretty much cased the entire thing, but just changed the paper & colors to fit with the supplies I had on hand.
Yahoo!! It’s that time again – this week’s deals are great. I always seem to find something I want. (Great for me, terrible for my wallet).
The floral framelits, that coordinate with the Daydream medallions set, but they can be used for so many other things. I haven’t had the chance to order them, but will certainly be adding them to my order this week!

Stampin Up Weekly Deals – FEB 11 – 18 – Wendie Bee Montreal Demonstrator
