Hiya Stampers!!
I have made some SUPER awesome projects lately – thankfully! There was a spell there where I wasn’t feeling very inspired :S
With Sale-A-Bration going on, I thought I would make a specialized workshop with projects using only products that are available during Sale-A-Bration so I can give people a chance to ‘try before you buy’ – and get an opportunity to to see a variety of projects.
Here is the first project for the workshop:
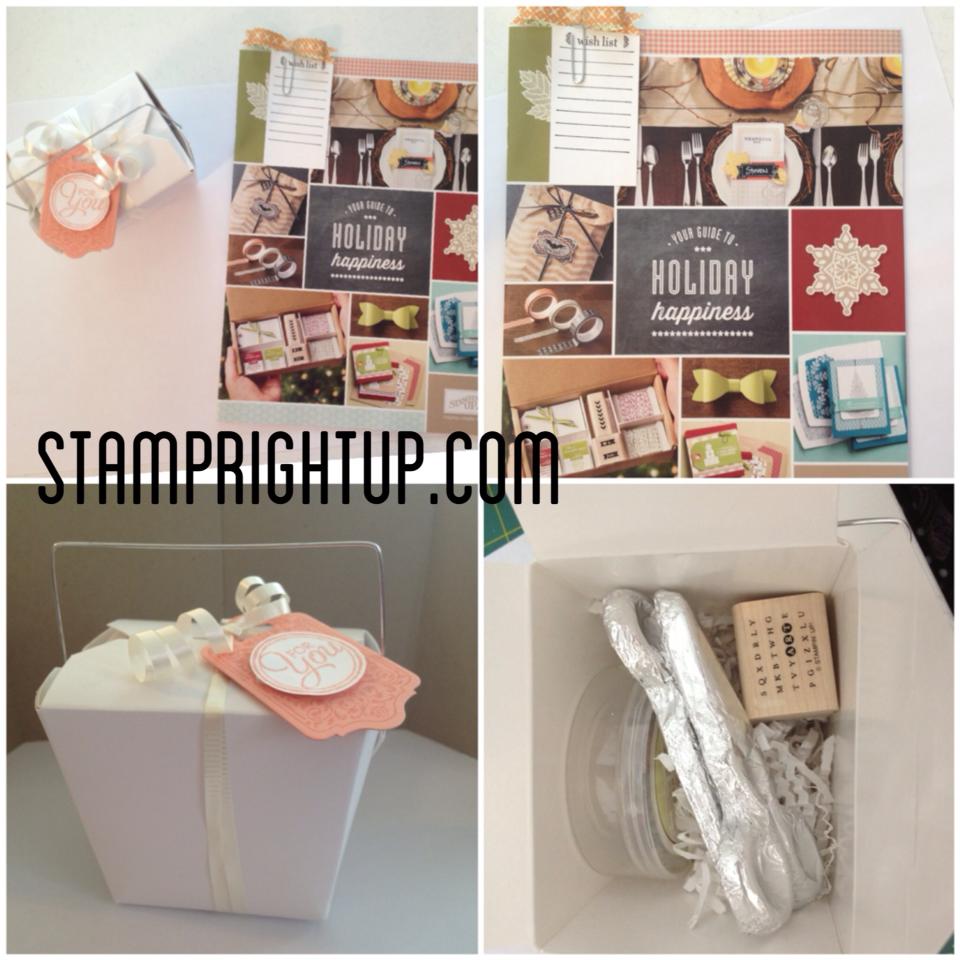
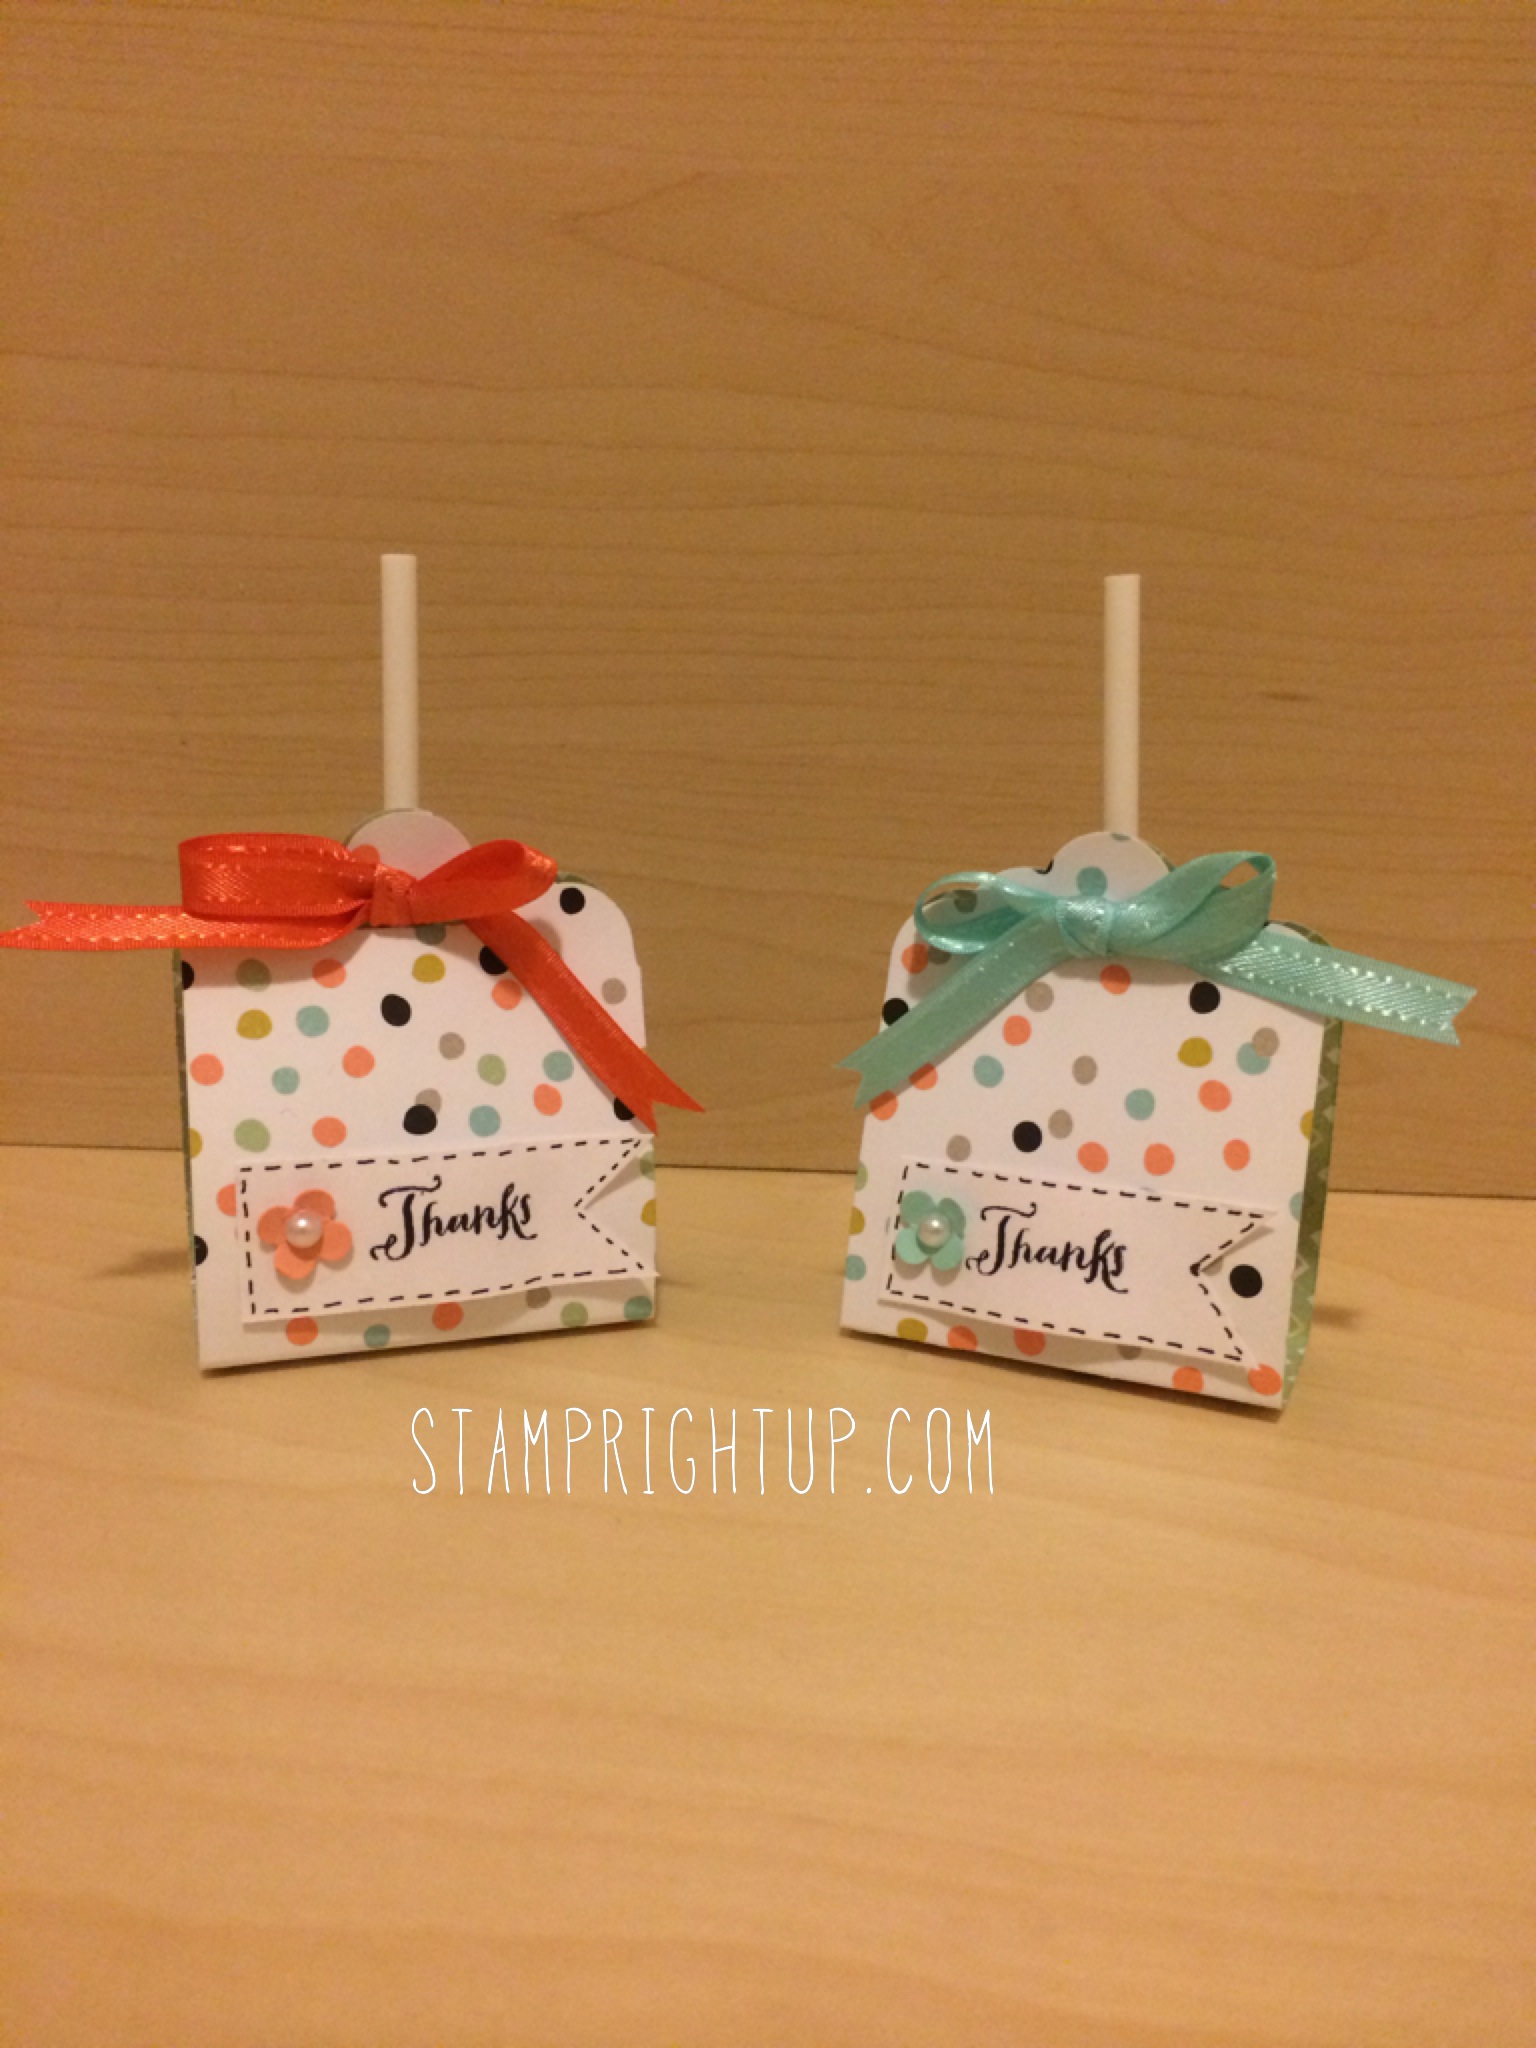 Stampin Up Sale-A-Bration Lollipop Treat Holder Party Favor created by Montreal Quebec Stampin Up Demonstrator Wendie Bee
Here is what I used to make these awesome lolli pop treat holder /party favors:
Stamps: Stampin Up Another Thank You (Photopolymer)
Card stock: Sale-A-Bration
Inks: Stampin Up Basic Black
Markers: Basic Black (dash lines)
Misc: Flower punch from bitty punch pack, pearls, Sycamore Street Ribbon in Pool Party & Calypso coral
As always – your comments are welcome and appreciated!!
——————
Want to create this card yourself? I can show you how! Contact me anytime to RSVP FOR A WORKSHOP
Or – to order any of the supplies used for this project call me today to place your order 514-482-4653 or email at stamprightup@hotmail.com
I can ship anywhere in Canada, including Quebec for as low as 10% of your order (before tax)!
Now it’s even easier to shop with me! I accept Credit cards, email money transfer and Paypal.