Jenoblade hits another stamp set design out of the park with this Stuck Together stamp set & coordinating dies.
The images are a great size to use as a single focal images or together like I did.
Slime line finished card measures 3.5” x 6” and I used a stitched die to give a subtle frame along with a bit of squeezed lemon distress oxide ombré shading.
A few clear droplets to finish it off and it’s ready for sharing!
Jenoblade is my favorite illustrator with the My Favorite Things team. I just love the chubby adorable critter sets she creates – and each set has supporting images to easily create many different scenes.
This card was inspired by one of the design team members projects (nickynoocards) from the release. And with summer just around the corner here in the Pacific Northwest I was inspired to create with this set as soon as I got it.
I very often make cards with no sentiment so that I can keep them on hand for whatever occasion may come up.
This stamp & coordinating die set is available on the My Favorite Things website now – thanks for taking the time to stop by! 💛
I have had this Sizzix cupcake for for a while now, and I had a stroke of inspiration when I saw Doodlebug’s Hey Cupcake enamel sprinkles in my local craft supply store. I knew I had to pull out this die set to make a card with these cute sprinkles!
The construction of the cupcake was super easy – I used 110lb card-stock for the base, cut just above the score line to allow a top folding card base.
Using foam tape under the cupcake base and ‘icing’ layers gave it just the right pop of dimension; and a C00 Coptic marker to lightly add in some shading to create more dimension in the icing.
A white gel pen & crystal effects added a perfect gloss on the cherry – glued flat to the icing layer.
Everyone who knows me, knows my absolute favorite stamp company is, and has been for many many years: Lawn Fawn. When I saw that Lawn Fawn had created a new challenge blog, called Lawn Fawnatics, I knew I had to play along! Their first challenge theme is: Birthday. Since it coincided with their 7 year birthday it was a perfect match.
Here is my card I made – all supplies I used can be found at the end of post.
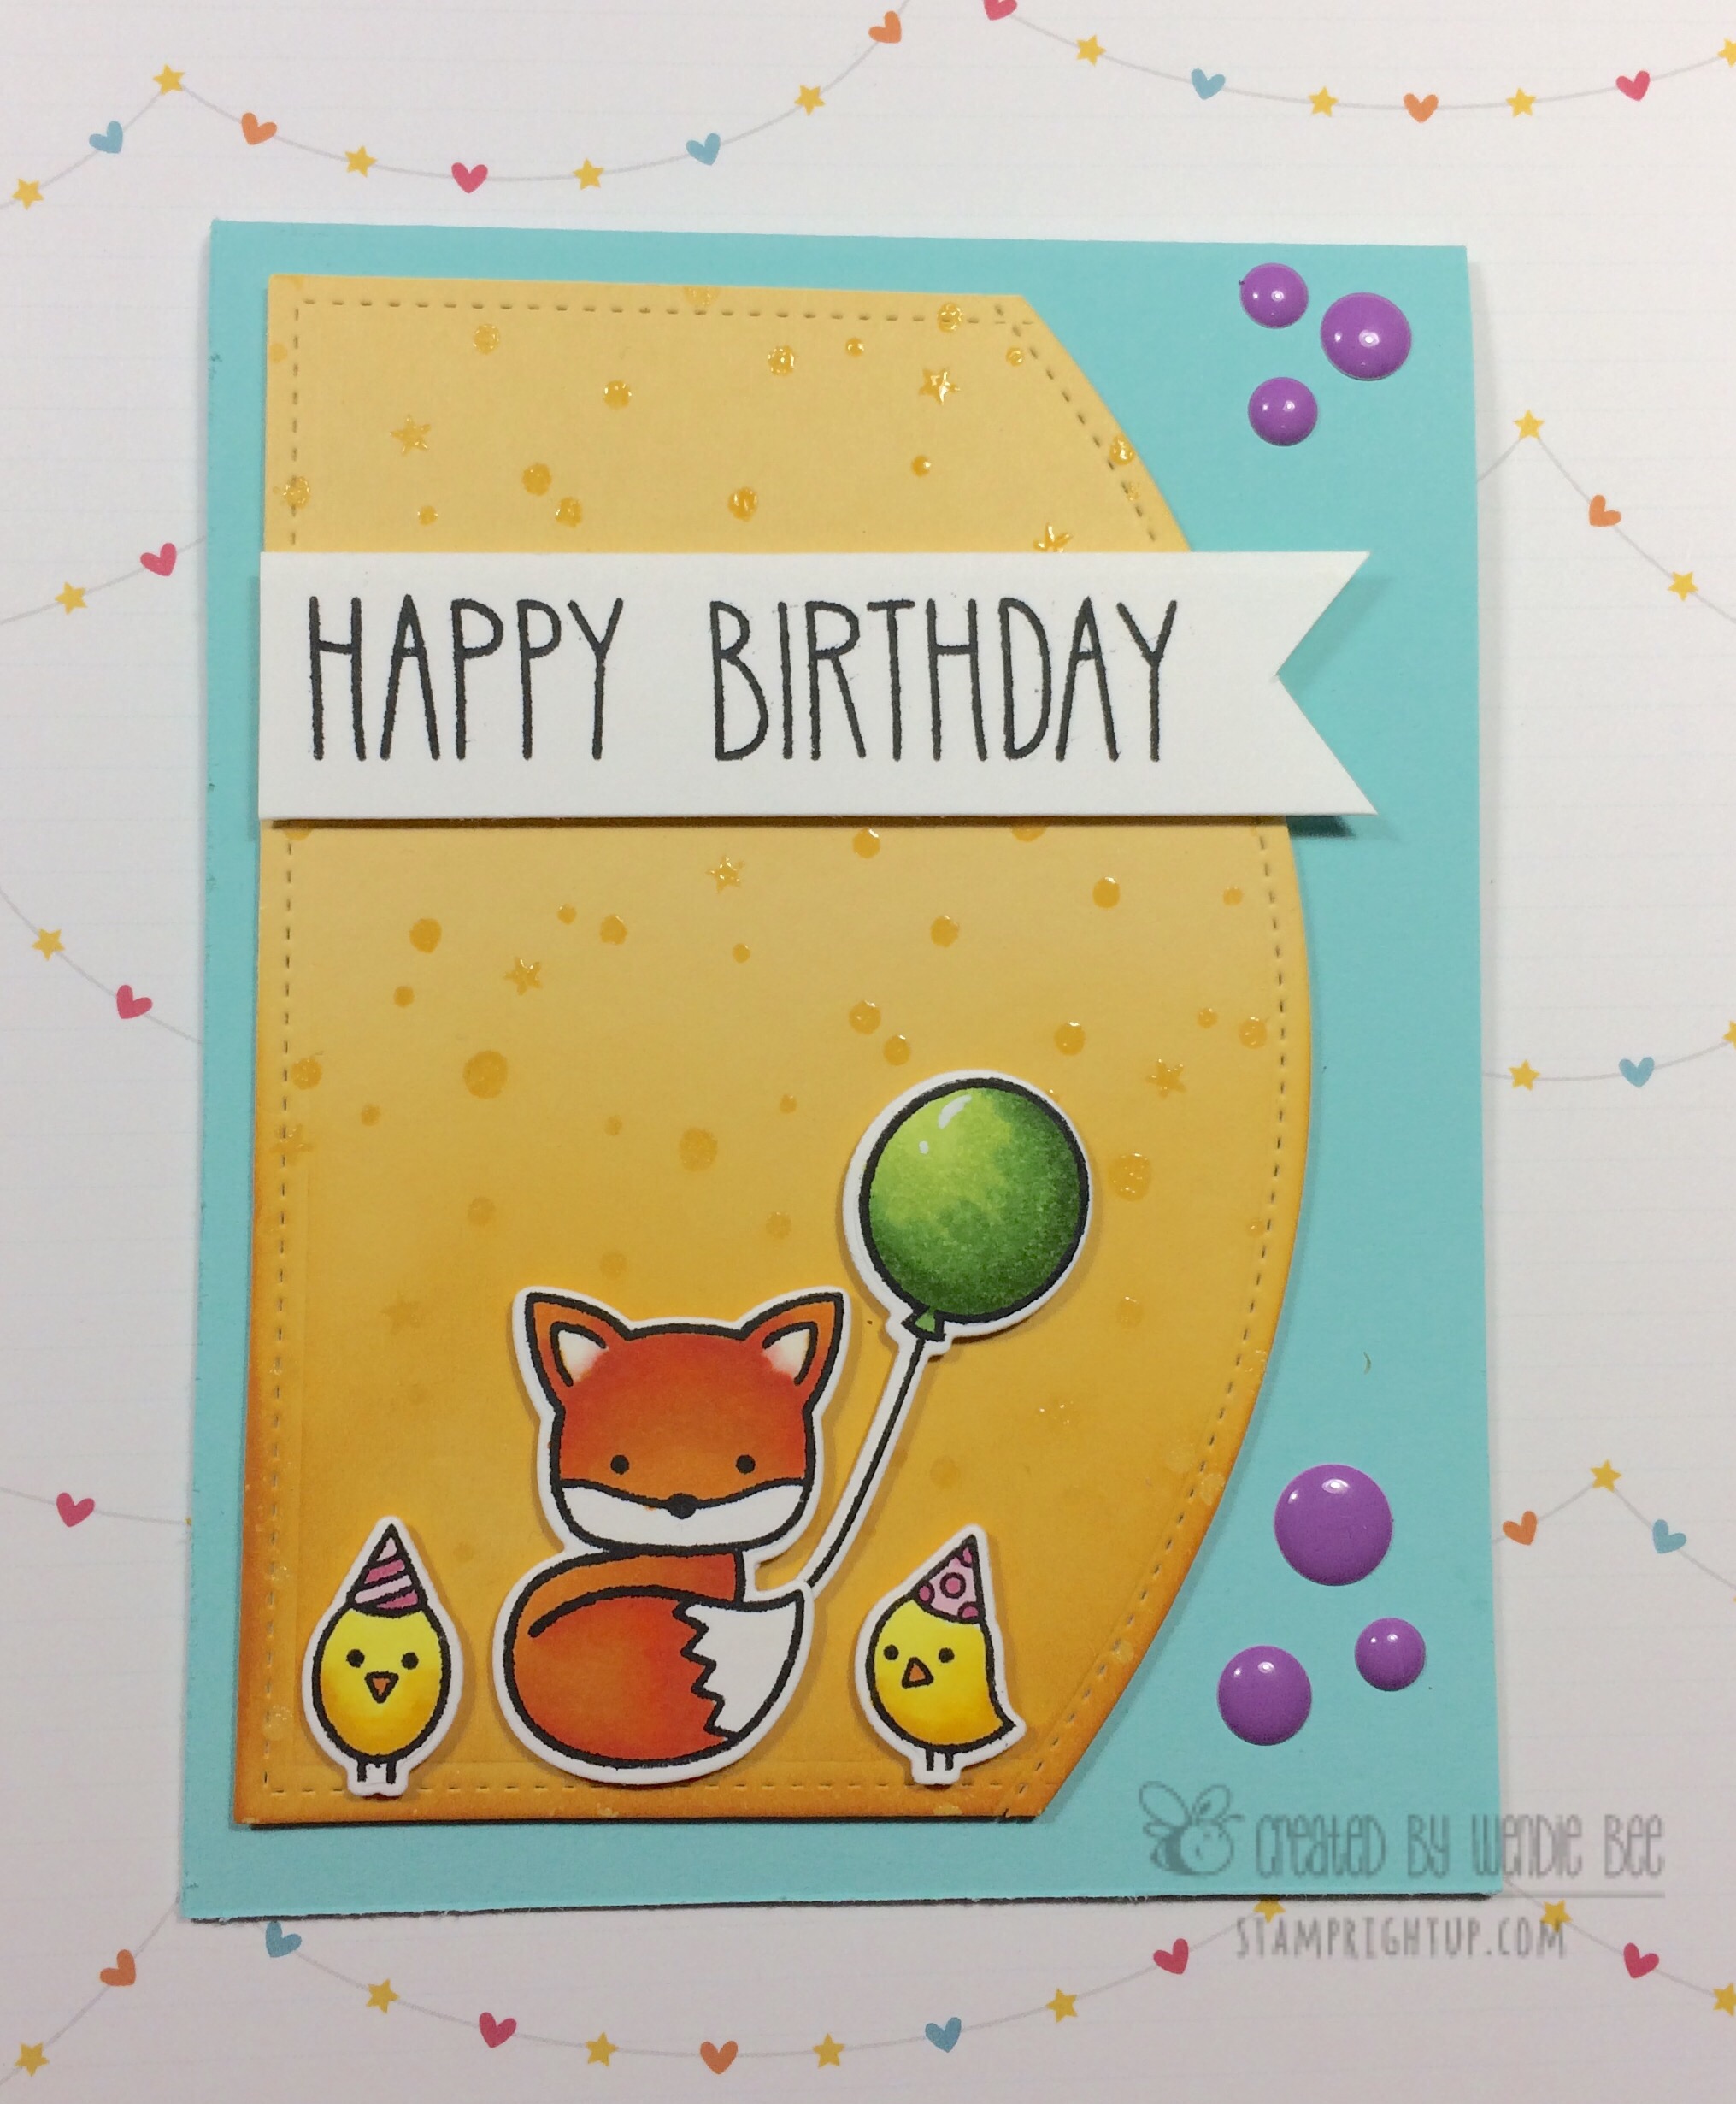
LawnFawnatics Challenge #1: Happy Birthday by Wendie Bee of Stamp Right Up
Thanks for stopping by! As always, your comments are welcome & appreciated!
Did this project inspire you? I would love to see what you made too! Comment with your project – I love to share & see other crafty projects ❤
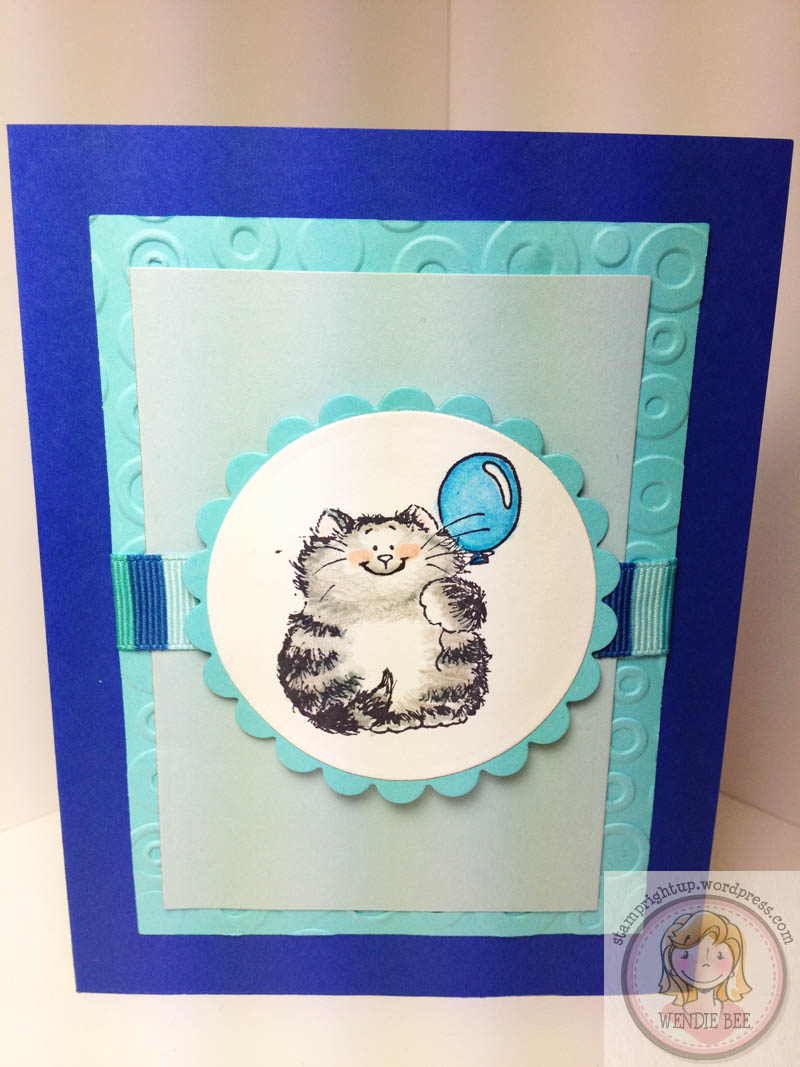
I finally got a chance to try out my new Lawn Fawn ink pad haul!! I learned how to stamp using only Stampin Up inks, so I wasn’t sure how well I would do with them. They worked GREAT!! I cannot get over how beautifully the colors layered over each other!! I just love Lawn Fawn ink pads & they are great for both beginner and advanced stampers a like. If you are completely new to stamping, check out the introduction video on Lawn Fawn`s You Tube channel showing you how these ink pads work, and what to expect.
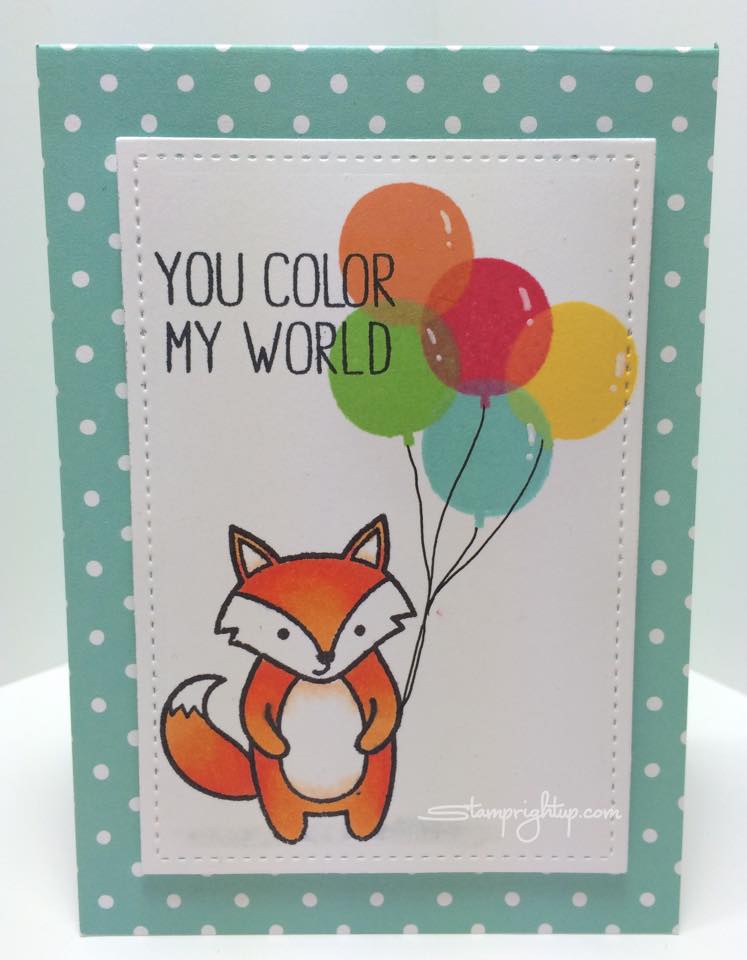
For my card, I used Spectrum Noir markers to color the fox which was stamped in Memento tuxedo black ink. I stamped the red balloon first, then layered the rest over each other randomly – I love how it turned out! Using a white gel pen I added the little shine marks to the balloons for some extra pop.
The spectrum noir marker colors I used for this was: OR 1 – 3 for the fox, FS9 for the belly & ear accent shading, IG1 for the shadow effect under the fox.
The sentiment from Starry Backdrops stamp set was perfect for this card too – but there was quite a few that I thought would have worked just as well
Lawn Fawn Ink Pads with Party Animal Fox stamp by Wendie Bee of Stamp Right Up
Macro of Lawn Fawn Ink Pads Balloons by Wendie Bee of Stamp Right Up
Hiya Stampers!! Well, it’s still winter here in Montreal and the roads have been ridiculously icy – but thankfully not so bad that people couldn’t drive. I held a workshop recently to celebrate the release of Stampin Up’s new Occasion catalog.
Here are two of the card projects we made at the workshop:
Backyard Basics Tulips & new Hardwood background stamp
So Very Grateful stamp set colored with markers and blender pen
Card #2: So Very Grateful
Stamps: So Very Grateful
Card stock: Crumb cake, Crisp Cantaloupe, Soft Sky
Inks: Island Indigo, Gold
Markers: Pistachio Pudding, Wild Wasabi, Strawberry Slush, Soft Sky, Crisp Cantaloupe, Calypso Coral
**sneak peak** Sale A Bration 2014 items: Dots embossing folder, Sweet Sorbet yarn in Crisp Cantaloupe
We also did a 3D project: a post it note holder. This will be coming soon as a tutorial – so stay tuned for that!!
If you are in the Montreal area and would like to attend one of my classes or events, please click through to register and RSVP for the next workshop or event!
—————————————————————————————
Contact me anytime to place your order – I can ship anywhere in Canada for as low as $9.95! Now it’s even easier to shop with me! I accept Credit cards, email money transfer and Paypal.
Call me today to place your order 514-482-4653 or email at stamprightup at hotmail dot com
WOOOO HOOOOO!! Party in the craft room today!! I *finally* found a method of coloring stamped images that did not require a thousand dollar investment!!
All you need: Standard pencil crayons, baby oil & blender tips (called pen or marker nibs)
Penny Black stamp colored & blended with Crayola Pencil Crayons
My foray into coloring with my new Prismacolor markers wasn’t NEARLY as successful – the set of 48 I got did not have enough shades of one color to allow for a proper gradient blend.
Here is the video that madame Wong posted showing a tutorial on how to blend your pencil crayon coloring:
Here are a few additional tips to coloring & blending your pencil crayon coloring:
If you want to show texture (like fur in my example), then be careful not to over blend
Use only a pinpoint amount of baby oil – the more oil you have on your tip, the more it will blend your work. go over your colors a few times instead. Better to have not enough, than too much blending. And yes, you can blend too much. Too much blending = smeary, smudgy looking work
The better quality pencils you use, the richer your colored image will turn out.
I used Whisper White card stock from Stampin Up, but plain old card stock from Michaels also worked when I tested it.
Materials for my card:
STAMP: Penny Black (clear mount) “It’s Your Day”INK: Black Memento Archival Ink COLOR: Crayola Pencil Crayons BLENDING: Household standard type Baby Oil & Marker / Pen Nib refills (see video for other types of blenders you can use)
PAPER: Recollections (I don’t know the colors)
EMBOSSING FOLDER: Cuttlebug Spots & Dots
**EDIT UPDATE**
After some requests, here is a picture of the blenders that I use. I am Canadian & got these at my local Michaels. (I looked for the tool that was used in the video but I couldn’t find it.)
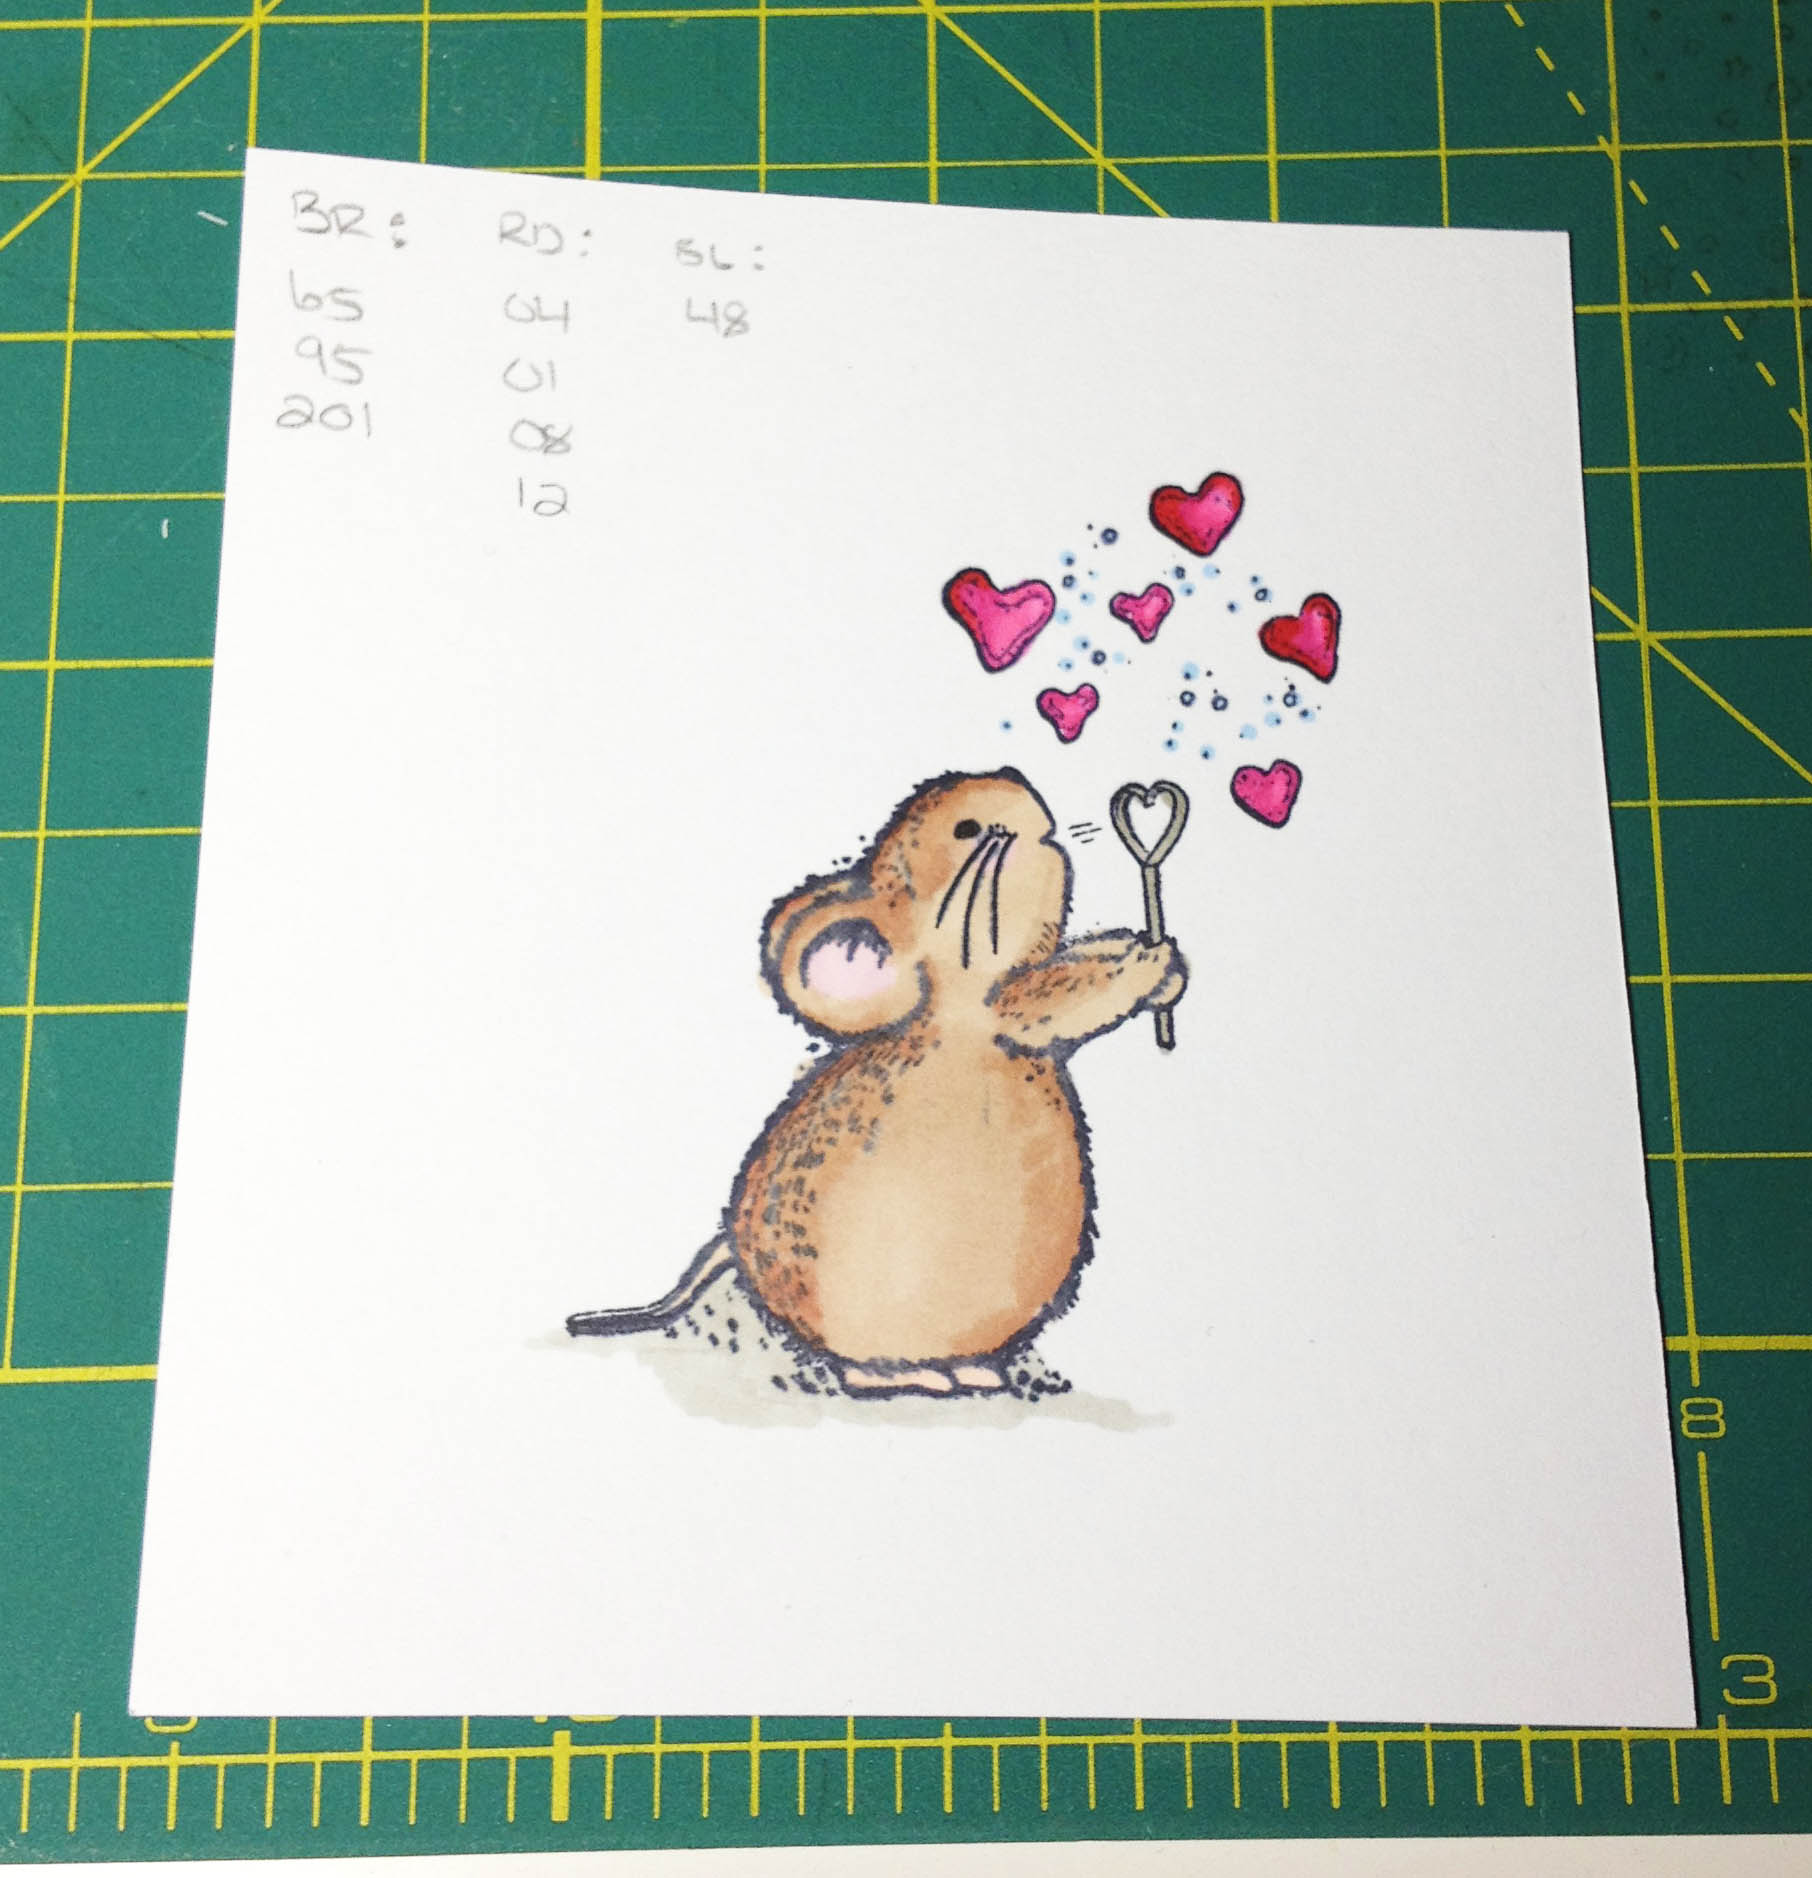
Coloring. Not just for kids anymore! I just recently acquired a set of 48 Prismacolor markers. These are very similar to Copic markers – they are alcohol based ink which allows for blending and non-streaking when filling in.
Thanks to the brilliant Darlene Devires and her tutorial post showing step-by-step instructions on how to color with copics markers (or Prismacolor in my case) I was able to color this Mouse stamp that I had got to make boyfriend a Valentine’s Day card with.
And here is my first colored image using alcohol markers:
Those penciled notes you see in the top left corner are my notes with each of the colors I used to create this image so I know for next time what the best colors are to use.