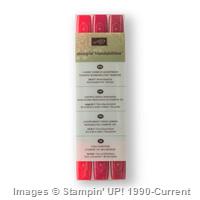
Of all the alcohol markers that Stampin Up has, Cherry Cobbler is my favorite color. It is such a rich yet vibrant color, almost regal like velvet 😉
I am hosting an Introduction to Alcohol Marker Coloring class this week, and here is the card the group will be making in the workshop. Each class participant will get a FREE pack of the Cherry Cobbler marker trio as part of their class fee too!
Here is the card:
Cherry Cobbler Blendabilities Blended Bloom by Wendie Bee of Stamp Right Up Canadian Stampin Up Demonstrator
Hiya Stampers! With the holiday madness coming to a close, I thought I would start the New Year off right and create my second video tutorial. I knew as soon as I made this card that I wanted to create … Continue reading →
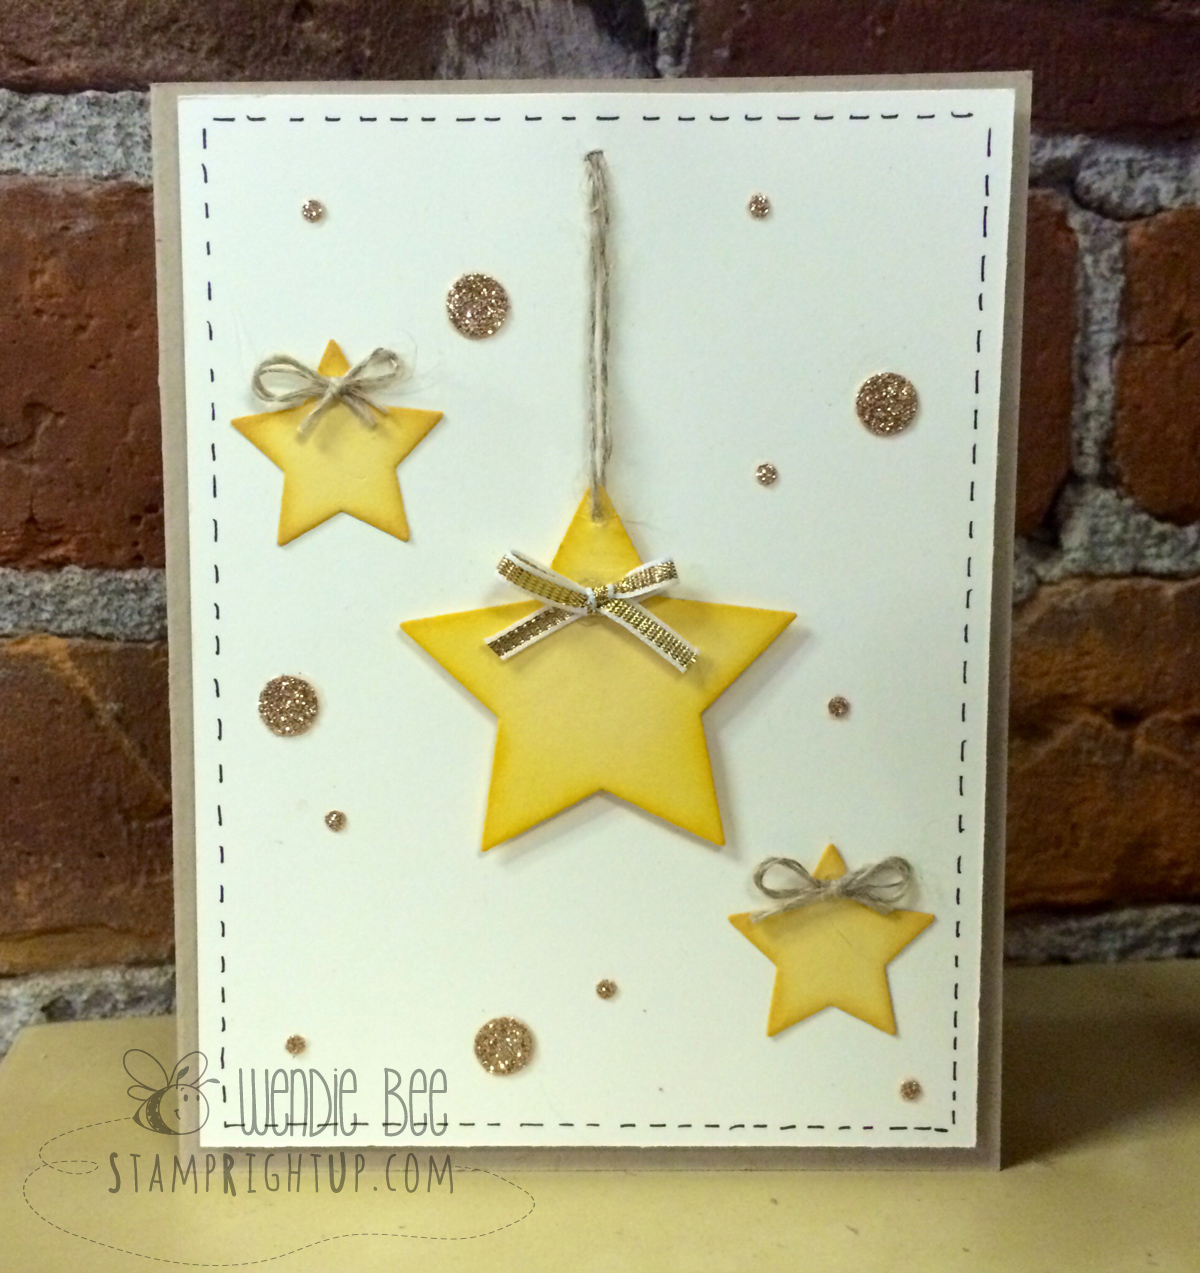
Just a quick post to show you the card I made using the Star framelits that are FREE with a stamp set too when you buy a Big Shot this month. I know crazy right?!
Get this set of star framelits FREE with the purchase of a Big Shot for the entire month of August!!
This card is super easy to assemble – here is a quick overview of how to make this card:
Cut a card base in Crumb Cake of of 8.5 x 5.25, scored at 4.25
Trim a layer of very vanilla to 4 x 5.25
Using your Big Shot with the Star Framelits
die cut 2 smallest stars in so saffron
die cut 1 second smallest star in so saffron
Sponge edges of star with daffodil delight ink using a dauber
From champagne glimmer paper punch out medium circle and tiny circle using the Owl punch
With the gold taffeta ribbon, tie a small bow & adhere to largest star
With the Linen thread, tie two small bows and adhere to smallest stars
Cut piece of linen thread, and thread through top point of largest star
Pierce a hole in your card just below the top of your vanilla layer and thread star through
Pop up largest star using dimensionals and adhere down to vanilla layer
Adhere down both small stars with bows attached using tombow or snail
Adhere random circles punched from the glimmer paper to fill up space and balance out your project
Using the journaling pens from Project Life – add stitch lines around edge of vanilla layer
* TIP * I used a piece of scrap paper trimmed to 3.75 x 5 to help me keep my stitch lines straight
I can’t believe it!! My first video tutorial!! It’s *really* basic, so be gentle with me – but I have an even better understanding of what I will do different next time so each video will get better and better!!
For my first video, I chose to do a tutorial on how to make the rainbow card I posted recently (click to find the list of supplies you will need to make this card)
Rainbow Circle Framelit Card by Wendie Bee of Stamp Right Up
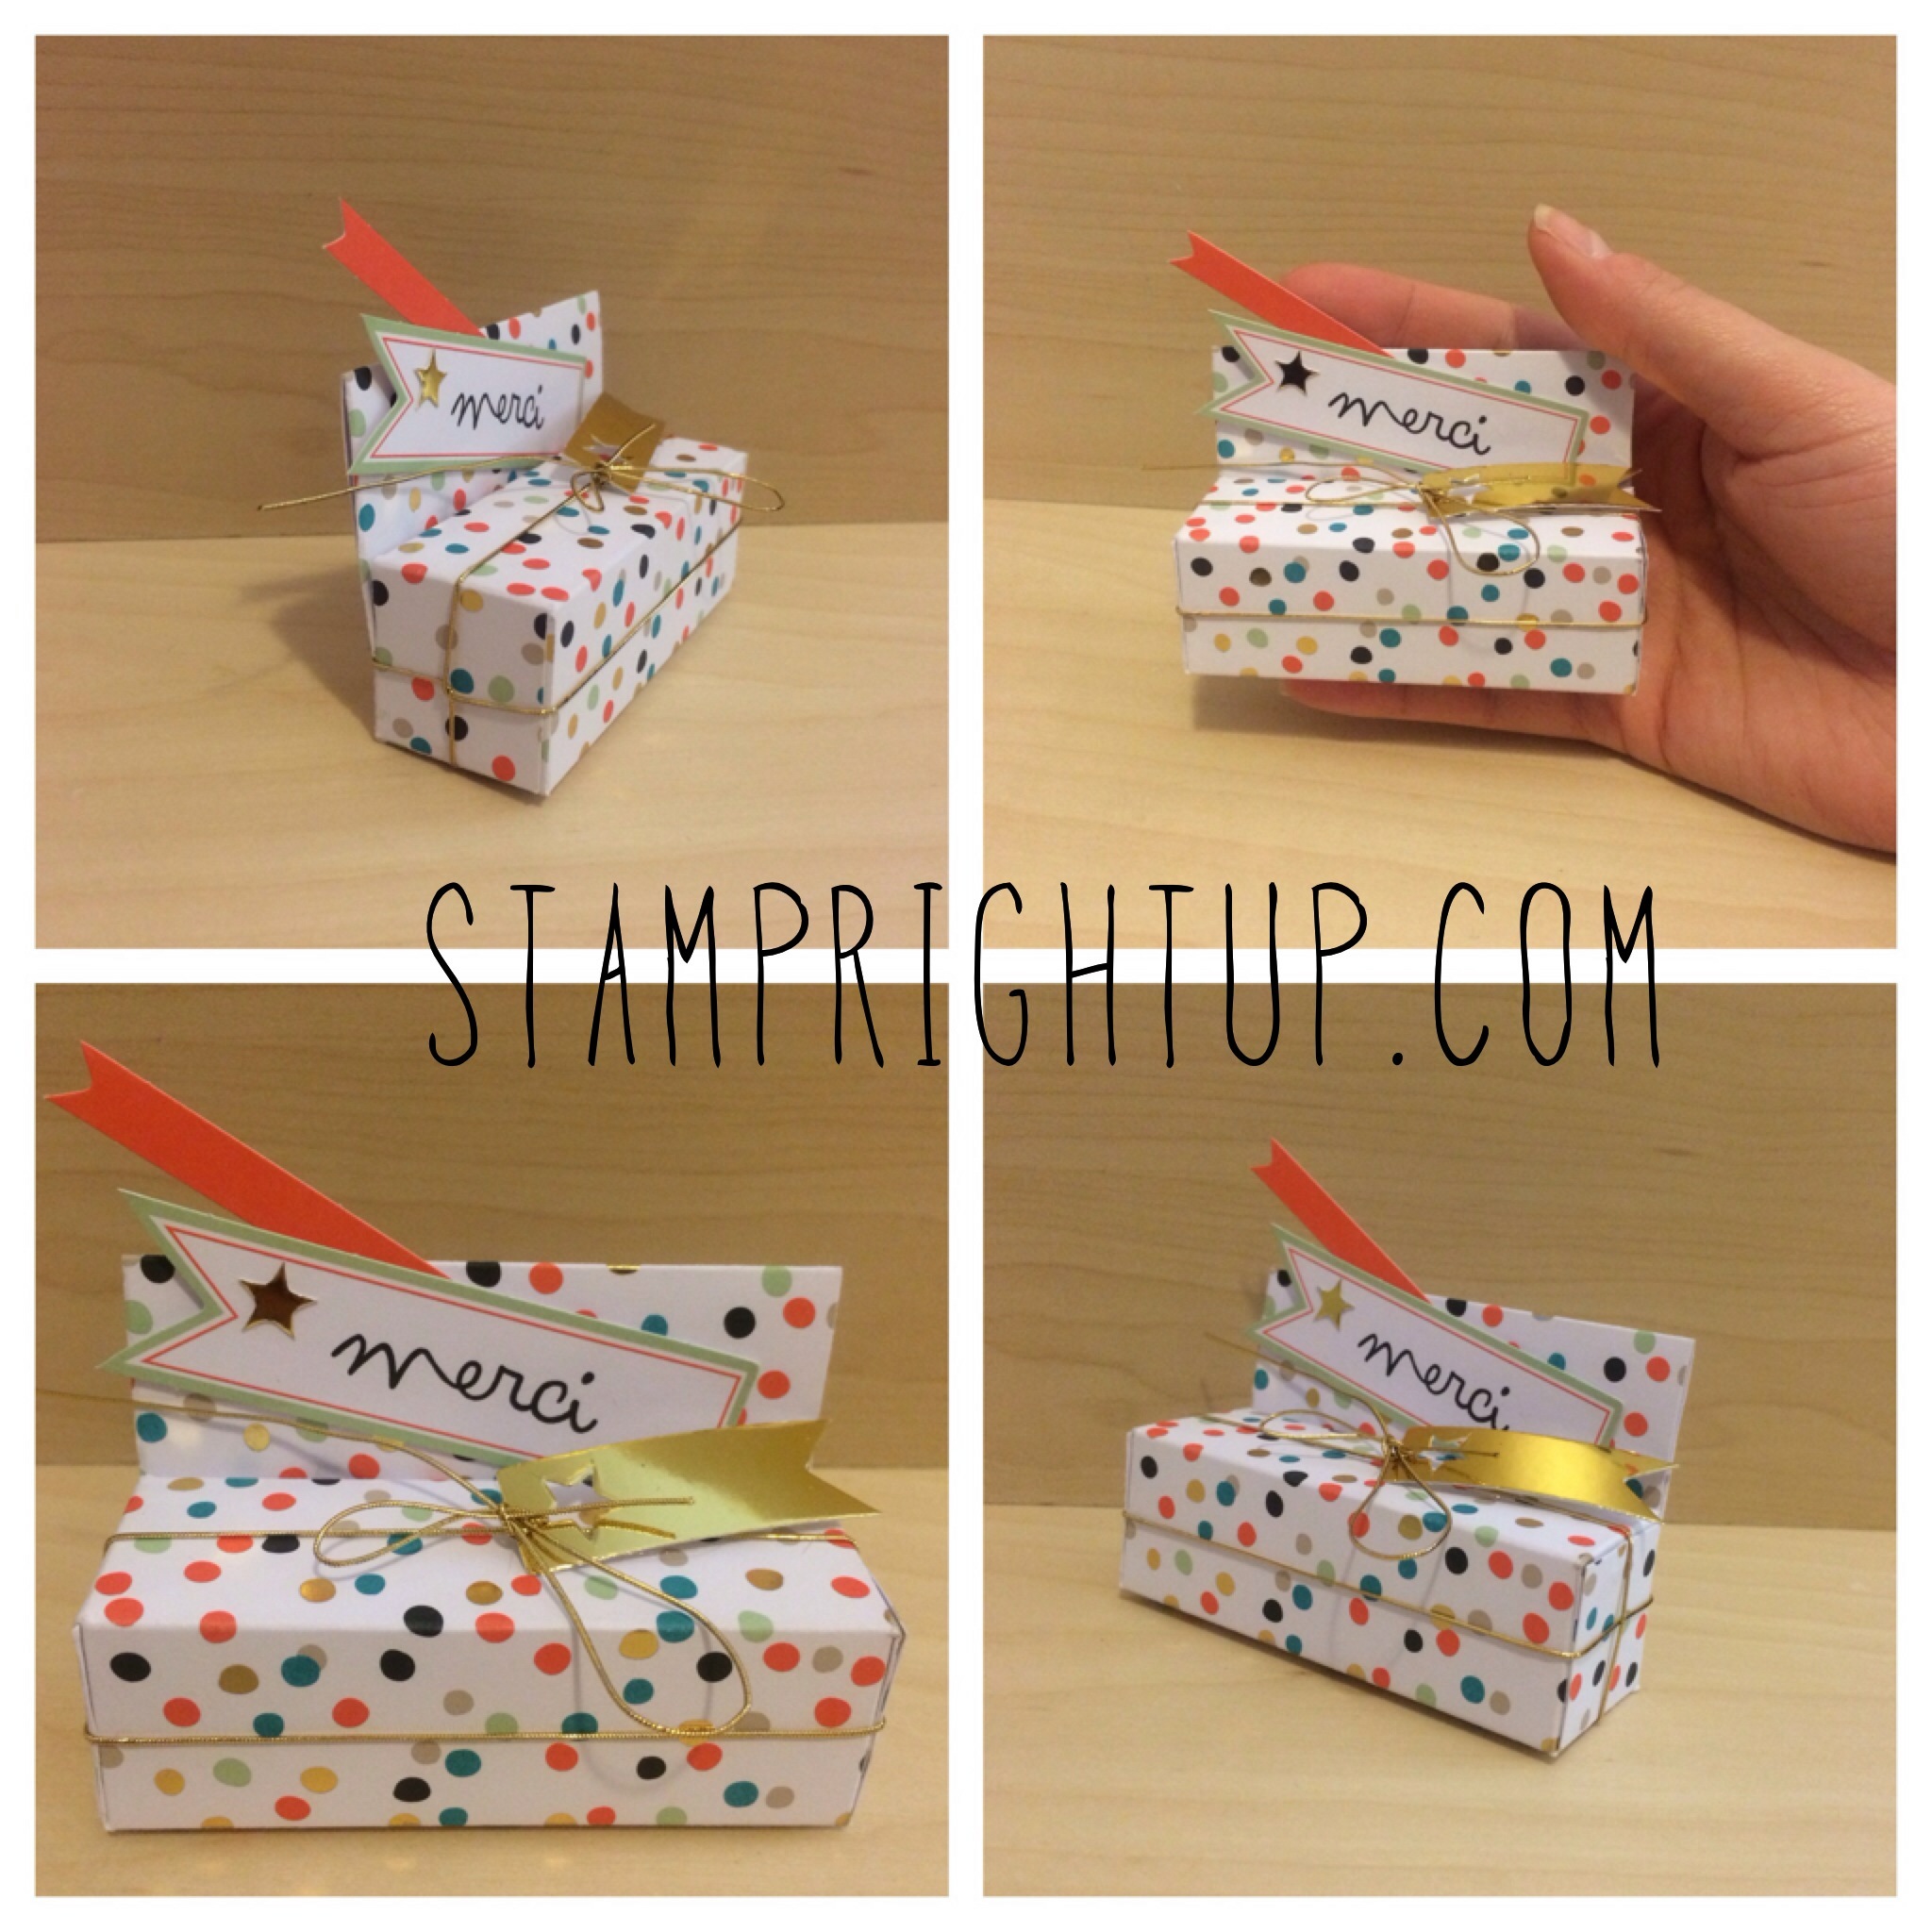
When I saw this project by Sam McDonald of Pootles UK, I just HAD to make it!! I was smitten with the Sale-A-Bration Good As Gold card kit as soon as I saw it, and when I saw Sam’s brilliant little box, I knew I had to make one too!
Here is the project I made using the Good As Gold card kit:
Stampin Up Sale-A-Bration Good As Gold Gift Box – Stamp Right Up Montreal
I loved the box so much, that I decided to make another one using Stampin Up card stock and the Sale-A-Bration DSP (designer series paper). I love Avon lip balm – it’s a great price, and there is always so many different designs and flavors available, I thought they would be perfect for this project Here is my modified project using Sam’s tutorial:
Stampin Up Avon Lip balm box by Wendie Bee of Stamp Right Up Montreal
Thanks for stopping by! Don’t forget – your comments are always welcome and appreciated!
——————
Want to create this project yourself? I can show you how! Contact me anytime to get the tutorial or RSVP FOR A WORKSHOP
To order any of the supplies used for this project call me today to place your order 514-482-4653 or email at stamprightup@hotmail.com
I can ship anywhere in Canada, including Quebec for as low as 10% of your order (before tax)!
Now it’s even easier to shop with me! I accept Credit cards, email money transfer and Paypal.
For all my friends in the UK – Sam at Pootles will be happy to help you out! Contact her here: http://pootles.co.uk/
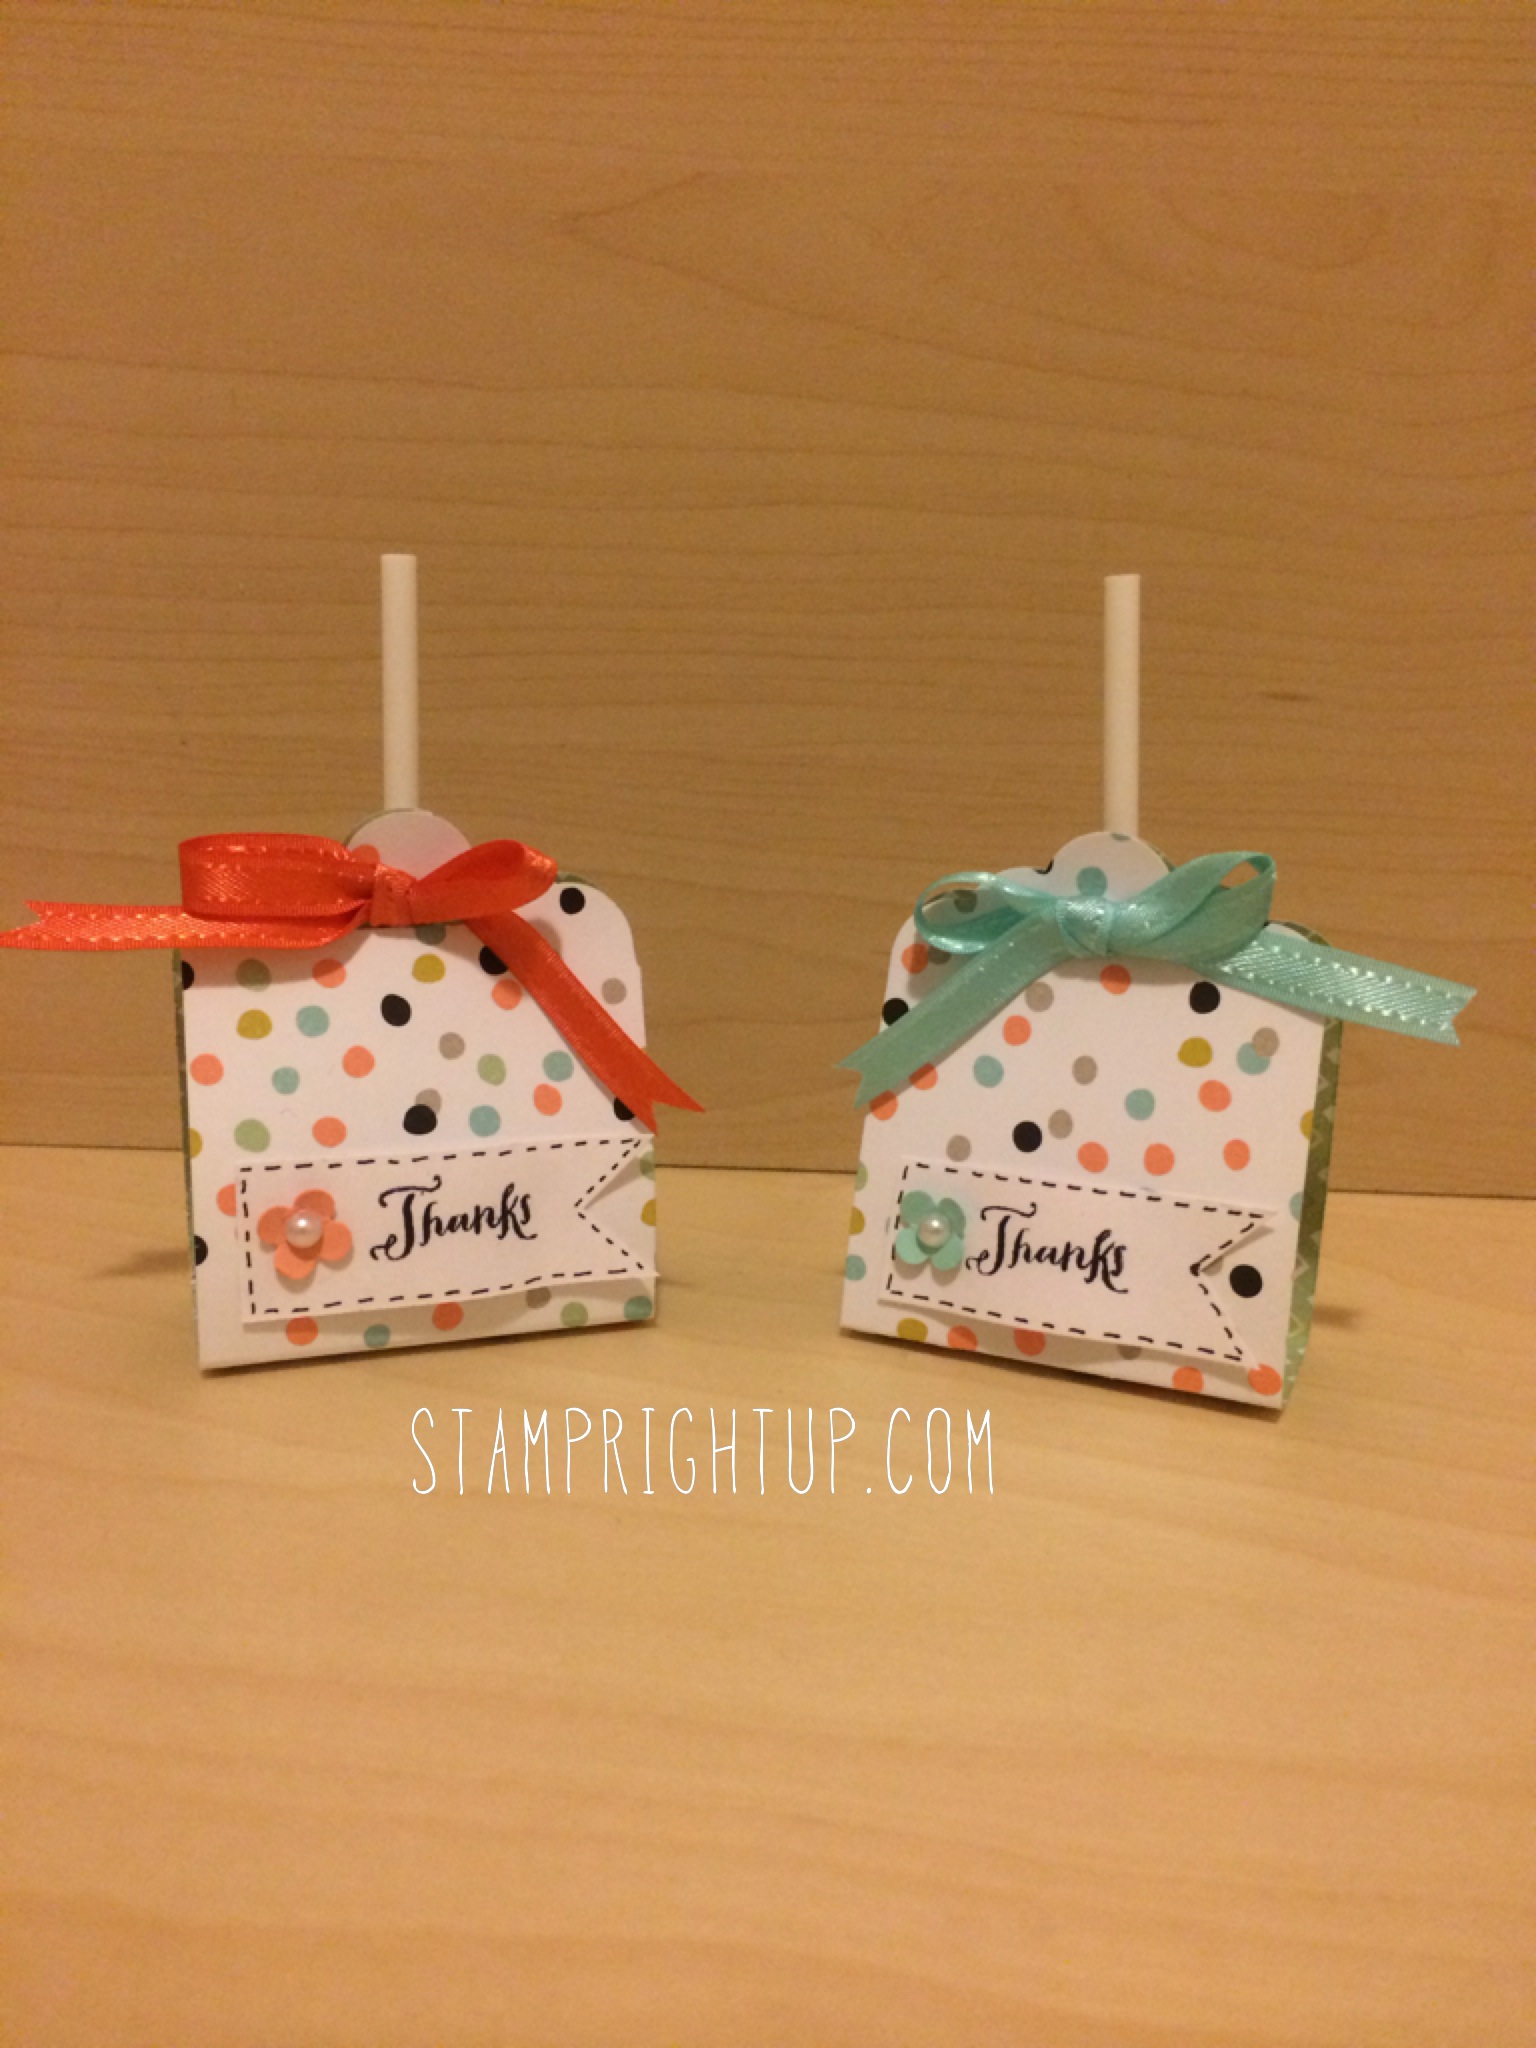
Stampin Up Sale-A-Bration Lollipop Treat Holder Party Favor created by Montreal Quebec Stampin Up Demonstrator Wendie Bee
Here is what I used to make these awesome lolli pop treat holder /party favors:
Stamps: Stampin Up Another Thank You (Photopolymer)
Card stock: Sale-A-Bration
Inks: Stampin Up Basic Black
Markers: Basic Black (dash lines)
Misc: Flower punch from bitty punch pack, pearls, Sycamore Street Ribbon in Pool Party & Calypso coral
As always – your comments are welcome and appreciated!!
——————
Want to create this card yourself? I can show you how! Contact me anytime to RSVP FOR A WORKSHOP
Or – to order any of the supplies used for this project call me today to place your order 514-482-4653 or email at stamprightup@hotmail.com
I can ship anywhere in Canada, including Quebec for as low as 10% of your order (before tax)!
Now it’s even easier to shop with me! I accept Credit cards, email money transfer and Paypal.
Just a quick post today to share a card I made for Eric’s Grandmother who spoiled us with cake & presents on our most recent visit. I love spending time with family ❤
They have a budgie bird named Pom Pom, so I wanted to incorporate a bird in the card somehow… He is bright colors so I wanted to make sure the card reflected that as well.
Here is what I came up with:
Stampin Up retro fresh washi tape Merci / Thank You card by Montreal Demonstrator Wendie Bee
Stampin Up’s retro fresh washi tape made this card ridiculously easy & quick to make on the fly (last minute). The only cutting of paper was the card base and first layer… the tape I just pulled off a piece and layered each design onto the card. I used markers to clor the toucan bird, and fussy cut him out and adhering him using dimensionals
Here’s a really neat trick: Here is how I created a layered effect for the speech bubble :
Die cut bottom layer of speech bubble in solid colored card stock.
Using the same die, I placed it on white card stock then with a pencil, traced the shaoe on the INSIDE of the die.
With the “Remerciements” stamp set, I used the small ‘merci’ stamp, inked in tangerine tango, coastal cabana, soft suede & so saffron
Finally, I fussy cut along my pencil lines and popped up the cut out piece using dimensionals
Thanks for stopping by. And don’t forget – your comments are always welcome and appreciated!!
———————————
Want to create this card yourself? I can show you how! Contact me anytime to RSVP FOR A WORKSHOP or to place your order. I can ship anywhere in Canada, including Quebec for as low as 10% of your order (before tax)!
Now it’s even easier to shop with me! I accept Credit cards, email money transfer and Paypal.
Call me today to place your order 514-482-4653 or email at stamprightup@hotmail.com
Hiya Stampers!! It is still FREEZING in Montreal. Like gross cold. Which, as always, gives me a great excuse to not have to go out, which means I can play in my craft room!! Yay! I just moved to Montreal on October, and everyone tells me that this is an unusually cold winter. Like that makes me feel much better – it was TWENTY degree difference from back home (Vancouver) to here last week.
So, here is a sneak peek at one of the cards that we will be making in the Valentine’s Day workshop this month using the new “Just Sayin” stamp and die bundle that Stampin Up just released in their new Occasions catalog last week.
Just Sayin Stampin Up ‘Love Ya’ Word Bubble card
Thanks for stopping by stampers!! Don’t forget – your comments are welcome and appreciated!!
Contact me anytime to place your order – I can ship anywhere in Canada for as low as $9.95! Now it’s even easier to shop with me! I accept Credit cards, email money transfer and Paypal.
Call me today to place your order 514-482-4653 or email at stamprightup at hotmail dot com
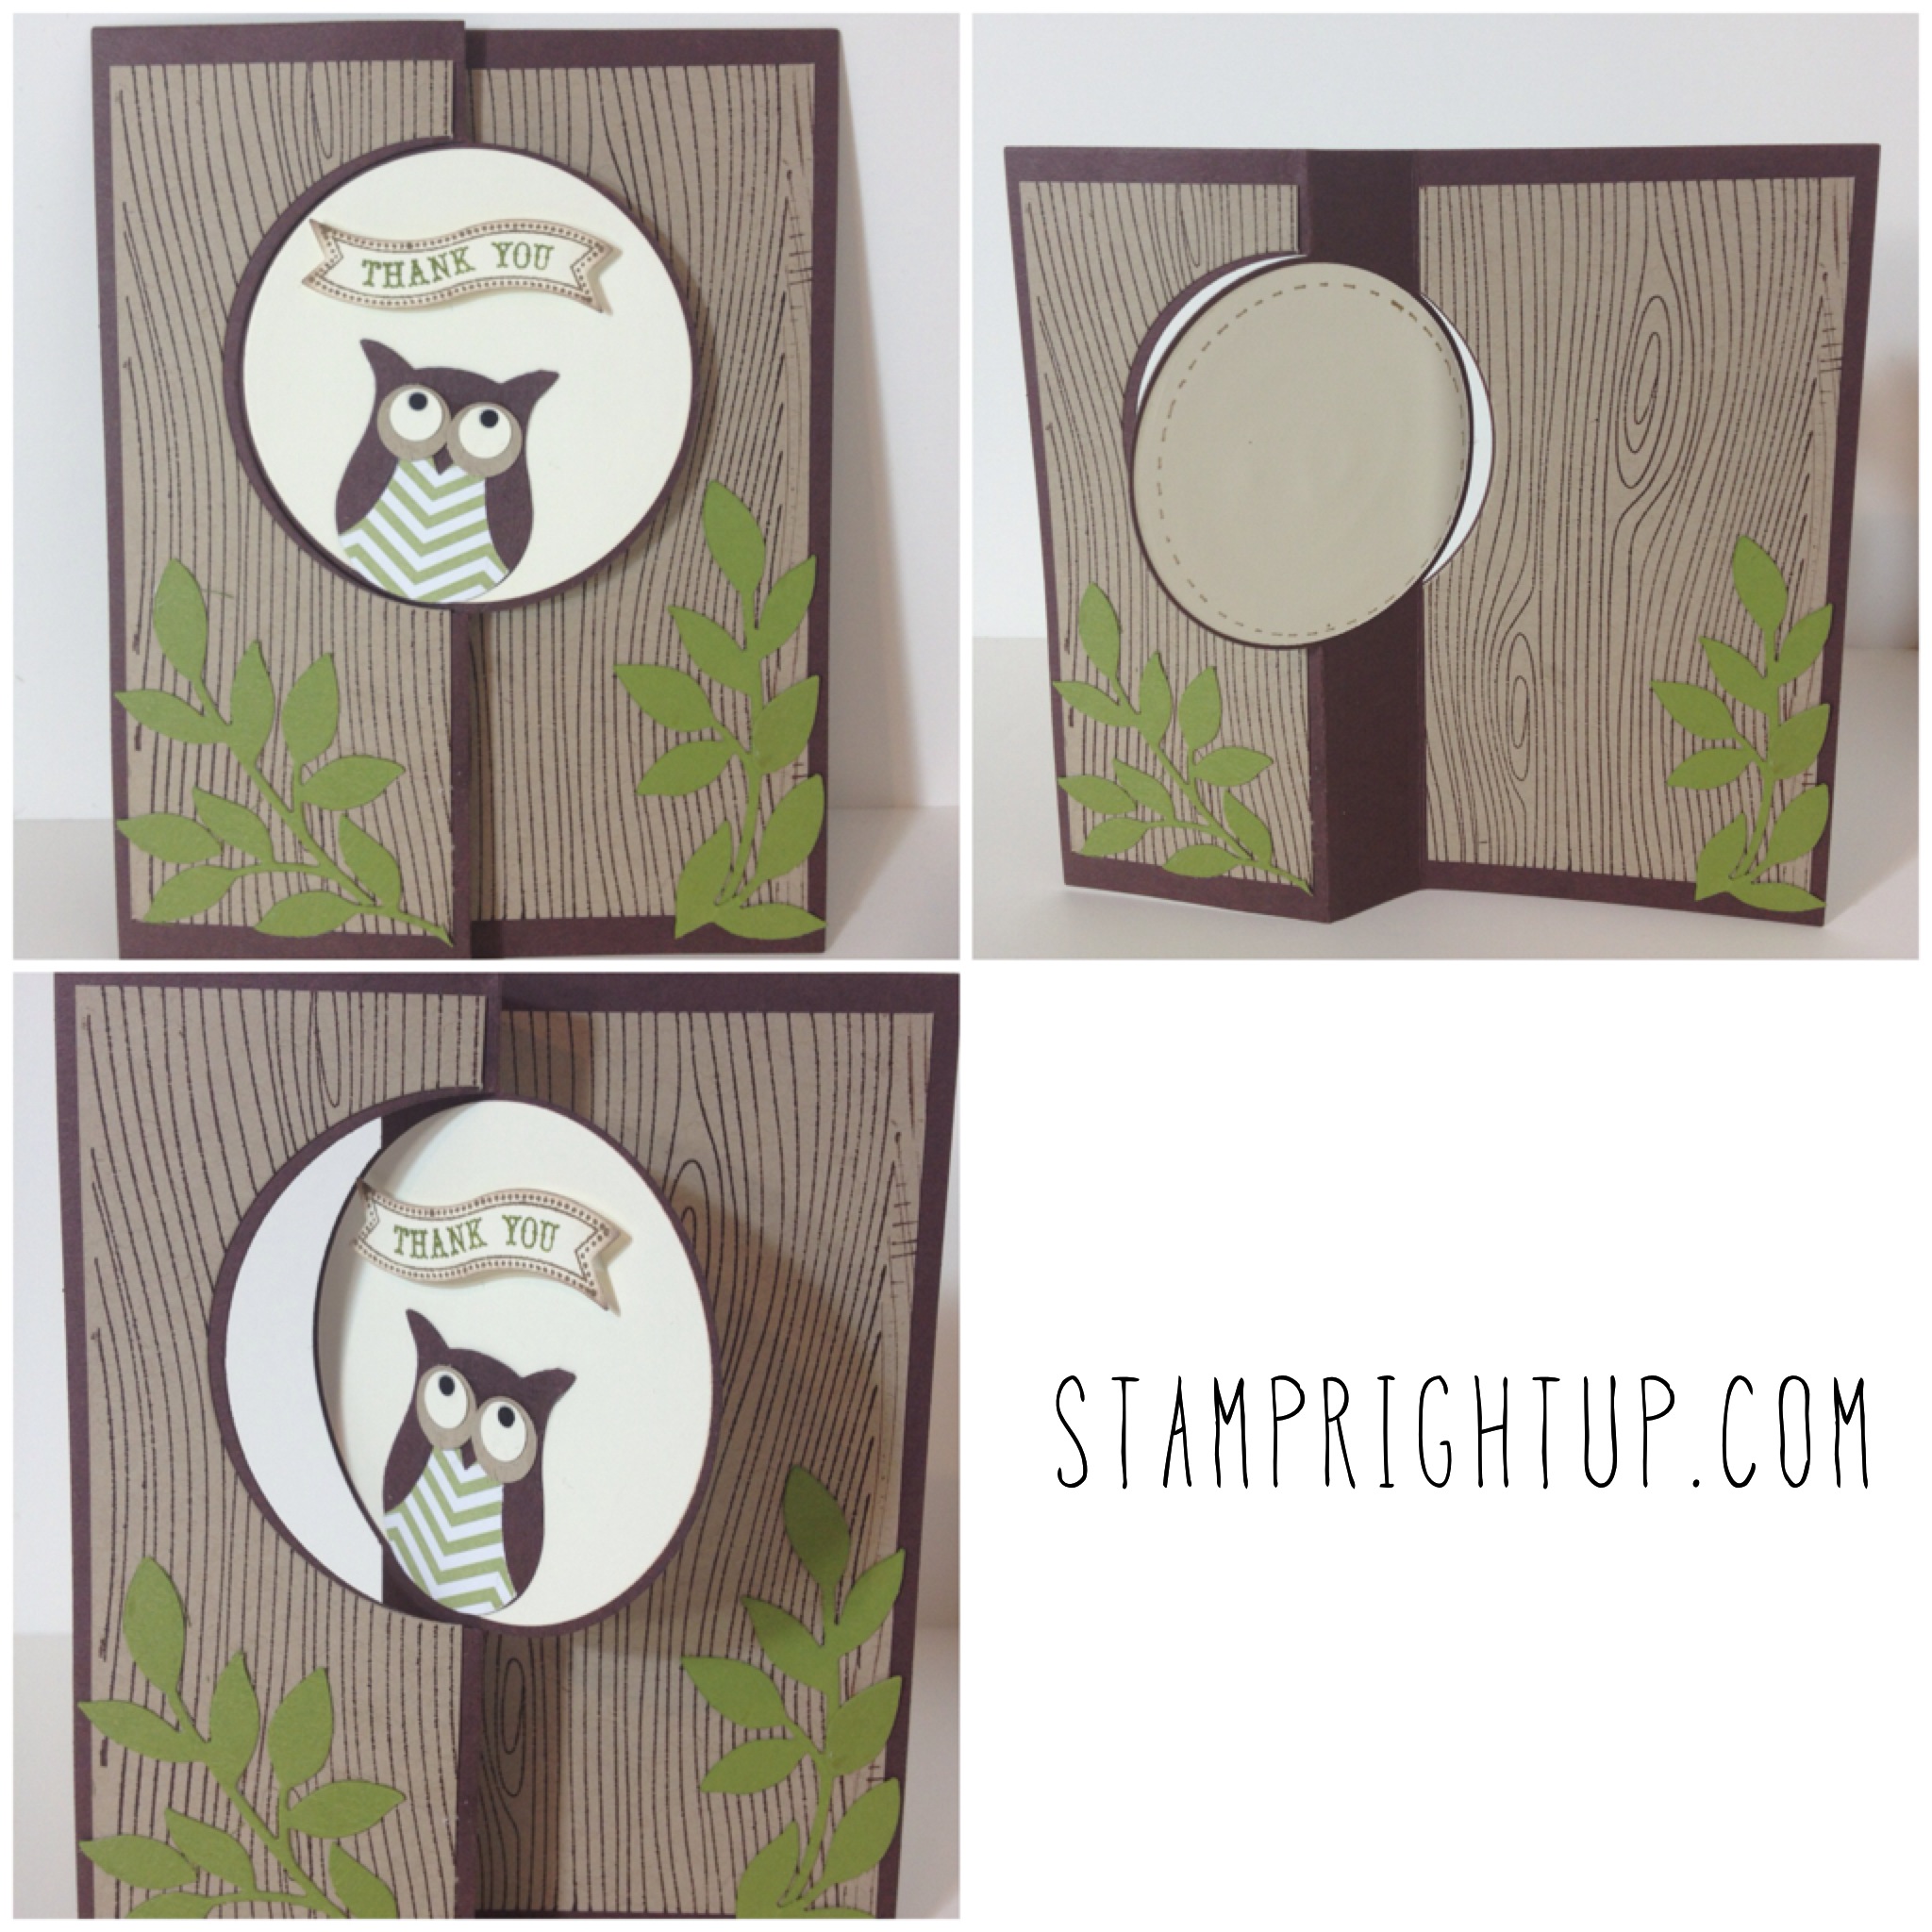
Using the owl punch from Stampin Up, this workshop will feature three different cards using one punch. I love this punch – it is so versatile that it was the very first item I bought when I started out!
Here is one of the three card projects we will be making. I made this card a while ago and the blog post I wrote about it has gotten so much positive feedback that I thought I would include it as a workshop project! There will also be a Birthday themed card and a wedding themed card using the owl punch as well. Curious to know how you can use the owl punch to make these? Register to the workshop and find out 😛
This class is suitable for all levels of crafting experience. All instruction will be done in English, however some stamps and catalogs may be available in French.
My workshops are located in the heart of Montreal in the Notre Dame De Graces (NDG) area. I am easily accessible by transit and driving (just off the 20 or 15 / Decarie)
Click here to register or call me at 514-482-8543 7 days a week, from 9AM – 8PM EST
 Cherry Cobbler Blendabilities Blended Bloom by Wendie Bee of Stamp Right Up Canadian Stampin Up Demonstrator