Stampin Up Coffee Cafe ~ Quick & Easy 5 Minute Card

It’s been a while, so I wanted to make sure I started the New Year off right by getting more of my creations posted for you all!
One big change you will notice: I will always now be posting the measurements of all cardstock & pieces used on my cards! I know it’s super frustrating for me when I go to case a really cool card I found, only to not be able to recreate it  just so because my proportions or measurements are off.

So – if you like my work, and you want to recreate it, I will make it easy & fun to do so! All I ask is that you link to the original post or tag me from Facebook, Twitter or Instagram 🙂

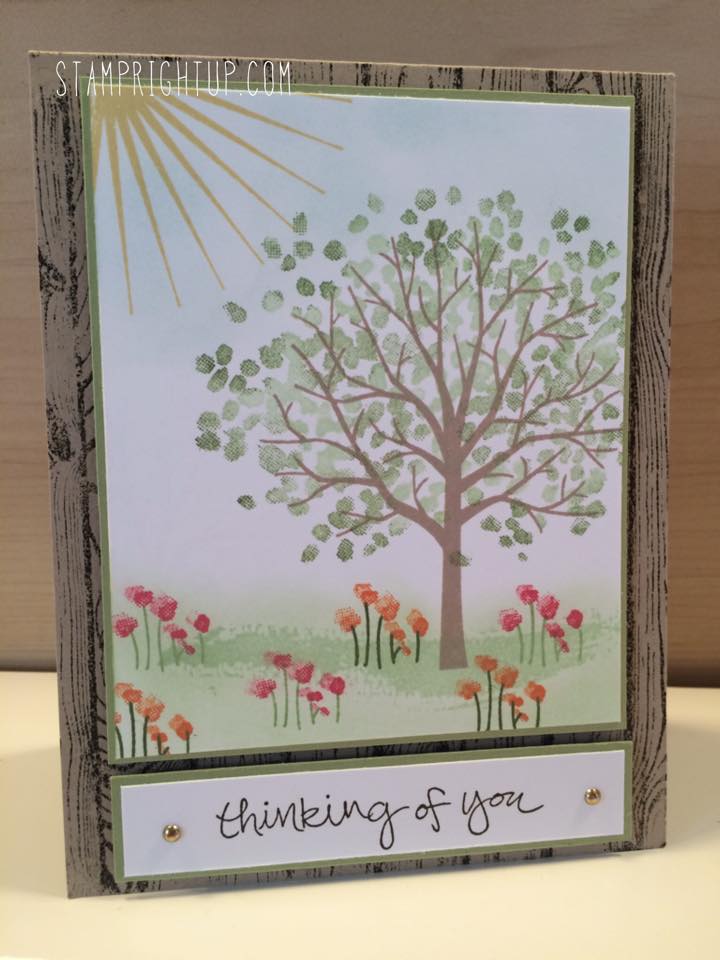
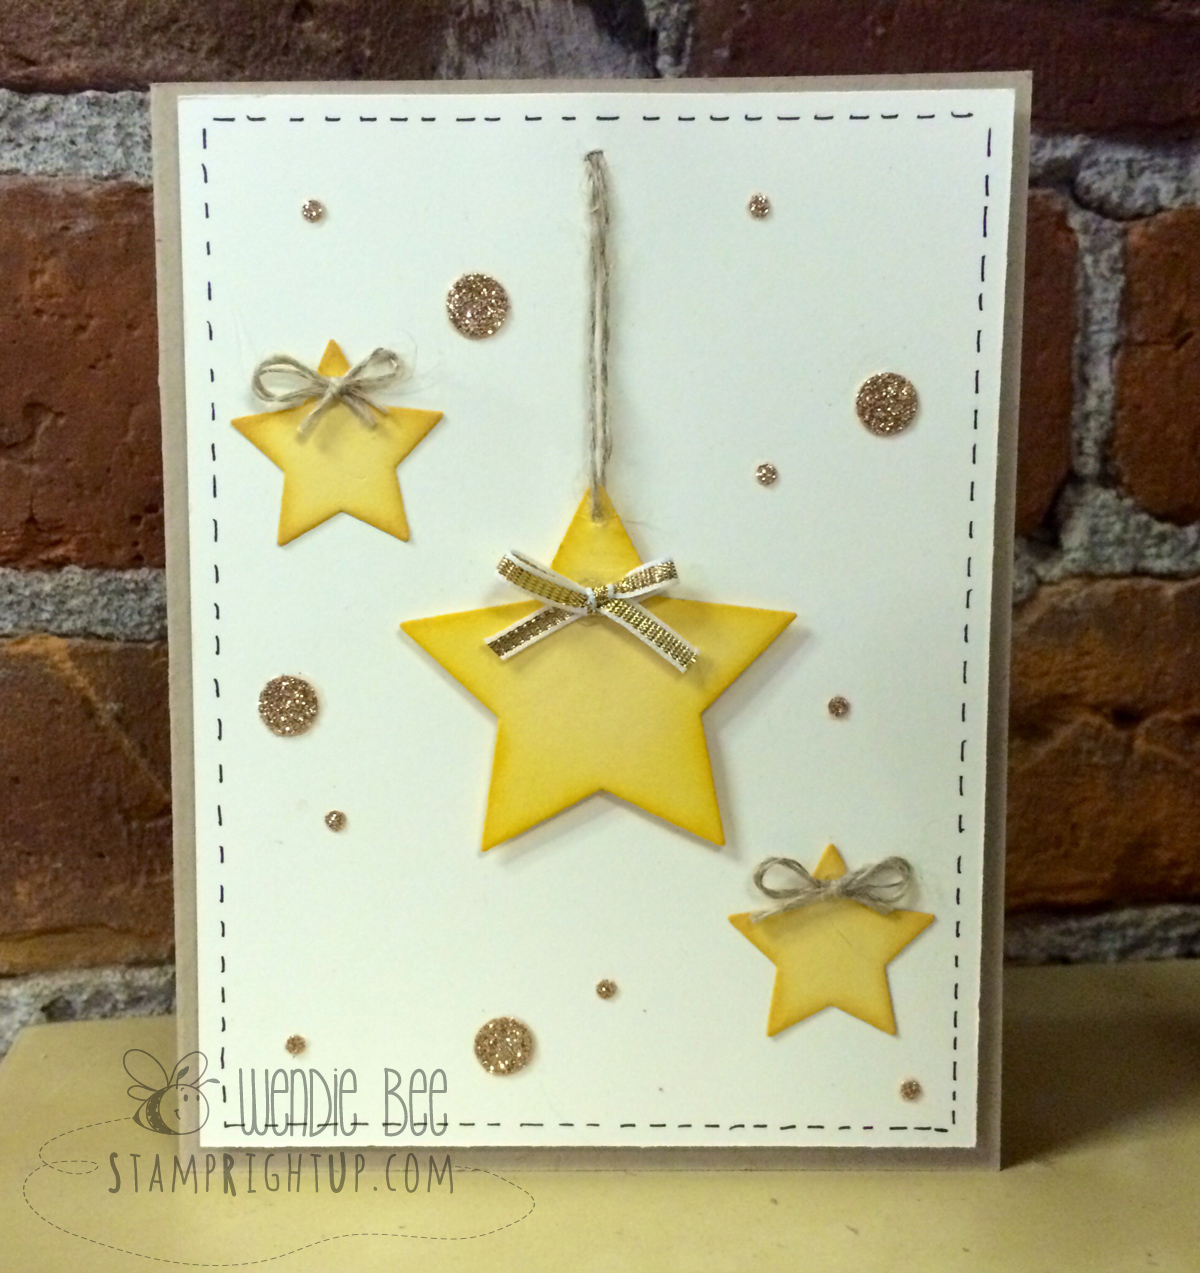
Without further ado – here is a really cute, and easy card to whip up.  This card is great for a make & take event or if you need a card on the go.


coffee-card_stamp-right-up_wendie-bee_make and take_tutorial


Supplies used to make this card:

  • Coffee Cafe Stamp & Die Bundle
  • Coffee Cafe Designer Series Paper Pack (Selected Pattern Paper: 3.25″ x 4″)
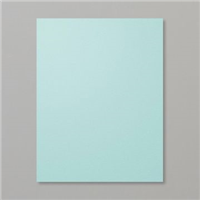
  • Blushing Bride cardstock & ink (Base: 4.25″ x 11″, scored at 5.5″)
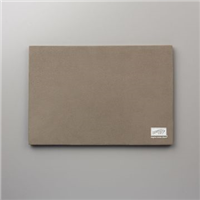
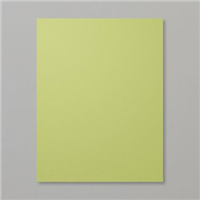
  • Sahara Sand cardstock & ink (First layer: 4″ x 5.25″)
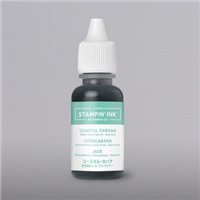
  • Early Espresso ink
  • Whisper White – for stamping coffee cups, lids & mini tag & for inside panel in card
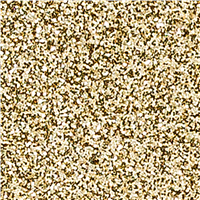
  • Natural bakers twine


As always, your comments are welcome and appreciated!

Thanks for stopping by – hope to see you again soon ❤

Stampin Up Celebrate Today Balloons Card and Video Tutorial

Hiya Stampers! This new Stampin Up Occasions catalog is seriously amazing.  Every single stamp set I ordered I have been able to make so many great projects with.

Here is one of my most recent project 7 accompanying video tutorial:  a large Celebrate balloons card.  It’s long and tall, but fits perfectly into a standard business size #10 envelope and can be sent in the mail for a regular postage stamp (no additional cost)!


Stampin Up Celebrate Today XL Balloon card with video tutorial by Wendie Bee of Stamp Right Up

Stampin Up Celebrate Today XL Balloon card with video tutorial by Wendie Bee of Stamp Right Up


  •  Card stock measurements:
    • Base (pear pizzaz):  8 x 9.25
    • Whisper white layer:  3.75 x 9
    • Gold glimmer sentiment base:  3 3/8 x 1
    • Pool Party sentiment layer:  3.25 x 0.75
  • Cut 3 x 7″ of whisper white bakers twine


Supply List

Built for Free Using: My Stampin Blog

Stampin Up Sheltering Tree Tutorial

Stamp Right Up Sheltering Tree Tutorial Video

Hiya Stampers! With the holiday madness coming to a close, I thought I would start the New Year off right and create my second video tutorial.  I knew as soon as I made this card that I wanted to create … Continue reading

Stampin Up Star Framelit Dies Card Quick Tutorial

Hi Stampers!!

Just a quick post to show you the card I made using the Star framelits that are FREE with a stamp set too when you buy a Big Shot this month.  I know crazy right?!

Get the set of star framelits FREE with the purchase of a Big Shot for the entire month of August!!

Get this set of star framelits FREE with the purchase of a Big Shot for the entire month of August!!

This card is super easy to assemble – here is a quick overview of how to make this card:

  • Cut a card base in Crumb Cake of of 8.5 x 5.25, scored at 4.25
  • Trim a layer of very vanilla to 4 x 5.25
  • Using your Big Shot with the Star Framelits
    • die cut 2 smallest stars in so saffron
    • die cut 1 second smallest star in so saffron
  • Sponge edges of star with daffodil delight ink using a dauber
  • From champagne glimmer paper punch out medium circle and tiny circle using the Owl punch
  • With the gold taffeta ribbon, tie a small bow & adhere to largest star
  • With the Linen thread, tie two small bows and adhere to smallest stars
  • Cut piece of linen thread, and thread through top point of largest star
  • Pierce a hole in your card just below the top of your vanilla layer and thread star through
  • Pop up largest star using dimensionals and adhere down to vanilla layer
  • Adhere down both small stars with bows attached using tombow or snail
  • Adhere random circles punched from the glimmer paper to fill up space and balance out your project
  • Using the journaling pens from Project Life – add stitch lines around edge of vanilla layer
    * TIP * I used a piece of scrap paper trimmed to 3.75 x 5 to help me keep my stitch lines straight


I can ship anywhere in Canada, including Quebec!

CLICK HERE TO SHOP ONLINE

Vancouver Area Card Making Workshop: Birthday Bash!

Phewf! It’s been a little while since I have been able to post an update for you all!  A lot has changed for me, and I am now back in British Columbia in New Westminster.  Now that my craft room is all unpacked I am finally able to hold card making workshops again.  (YAY!)

The first class I did was a huge success so I hope that some of you will be able to join me for my second workshop in New Westminster. The theme for this card making workshop is “Birthday Bash”. Birthdays happen all throughout the year – so be prepared for them! This workshop will feature 3 cards: one feminine, one masculine and one junior (child / tween) card.

All the materials you need will be provided to make each card, all you will need to bring with you is basic supplies like Tombow or snail, pop dots / dimensionals and fine pointed scissors along with any other tools you find useful when crafting! I provide the project kits, complete with all materials and pre-cut card stock; all you need to do is learn the fun techniques and assemble the projects!


Here is the masculine birthday card design we will be making in this workshop:

Stampin Up Traveler, World Map & Postage Due Masculine Birthday Card by Wendie Bee Stampin Up Traveler, World Map & Postage Due Masculine Birthday Card by Wendie Bee


Here is what I used to make this card – click the item to purchase the supplies in my online store:

STAMPS:


CARD STOCK:


INK:


MISC:


Video Tutorial: Stampin Up Circle Framelits Rainbow Card

I can’t believe it!! My first video tutorial!! It’s *really* basic, so be gentle with me – but I have an even better understanding of what I will do different next time so each video will get better and better!!


For my first video, I chose to do a tutorial on how to make the rainbow card I posted recently (click to find the list of supplies you will need to make this card)


Rainbow Circle Framelit Card by Wendie Bee of Stamp Right Up

Rainbow Circle Framelit Card by Wendie Bee of Stamp Right Up


Stampin Up Circle Framelit Rainbow Card #1

Spring is a little late this year, so I thought I would create my own happy spring right in my craft room!

This rainbow card is SUPER easy to make, and took about half an hour start to finish. AND it made TWO rainbows, so I can make two cards at a time!

This is the first one I made – be sure to check back as I will be posting my second card, along with a tutorial on how to create them!

Rainbow Circle Framelit Card by Wendie Bee of Stamp Right Up

Rainbow Stampin Up Circle Framelit Card by Wendie Bee of Stamp Right Up


Here are the supplies I used to make this card:

Stamps:  Delightful Dozen (sentiment)

Paper:

  • Rainbow:  (Listed in order from largest to smallest):  Real Red, Pumpkin Pie, Daffodil Delight, Gumball Green, Tempting Turquoise, Soft Sky
  • Card base:  Night of Navy
  • Layer / mat:  naturals cardstock

Ink:  Night of Navy

Tools:  Circle Framelits, small heart punch

Misc:  Silver ribbon

Easter Bunny Treat Box with FREE Tutorial!

Hi Stampers!  I recently attended a team event where my sideline Karine showed us this Bunny box as the make & take.  I had seen Tami White’s version on her youtube channel and loved Karine’s modifications to the design, so I thought I would pass it along to you as well. These bunnies are super adorable and could be used for any occasion, not just Easter!  I have also seen this bunny created in brown (Stampin Up’s Chocolate Chip) which was also super stinkin cute.


Here are the projects I made:

Bunny Box free tutorial by Stamp Right Up Wendie Bee Bunny Box free tutorial by Stamp Right Up Wendie Bee


I have created a tutorial with images, supply list and step by step instruction on how to make these adorable bunny treat boxes. Click here to download the PDF for this Bunny Box Tutorial by Stamp Right Up

——

Want to create this project yourself but don’t know how? RSVP FOR A WORKSHOP!

To order any of the supplies used for this project call me today 514-482-4653 or email at stamprightup@hotmail.com

I can ship anywhere in Canada, including Quebec for as low as 10% of your order (before tax)!  • Now it’s even easier to shop with me!  I accept Credit cards, email money transfer and Paypal.

Stampin Up’s Good As Gold Card Kit Avon Lip Balm box

When I saw this project by Sam McDonald of Pootles UK, I just HAD to make it!! I was smitten with the Sale-A-Bration Good As Gold card kit as soon as I saw it, and when I saw Sam’s brilliant little box, I knew I had to make one too!

Here is the project I made using the Good As Gold card kit:

Stampin Up Sale-A-Bration Good As Gold Gift Box - Wendie Bee Montreal Stampin Up Sale-A-Bration Good As Gold Gift Box – Stamp Right Up Montreal

I loved the box so much, that I decided to make another one using Stampin Up card stock and the Sale-A-Bration DSP (designer series paper). I love Avon lip balm – it’s a great price, and there is always so many different designs and flavors available, I thought they would be perfect for this project  Here is my modified project using Sam’s tutorial:

Stampin Up Avon Lip balm box by Wendie Bee of Stamp RIght Up Montreal Stampin Up Avon Lip balm box by Wendie Bee of Stamp Right Up Montreal

Thanks for stopping by! Don’t forget – your comments are always welcome and appreciated!

——————

Want to create this project yourself?  I can show you how!  Contact me anytime to get the tutorial or RSVP FOR A WORKSHOP

To order any of the supplies used for this project call me today to place your order 514-482-4653 or email at stamprightup@hotmail.com

I can ship anywhere in Canada, including Quebec for as low as 10% of your order (before tax)!

Now it’s even easier to shop with me!  I accept Credit cards, email money transfer and Paypal.

For all my friends in the UK – Sam at Pootles will be happy to help you out! Contact her here:  http://pootles.co.uk/

Sale-A-Bration Workshop: Quick & Easy Party Favors

Hiya Stampers!!

I have made some SUPER awesome projects lately – thankfully! There was a spell there where I wasn’t feeling very inspired  :S

With Sale-A-Bration going on, I thought I would make a specialized workshop with projects using only products that are available during Sale-A-Bration so I can give people a chance to ‘try before you buy’ – and get an opportunity to to see a variety of projects.

Here is the first project for the workshop:

Stampin Up Sale-A-Bration Lollipop Treat Holder Party Favor Stampin Up Sale-A-Bration Lollipop Treat Holder Party Favor created by Montreal Quebec Stampin Up Demonstrator Wendie Bee

Here is what I used to make these awesome lolli pop treat holder /party favors:

Stamps:  Stampin Up Another Thank You (Photopolymer)
Card stock: Sale-A-Bration
Inks: Stampin Up Basic Black
Markers:  Basic Black (dash lines)
Misc: Flower punch from bitty punch pack, pearls, Sycamore Street Ribbon in Pool Party & Calypso coral

As always – your comments are welcome and appreciated!!

——————

Want to create this card yourself?  I can show you how!  Contact me anytime to RSVP FOR A WORKSHOP

Or – to order any of the supplies used for this project call me today to place your order 514-482-4653 or email at stamprightup@hotmail.com

I can ship anywhere in Canada, including Quebec for as low as 10% of your order (before tax)!

Now it’s even easier to shop with me!  I accept Credit cards, email money transfer and Paypal.