Stampin Up Tea Bag Dispenser Gift Box

With Mother’s Day coming up, I thought this tea bag dispenser gift box would be a great Stampin Up project to demonstrate.  The measurements are quite fiddly, but the finished project is well worth it!  Thanks to Heidi at Running With Scissors for the instructions.  Being still relatively new to papercrafting myself, I typed up the instructions in an easy to follow PDF. Click to download tutorial here:  Stamp Right Up Tea Bag Dispenser Instructions

I was super excited to use a product from the NEW Stampin Up catalog, which is officially released May 31, 2013.  We are given a few products available for pre-order and I snatched up the opportunity.  Can you spot the new item?!…

It’s the flower blossom embellishment on top of the lid! I made it with the new Blossoms & Buttons simply pressed molds and pool party reinkers. I just LOVE LOVE LOVE the fact that we are now going to create embellishments in ANY color Stampin Up carries!! Now, all you have to do is order the reinkers and we can make our own buttons & flower embellishments!!  There are 3 different sizes for buttons and 3 sizes for the flower blossoms, my example show on the lid is the medium sized ~ they are about the size of a nickel – I used pool party reinker to color the clay.   The clay is EXTREMELY lightweight; it almost feels like styrofoam… It is a silicone compound.
So they really are perfect for cards or any paper project!  I personally tested each design to see how durable they are:  the buttons I can literally fold in half and they didn’t break or crack; the flower cracked a little when folded completely in half, but it only shows if bent – so these are very forgiving and durable and will most definitely make it through even the most unforgiving postman.

I cannot WAIT to show you more of these in the next few weeks!  Official orders for the new catalog begin May 31st – I will have electronic AND digital copies ready as soon as we are able to release them. If you would like to be included on either mailing list for official hardcopy, or digital copy of the catalog please comment below as well and I will make sure you are in the know!

Mother's Day Stampin Up Tea Bag Dispenser Gift Box

Mother’s Day Stampin Up Tea Bag Dispenser Gift Box

Until next time stampers!

** As always, comments are welcome and appreciated **

Home Sweet Home with Lawn Fawn

I have been SOOOO busy lately that I haven’t had time to post my latest creation using my Home Sweet Home set by Lawn Fawn!!  I love this set – it is so versatile that you can use it for “We’ve Moved” cards, new baby cards, or like my example – all occasion / just because!

Summer is hte time for new releases it seems, and Lawn Fawn will be debuting their new line May 4th.  *does happy dance*  There are sneak previews all this week on their blog – you should check out the nifty paper tearing tool that they feature today.  Very cool.


Home Sweet Home with Lawn Fawn

Just Because ~ Home Sweet Home with Lawn Fawn


As always, your comments are welcome & appreciated!

Until next time stampers!

You Brighten My Day!

Thanks to Mary from Waynesboro Pennsylvania, I got to spend hours in my craft room doing what I love, and getting paid to do it!!  Seriously, can you think of a better scenario?!

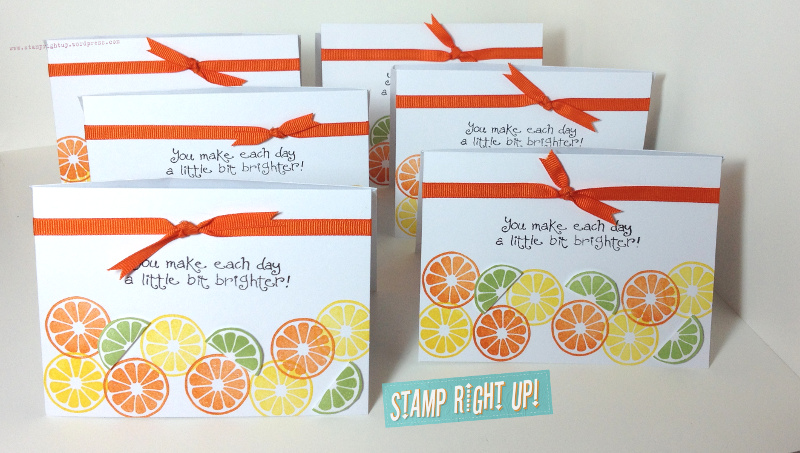
Mary purchased a set of 10 “You Brighten My Day”  cards from my Etsy store   Sunday night.  This was my first custom request and I was thrilled to bits!

Here is a picture of the lot.. .well, 6 of the 10 anyway.  (I couldn’t fit all 10 into my photo box :P)

You Brighten My Day Card

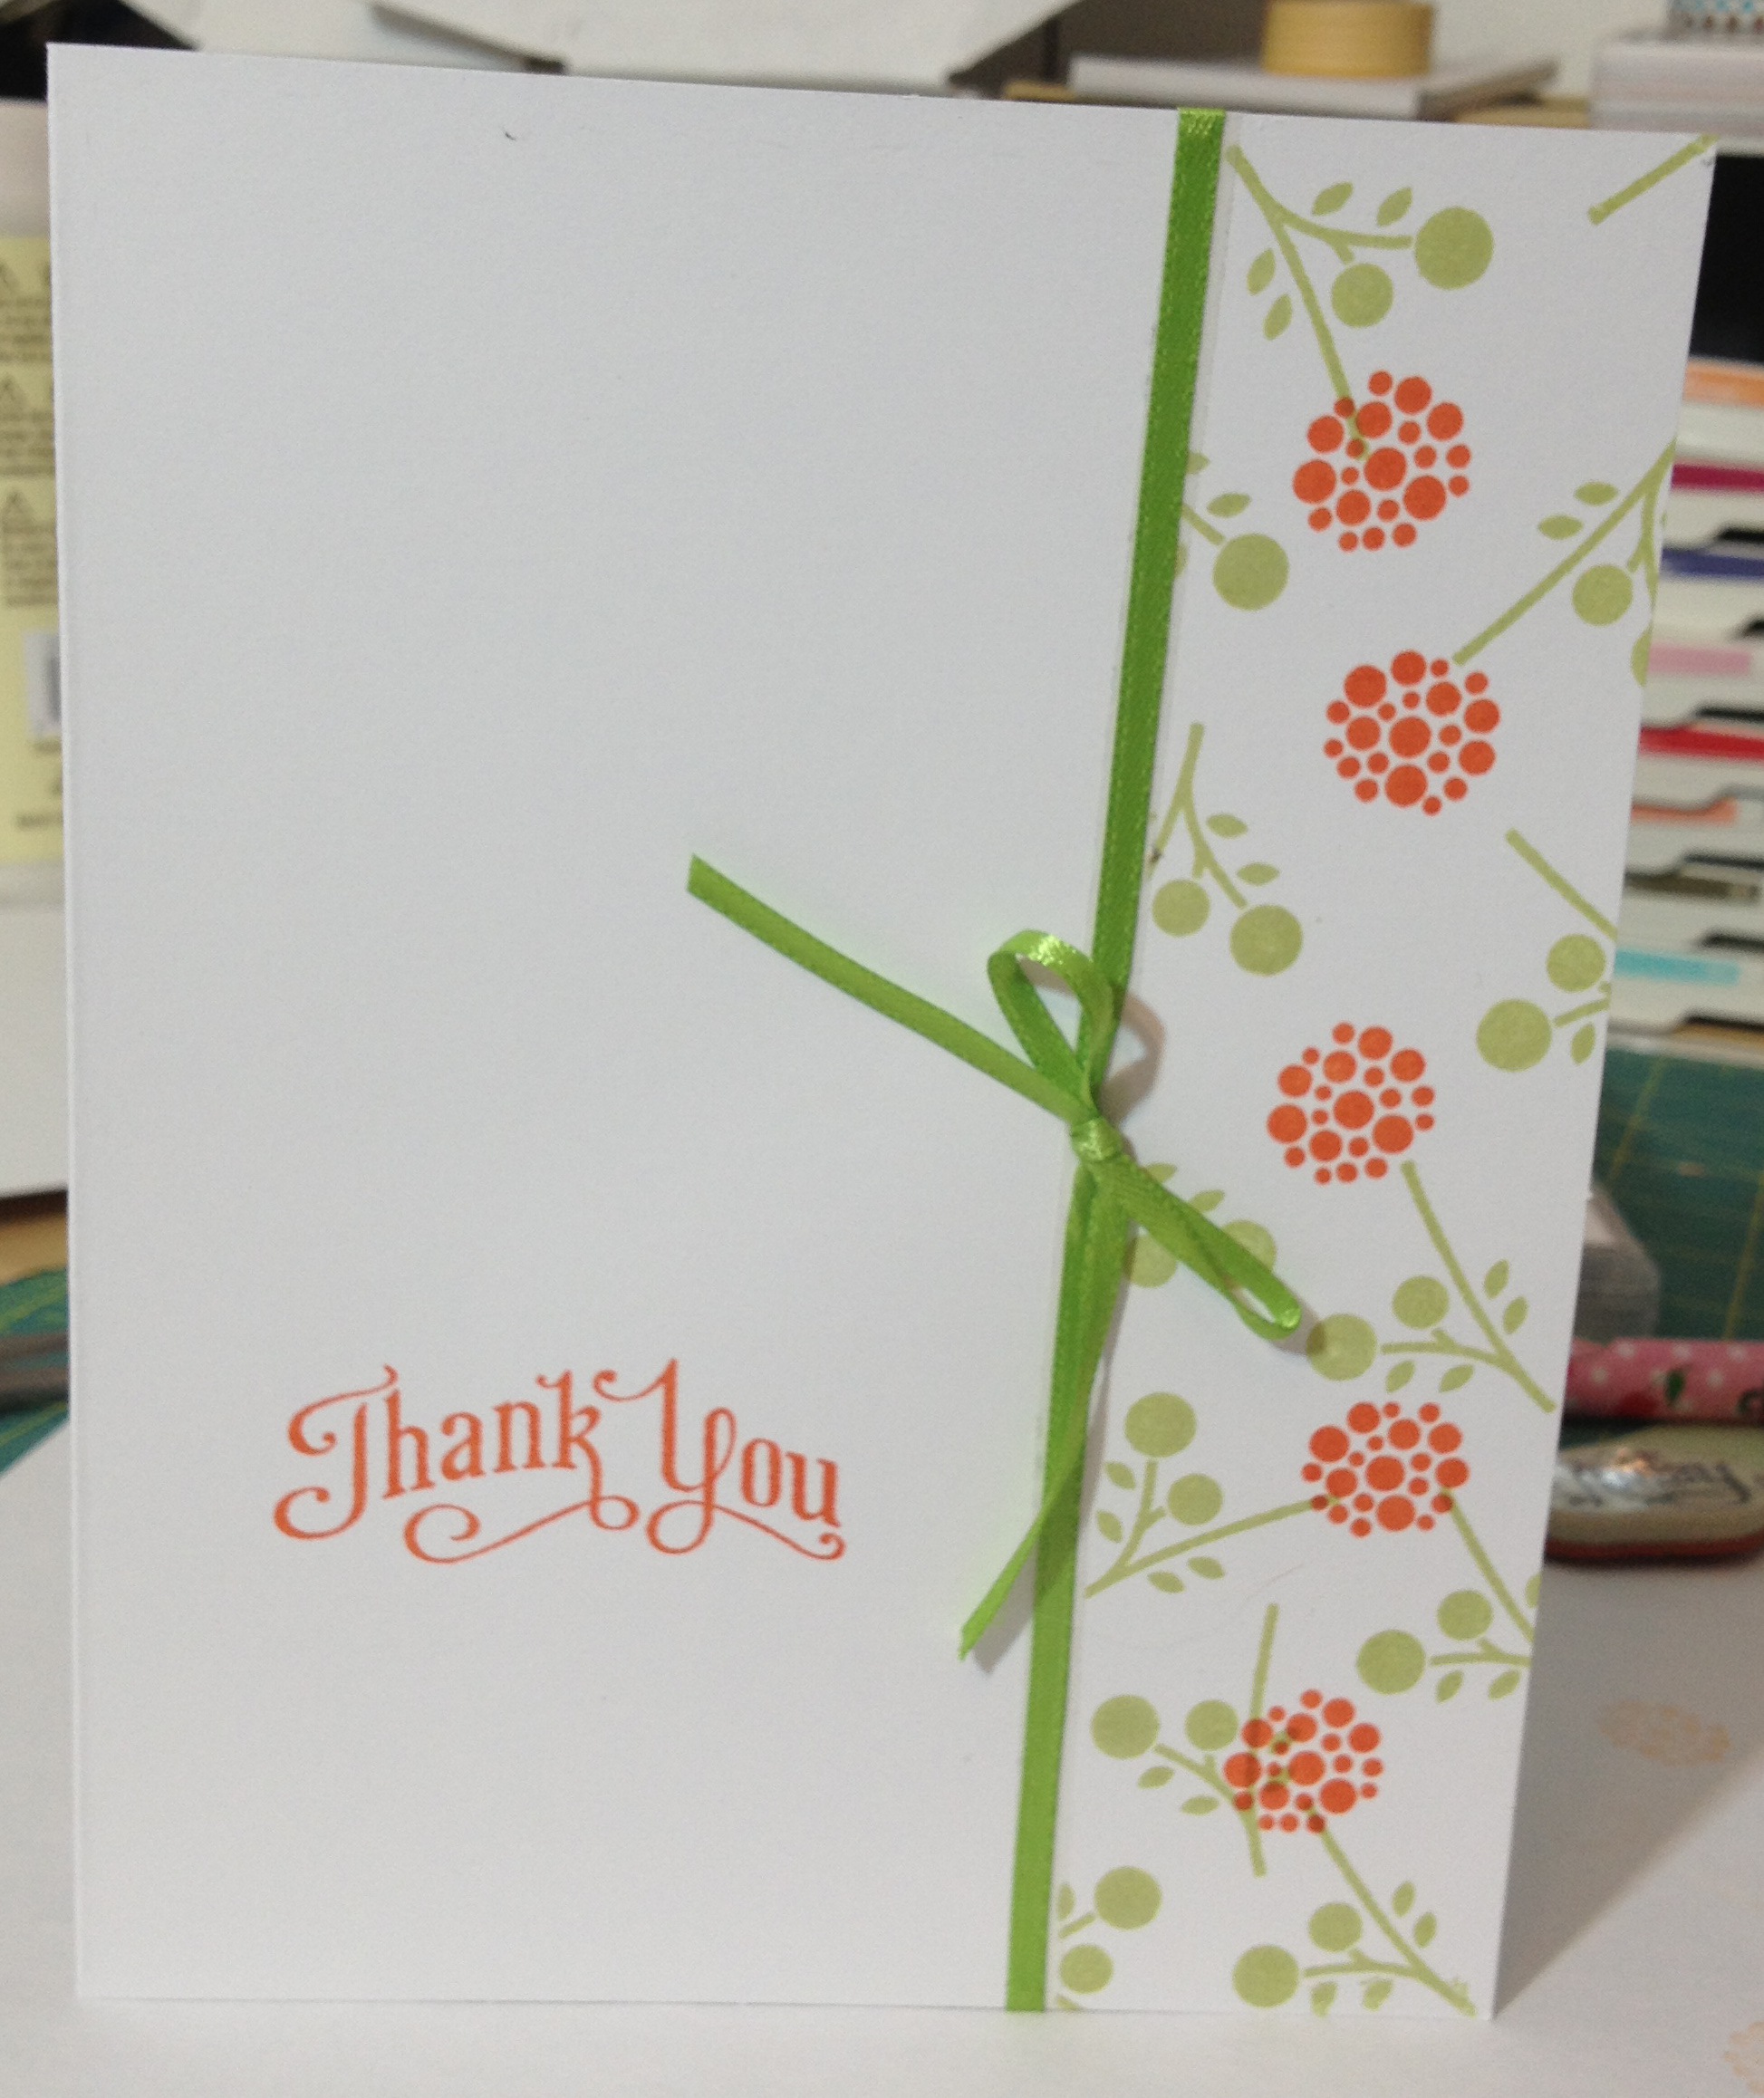
You Brighten My Day Card – wholesale order

It sure was a learning curve!! I thought it would be easy peasy to recreate a card… was I mistaken!!  Thank GOODNESS for my uber talented loving boyfriend who is a trained artist AND graphic designer AND marketing guru… He helped me devise a formula to create a ‘template’ to ensure that all my cards were fairly consistent.  We sketched out a rough template onto a blank card then went over it with a sharpie.  He gave me his light box which I used to place the template underneath the blank card and that gave me visual guidelines to know where to stamp each fruit, and where to place the sentiment.

Before he showed me this awesome way to make a template, I had gone through FIVE cards, each of which I ended up recycling!  *doh*  I was also being hasty and got over zealous and just started stamping  >_<

I created a custom tag (which I will be posting in a day or two) and tied the lot together with orange bakers twine.  The package was as cute as the cards!!!  I even stamped a lemon lime and orange onto the front of the parcel by her address.  Hopefully she is as happy with her purchase as I am for making it!


Until next time stampers!


* Your comments & feedback are always welcome and appreciated, so don’t be shy!! *

Stampin Up: May Flowers Workshop for Mother’s Day

I am pleased to say that this weekend marks another successful workshop!  I had the pleasure of running a private workshop with Leyla – it was a great experience for us both. As she is new to paper crafting, card making and Stampin Up in general, I really loved having the opportunity to work one on one with her to show her all the tips & tricks that I have learned along the way.

When I was planning the workshop, I tried to put a lot of thought in to which techniques would be good to work with for beginners while still making fun & appealing projects.

The theme of the workshop was “May Flowers” so I wanted to make a card similar to one that my upline had made with the Fancy Flower punch.  I found this video tutorial from Dawn on how to make a different style of a paper flower and LOVED the look of this technique.
I added an extra step to Dawn’s tutorial and sponged the edges of each flower layer with crumb cake ink;  it is a bit time consuming to ink / sponge the edges, but it REALLY makes a difference and give the flower so much more dimension.  You could also use the coordinating ink to match your card stock, or use a contrasting ink to give it an extra punch of color.

Stamp Right Up Mother's Day Paper Flower Card

Mother’s Day Paper Flowers Card

Here’s what we used to make this lovely card:

  • Crumb Cake card stock (4.25 x 5.5)
  • Very Vanilla card stock (4 x 5.25)
  • Pretty in Pink ink (background stamped image)
  • Crumb cake ink (sponged on edges of flower petals & along edge of very vanilla mat layer)
  • Fancy Flower punch
  • Itty Bitty Banners
  • En Francais background stamp
  • Pink Pirouette card stock (flowers)
  • Champagne glimmer paint (on flowers)
  • Pearls
  • Twitterpated buttons


As always, your comments & feedback are welcome and appreciated!


Until next time stampers!


I love Lawn Fawn!!!

I love Lawn Fawn!!!  These are my creations from the new “Home Sweet Home” stamp set.  I really love that there is a matching die for so many of the stamp images too!!  And, the dies are unique in that there is a little bit of white space around image when die cut to look like they were fussy cut too.

This Home Sweet Home set is SOOOO versatile! I really love the assortment of ‘decorations’ in the set, it really allows you to create a unique, personalized project.  Check out Kelly’s intro video showing all the stamps, coordinating dies & different examples she shows.

Here is what I made with this great set so far:

3×3 Note Card

3x3 Note Card Home Sweet Home ~ Lawn Fawn

3×3 Note Card using Home Sweet Home stamp & die set from Lawn Fawn

3×3 Note Card supplies:

Scallop All Occasion Card

Scallop Card Home Sweet Home ~ Lawn Fawn

Scallop Card using Home Sweet Home stamp & die set from Lawn Fawn

This card was pretty much a direct case from Kelly’s card from the intro video; here is what I used:

  • Stampin Up Pool Party ink (to sponge background color)
  • Colored pencils using blending technique here
  • Lawn Fawn Home Sweet Home Stamp & Die set

There are two more cards-in-progress on my work table right now too.  I also have stamped a bunch of leaves, branches and many different houses – that way I can just go crazy designing cards.  It’s much easier once all the elements are all done to design cards layouts – I just place all the bits & pieces on with tweezers, then move tham around until I get a layout I love.  **Fun** !!!!

I have ordered the Summertime Charms stamp & die set as well.  I cannot WAIT to get it!!

Until next time stampers!

** Your feedback & comments are welcome and appreciated, so don’t be shy!**

Mini Workshop Materpieces

Look what my girls made in the Mini Workshop I hosted on Monday!  We had a great time – I mean really, how much more perfect can girls night out be when it includes great company & crafting?!

Each workshop I host as a demonstrator, I always create a tutorial / handout for the participants to take home with them after the workshop so that they can recreate the cards again at home.  As a little bonus for all you stampers out there, I have included a link to download the PDF tutorials on how to make each card from that workshop!  Some of the other cards I have featured in other posts also have a PDF tutorial – if you are interested in one, please comment below or message me & I can email you a PDf copy.

Bleached Swallowtail

CLICK HERE TO DOWNLOAD THE TUTORIAL PAGE ON HOW TO MAKE THIS CARD:
StampRightUp – Bleached Swallowtail Instruction Hand Out

Bleached Swallowtail on Pacific Point with En Francais background stamp

Bleached Swallowtail on Pacific Point with En Francais background stamp

What you’ll need to make this card at home:

  1. Pacific Point ink & card stock, as well as basic black card stock
  2. Swallowtail stamp
  3. Black embossing powder

Stampin Up Pinwheel Sizzlits

 CLICK HERE TO DOWNLOAD THE TUTORIAL INSTRUCTIONS ON HOW TO MAKE THIS STAMPIN UP PINWHEEL CARD: 

StampRightUp – Pinwheel Sizzlit Instruction Hand Out

Stampin Up Pinwheel sizzlits

Stampin Up Pinwheel sizzlits with Subtles DSP & stripes embossing folder

This card is super cute, but the pinwheel sizzlits can be a serious problem to put together… that is if you don’t know the trick to assembling them!  Check out this video on the easy way to assemble these little guys with ease and no frustration:  http://youtu.be/9PCjFyN7-qs

The other WAY COOL technique I taught the group was the “fork bow”.  Who knew you could use a fork to produce consistent, easy to make bows!!  I found this YouTube tutorial on how to make easy ribbon bows:  http://youtu.be/RBza9q1rKRo

Papillion Potpourri Window card

CLICK HERE TO DOWNLOAD THE TUTORIAL INSTRUCTIONS ON HOW TO MAKE THIS CARD:

StampRightUp – Papillion Potpourri Window Card Instruction Hand Out

Papillion Potpourri window card

Papillion Potpourri window card in pool party with Everyday Enchantment DSP and champagne shimmer mist

The picture of this card doesn’t do this card justice! We used the champagne shimmer paint to add a beautiful hint of shimmer to the front of the card.

Stampin Up Owl Punch: Night Owl’s

Stampin Up Owl Punch Card:  Night Owls

Stampin Up Owl Punch All Occasion Card: Night Owls

Have I mentioned how much I love this owl punch?!  This is my newest tinkering: Night Owl’s.  Boyfriend helped me out a bit (he’s a stellar artist so he always helps me polish my ideas).

This one was actually super easy once I had the layout done.  I found it was the best to punch all the pieces and lay them out first before sticking anything down permanently.

Here is what I used:

  • Stampin Up Two Step Owl Punch
  • Stampin Up Word Window Punch
  • Stampin Up Woodgrain background stamp (stamped in Soft Suede ink)
  • Crumb cake card stock (fence)
  • Pacific Point card stock (background mat)
  • Basic black (card base)
  • Owls made from:
    • Chocolate chip (body)
    • Old Olive & Razzleberry (vests)
    • Crumb cake & whisper white (eyes)
  • Moon (whisper white card stock & circle punch)
    • Sponge white craft ink around place where punched circle will go, then adhere white circle
  • Clouds (basic black ink & sponged using a scallop mask)

Your comments are welcome & very much appreciated!

Until next time stampers!

3×3 Note Card Gift Set

My latest creation:  a 3×3 Note Card Gift set, complete with 5 different all occasion cards & envelopes along with an adorable gift set box / holder.

Stampin Up 3x3 Note Card Gift Set with Box 3×3 Note Card Gift Set with Box
3x3 Note Card Gift Set - Front & Inside View 3×3 Note Card Gift Set – Front & Inside View
Stampin Up 3x3 Note Card Set Stampin Up 3×3 Note Card Set using Elegant & Bitty Butterfly Punch, Subltes DSP & Itty Bitty Banners

3x3 Note Card Gift - Bitty Butterfly Punch & Marina Mist DSP
3×3 Note Card Gift – Bitty Butterfly Punch • Marina Mist DSP • Itty Bitty Banners
3x3 Note Card Gift - Elegant Butterfly Punch & Wild Wasabi DSP 3×3 Note Card Gift – Elegant Butterfly Punch & Wild Wasabi DSP
3x3 Note Card Gift - Bitty Butterfly Punch • Rose Red DSP • Itty Bitty Banners 3×3 Note Card Gift – Bitty Butterfly Punch • Rose Red DSP • Itty Bitty Banners
3x3 Note Card Gift - Elegant Butterfly Punch • Perfect Plum DSP 3×3 Note Card Gift – Elegant Butterfly Punch • Perfect Plum DSP
3x3 Note Card Gift - Elegant Butterfly Punch • So Saffron DSP • Itty Bitty Banners 3×3 Note Card Gift – Elegant Butterfly Punch • So Saffron DSP • Itty Bitty Banners

I used the tutorial for the criss-cross gift box by Stampin T.  She is an Australian demp who always comes up with the *greatest* projects!!
Here is a link to the video:  http://www.youtube.com/watch?v=jwhu9pfSkxA&feature=share&list=PLz0z9zkKsU5_OAKl3MhZKd3W5IGGQj7hM

I made a lid using the exact same template, I just cut it down to just underneath where it crosses over – you can adjust accordingly to suit your cards:  use all same score line marks, just adjust length to suit lid size (ie: cut from top down to desired lid height).

I just loved making this gift set, and will probably use this project in one of my upcoming workshops

Until next time stampers – happy crafting!!!

Stampin Up’s new Pinwheel Sizzlit

Stampin Up Pinwheel Sizzlit Card

Stampin Up Pinwheel Sizzlit Card

Hiya Stampers!!  Here is my first creation using the Pinwheel sizzlit from Stampin Up! that just arrived on Monday.  I *finally* tidied up my work table and had some time to sit down and tinker…. only to make another gigantic mess creating this card  😛

This is the first of many I suspect, as what I had in my mind isn’t exactly how it turned out – but it was still cute enough so I decided to keep it.  I wanted to put a banner or bunting across the top – but I don’t have the pennant punch… So I improvised and used the petite curly label punch instead.  I think it would have looked more like I wanted if I had of put a few more layers of bakers twine and bows at the end?!

Guess I will have to get to the work table tonight and find out huh?

materials used:

  • Baja breeze card stOck (base)
  • Stampin Up Pinwheel
  • Subtles patterned DSP
  • Whisper White
  • Dots Embossing folder