I just got my monthly card kit from Simon Says Stamp & I could not WAIT to play with the cupcake pieces!
Lightly cased from Kristina’s example(s), here are my cards (both are 3×3 note card size)

Cupcake Birthday Note Card ~ Simon Says Stamp July Card Kit

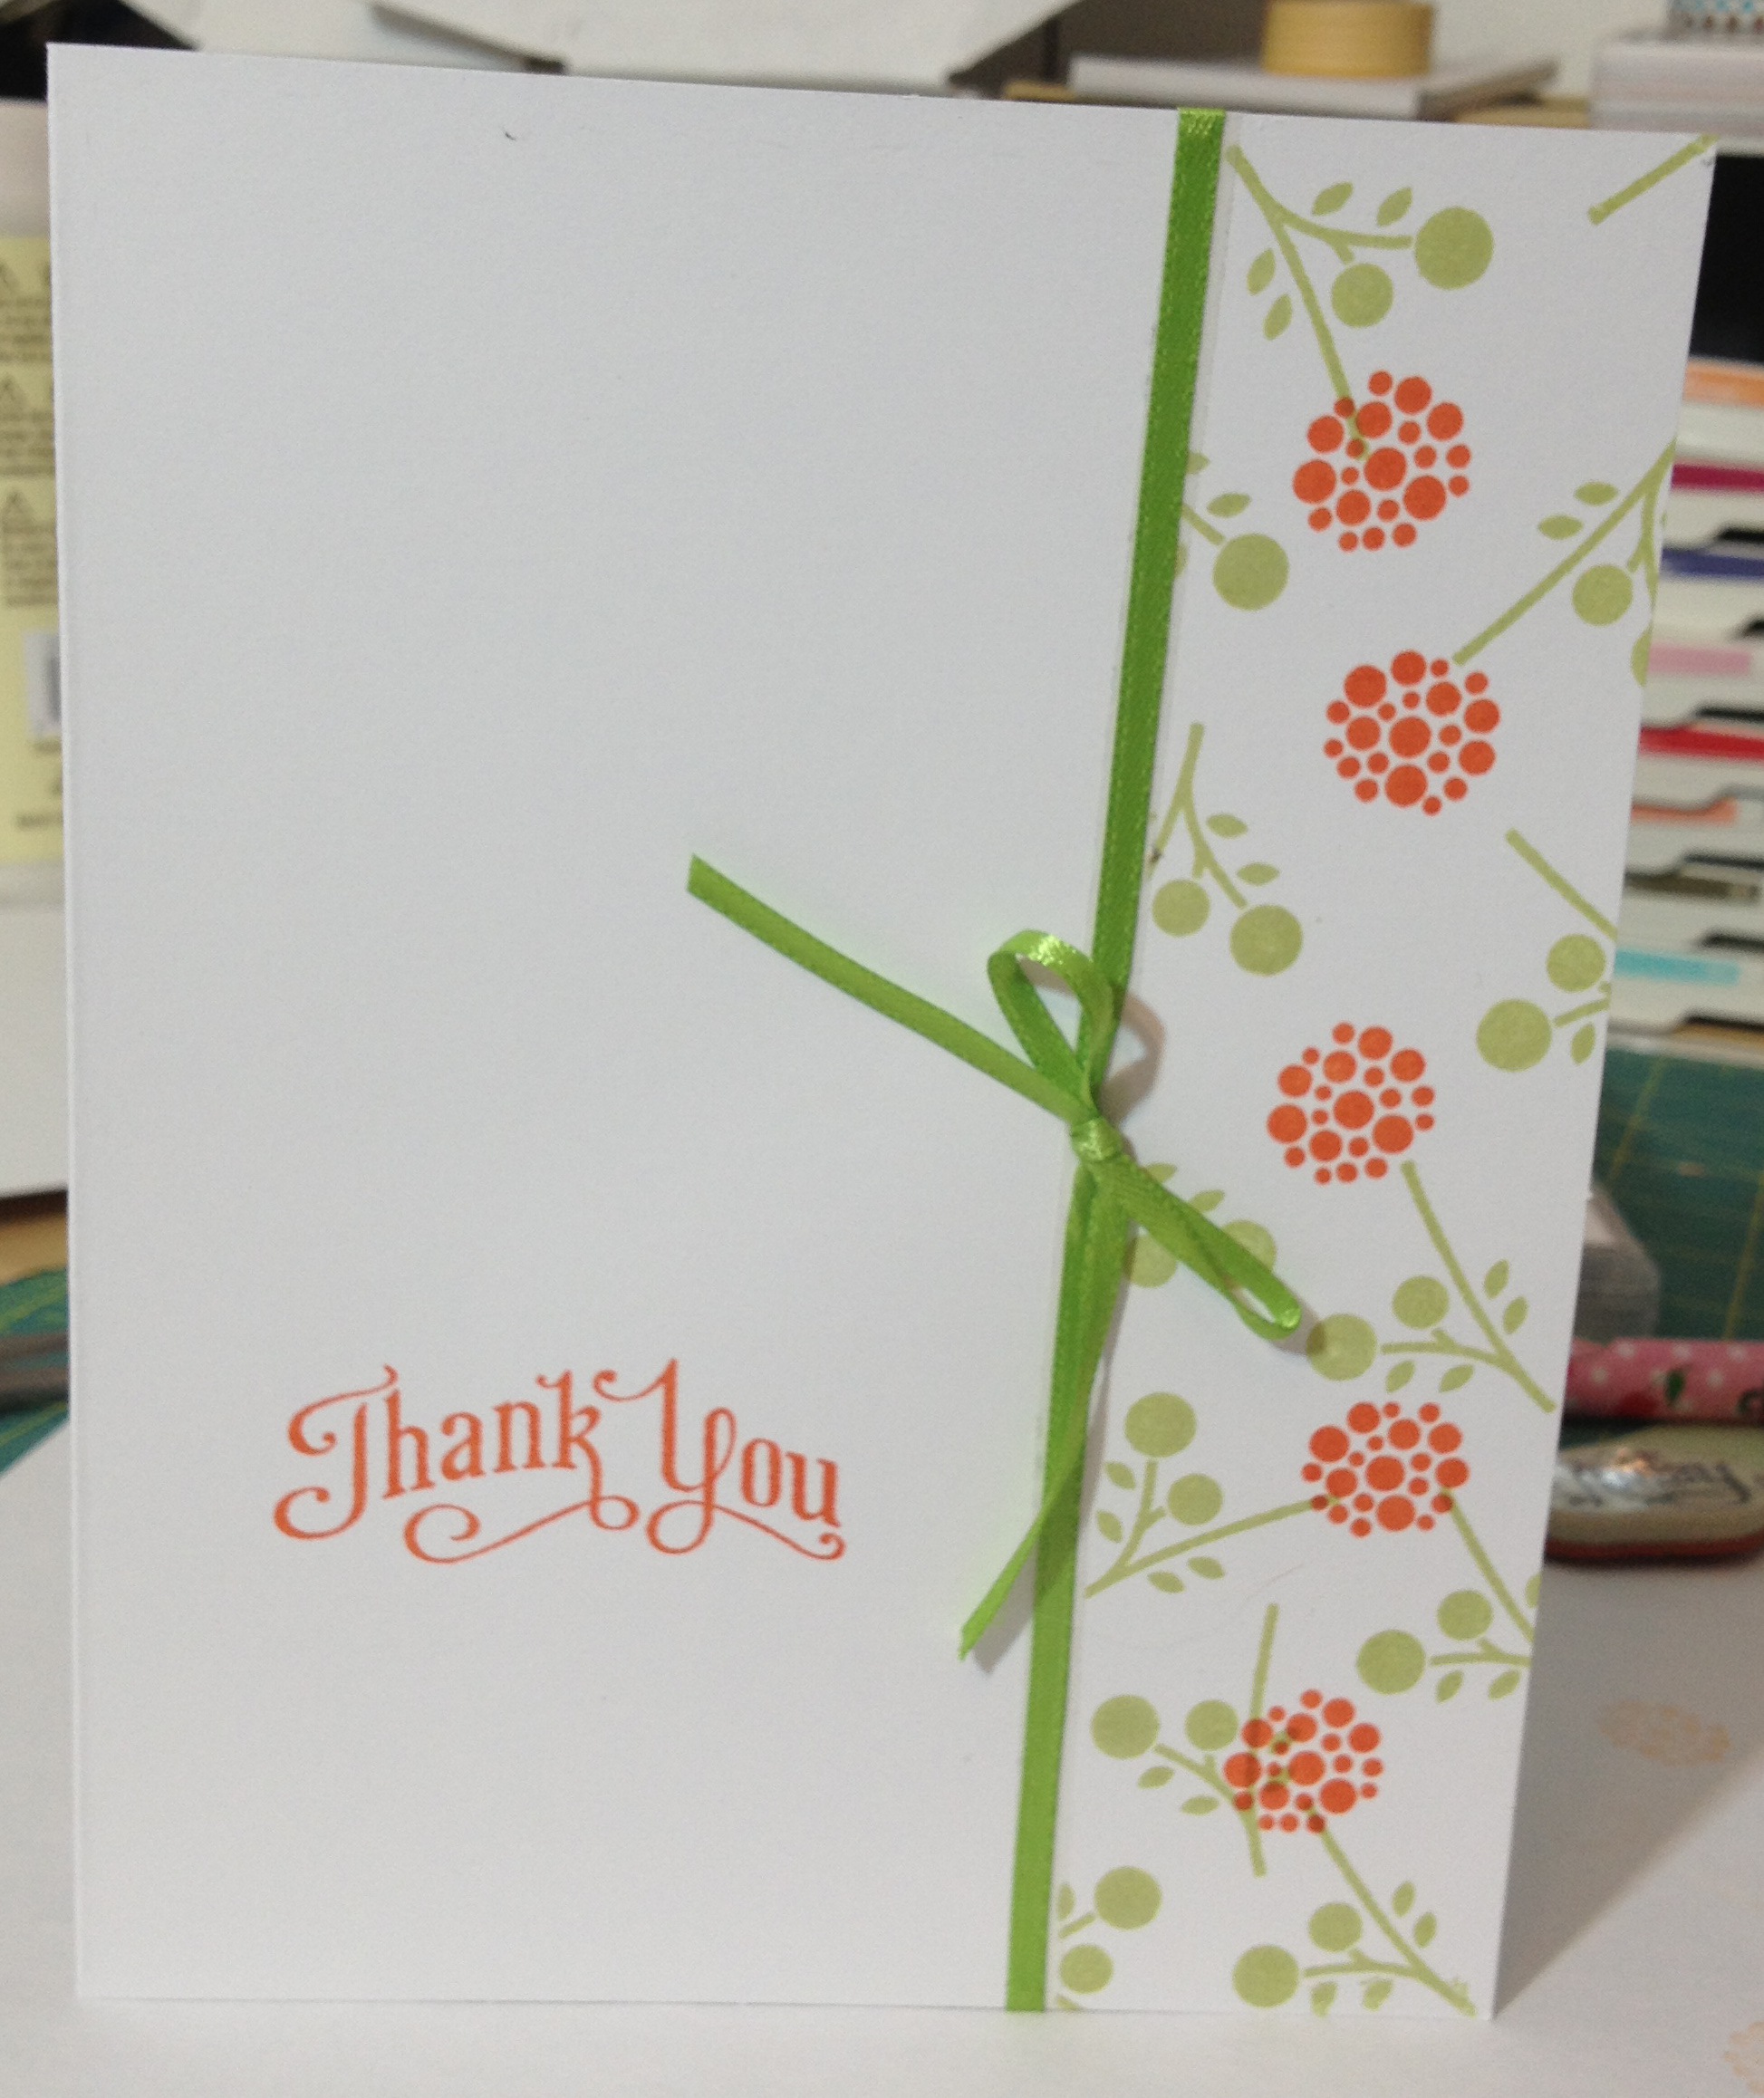
Thank You Cupcake Note Card – Simon Says Stamp July Card Kit
Here is my supply list for these cards:
Happy Birthday Cupcake:
- Stamp set: CupCake Party
- Ink: STAMPIN UP!
- Cupcake: Pretty In Pink, Pink Pirouette
- Base & cake: Soft Suede & Crumb Cake
- Cherry: Real Red
- Background star burst image: Pistachio Pudding
Thank You Cupcake:
- Stamp set: CupCake Party
- Ink: STAMPIN UP!
- Cupcake: Crisp Cantaloupe, Calypso Coral
- Base & cake: Soft Suede & Crumb Cake
- Cherry: Real Red
- Background circle image: Pistachio Pudding
Hey Canadians – love those ink colors?! Me too! Contact me to order them & have them delivered to your door step!